
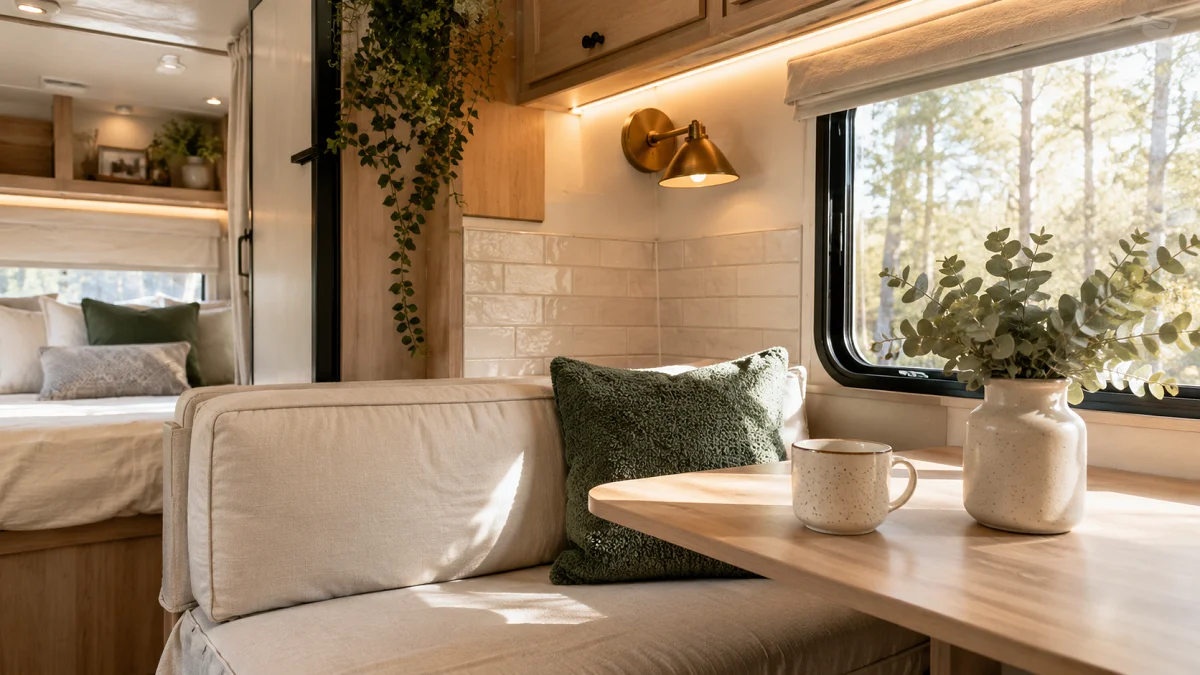
Most factory campers roll off the lot feeling like generic hotel rooms wrapped in brown vinyl and cold overhead LEDs. You step inside, look around at the slick paneling, and wonder how to make this narrow box on wheels feel like a calm, lived-in sanctuary without overloading your gross vehicle weight rating.
The good news is that smart rv decorating ideas rely on tactile shifts rather than heavy renovations. Small changes in fabric weight, targeted warm light, and secure wall treatments completely rewrite how a compact interior feels underfoot and at eye level.
Here are 17 practical, travel-tested moves that bring warmth, texture, and everyday comfort to your camper while keeping everything road-ready.
1. Swap Factory Dinette Cushions for Custom Linen Slipcovers
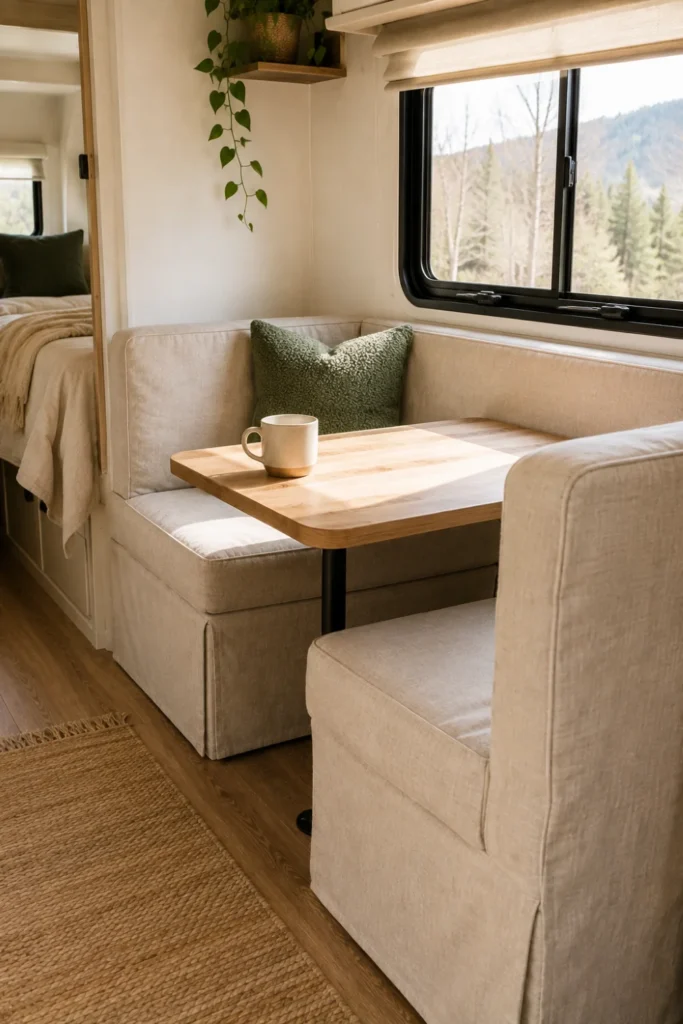
Factory dinette cushions are notorious for slick brown leatherette that sticks to your legs in the summer and feels cold in the winter. Replacing the foam entirely is expensive, but wrapping the existing cushions in zippered linen-blend covers immediately softens the largest seating area in your rig.
Look for upholstery-weight linen or heavy cotton canvas with a slight texture. These fabrics breathe well, hold up against pet claws, and can be pulled off in seconds for a quick cycle in the laundromat washer.
- Choose neutral tones like oat, soft sage, or washed flax to visually expand the room.
- Add a strip of non-slip rug pad underneath each base cushion so they stay locked in place when braking.
- Pick envelope or zippered closures rather than staple-gunning, making regular washings hassle-free.
Cold, glossy brown vinyl that traps heat, slips out of position while driving, and darkens the dining booth.
Breathable, tailored linen covers that brighten the entire slide-out and unzip easily for routine washing.
2. Mount Battery-Powered Warm Puck Sconces on Command Strips
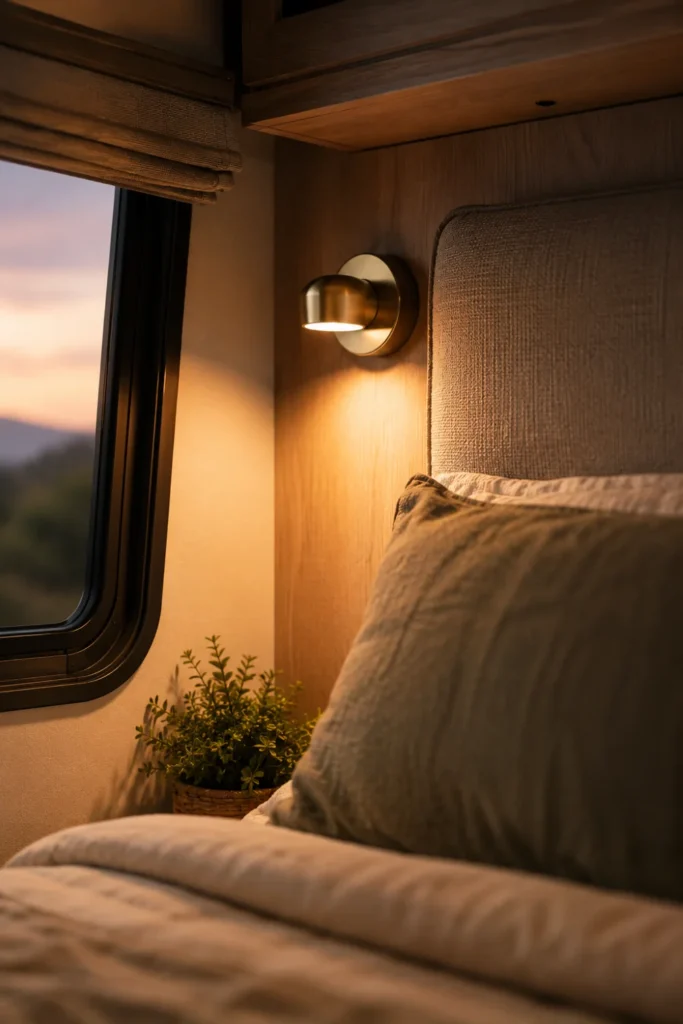
Camper ceiling lights are designed for efficiency, which usually means harsh, sterile 5000K white light blasting straight down. You can completely change the evening mood by mounting battery-operated wall sconces at eye level near your reading nook or bed.
Select puck lights with a warm 2700K temperature rating and rechargeable USB bases. Using heavy-duty picture hanging strips lets you place them on hollow camper walls without drilling holes or tapping into the 12V wiring harness.
- Wipe the wall panel with rubbing alcohol to clear off road dust.
- Press the adhesive strip firmly for 30 seconds against the sconce base.
- Let the adhesive cure for an hour before clicking the magnetic light puck into place.
💡 Quick Lighting Tip
Buy magnetic USB pucks with remote controls. You can pull the pucks off their mounts to charge via your solar inverter without unsticking the wall brackets.
3. Layer a Heavy Woven Runner Over Standard Vinyl Flooring
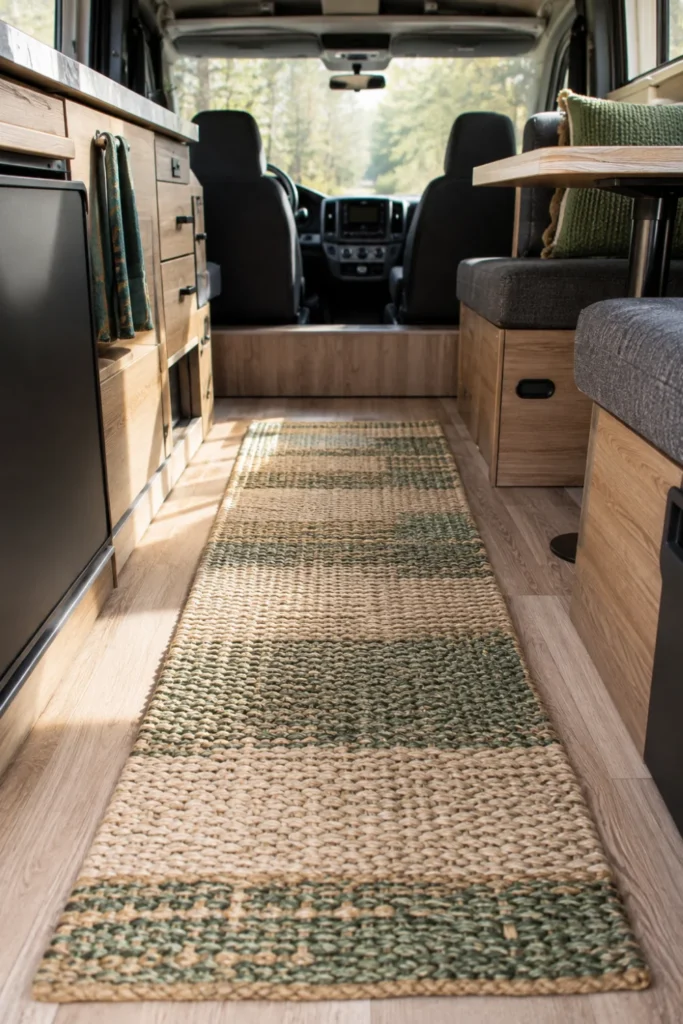
RV linoleum is tough and waterproof, but it tends to look sterile and can feel chilly under barefoot mornings. A thick, textured runner adds depth down the narrow hallway, dampens road vibration, and catches outdoor grit before it reaches the bedroom.
Flat-weave runners made from jute blends or washable polypropylene work best because low-clearance slide-outs can glide right over them without catching.
Pair your runner with an ultra-thin natural rubber underlay. Avoid synthetic waffle pads that can chemically bond with and discolor factory RV vinyl over hot summer storage months.
4. Replace Factory Pleated Shades with Lightweight Roman Blinds
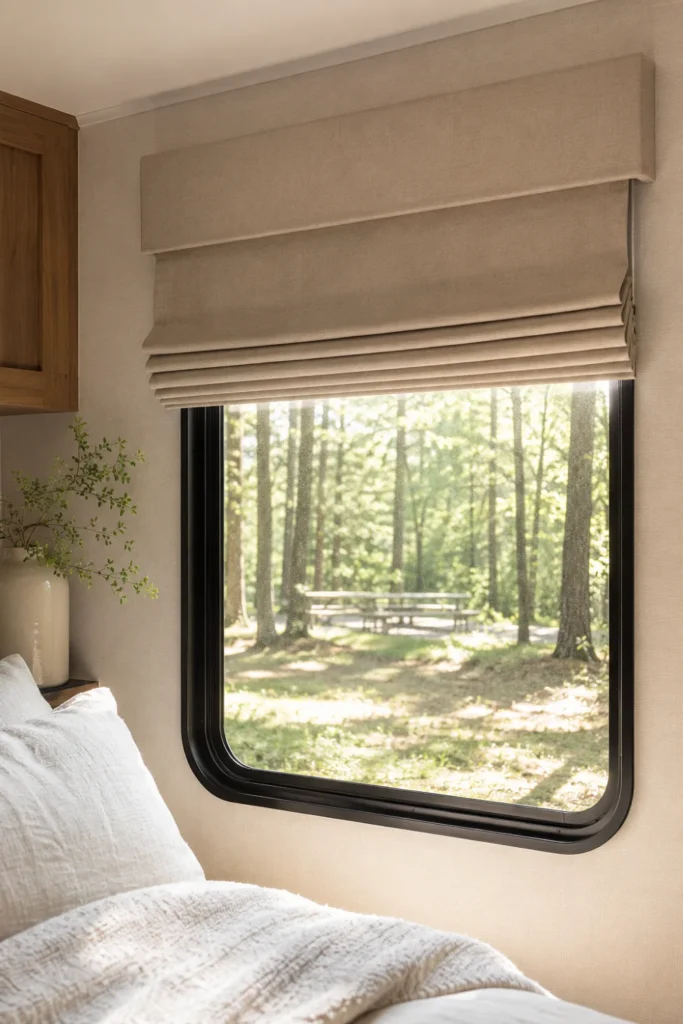
Those string-tied, accordion-style factory blinds rattle against the window frames on breezy evenings and snag easily on their guide cords. Swapping them for fabric Roman blinds adds instant tailored structure to your living room windows.
Opt for cordless magnetic or clip-up Roman shades made from cotton duck or woven flax. They sit flush against the window casing and stay quiet when traveling over uneven washboard roads.
Unscrew the factory valance brackets and unsnap the lower tension spools.
Mount a lightweight tension rod inside the window frame recess.
Attach tiny adhesive magnets to the lower sill to keep the hem pinned while driving.
Ensure the shade fabric does not extend beyond the window frame depth if your unit features a tight slide-out clearance.
5. Stick Self-Adhesive Textured Backsplash Behind the Stove
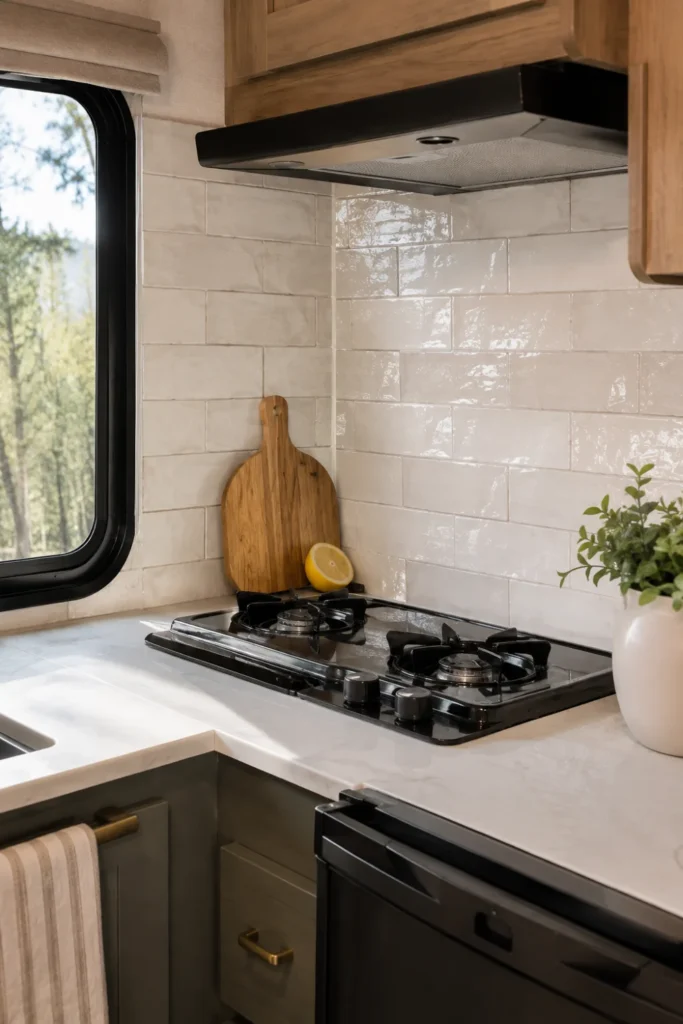
RV galley walls are typically covered in slick, moisture-resistant decorative wallpaper that lacks character. A self-adhesive faux subway tile or zellige-style vinyl sheet introduces visual texture without the heavy weight of real ceramic tile.
Because RV kitchens undergo wide temperature swings and vibration, surface preparation makes all the difference in keeping tiles permanently adhered.
Use lightweight composite gel or thin aluminum tiles rated for heat.
Clean paneling with TSP substitute to eliminate cooking grease before applying.
Do not install heavy ceramic tiles with real mortar that cracks during travel.
Avoid low-tack craft stickers that curl in humid weather.
- Trim tiles carefully around propane lines and outlets using a fresh utility blade and straight edge.
- Seal the bottom seam against the countertop with a thin bead of flexible translucent silicone.
6. Swap Heavy Ceramic Mugs for Matte Enamelware on Hanging Pegs
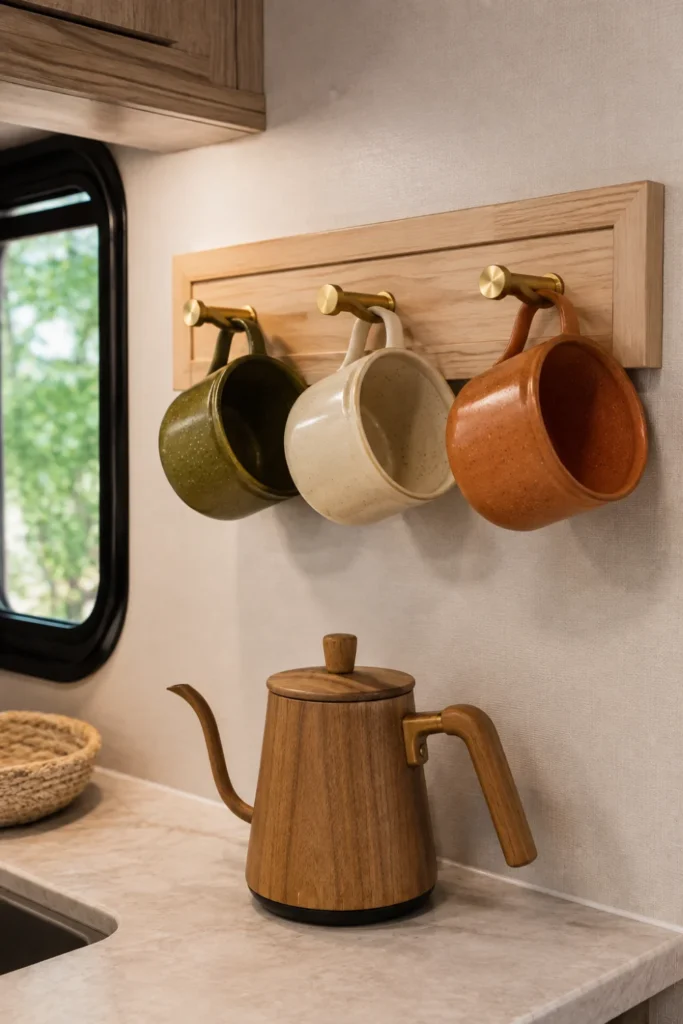
Heavy ceramic mugs take up valuable cupboard space and risk chipping whenever you navigate bumpy camp roads. Displaying lightweight steel enamelware on small wooden pegs turns your daily coffee setup into a functional wall feature.
Enamel mugs are nearly indestructible, weigh very little, and provide classic outdoor styling that fits the camper lifestyle.
Kitchen Storage Essentials
Mount the rack over the coffee station using self-drilling drywall anchors rated for thin luan plywood walls.
7. Add Magnetic Cable Tidy Grips to Hide Awkward Tech Cords
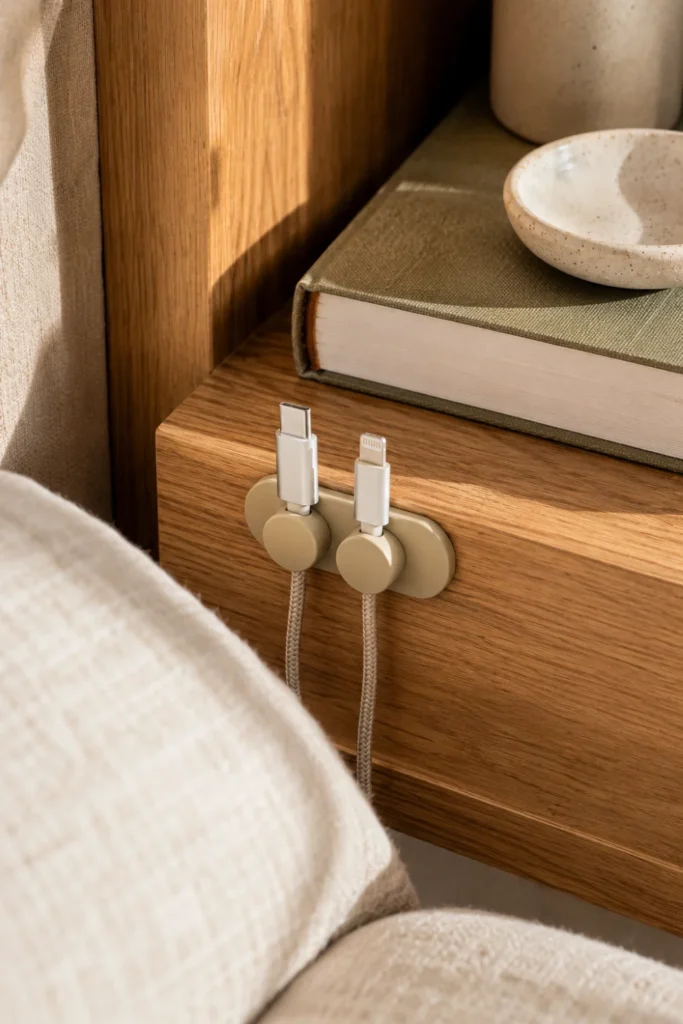
Small rigs quickly look cluttered when charging cords, solar monitor leads, and TV cables dangle across open surfaces. Running cords through compact silicone magnetic organizers keeps your nightstands and counters clean.
Tucking cords out of sight creates clean lines and prevents cables from catching on cabinet doors when slides extend.
Stick the adhesive magnetic bases along the back edges of furniture so cords stay accessible but remain out of your direct line of sight.
8. Hang Framed Canvas Prints Using Heavy-Duty Interlocking Strips
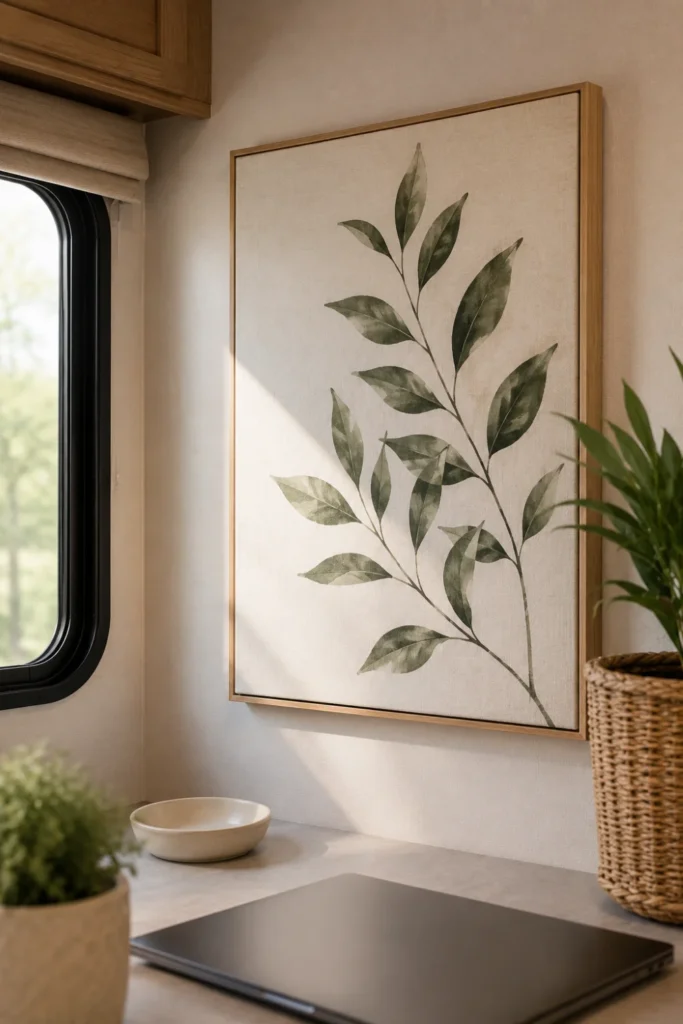
Camper walls feel flat and empty without art, but traditional nail hooks will pull out of thin hollow core luan the first time you hit highway bumps. Lightweight canvas prints or acrylic frames hung with interlocking fastener strips stay totally rigid.
| Fastener Method | Road Performance | Wall Impact |
|---|---|---|
| Standard Nail Hooks | Swings and tears out of 1/8″ luan | Leaves permanent holes |
| Interlocking Velcro Strips | Locks frame flat against vibration | Removes clean with zero wall damage |
- Place one strip pair at each of the four frame corners rather than just along the top edge.
- Use lightweight canvas or wood-block prints without heavy glass panes to minimize payload weight and eliminate shatter risks.
9. Anchor Living Area Noise with a Thick Bouclé Throw Pillow Duo
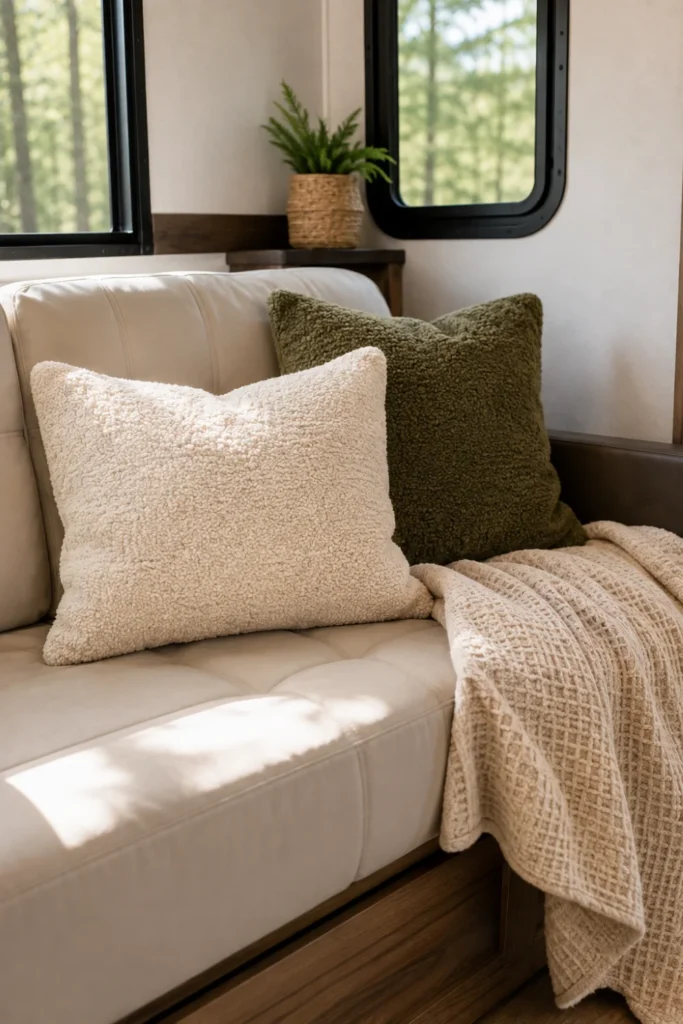
Hard surfaces like fiberglass, acrylic windows, and laminated cabinetry bounce sound waves around the cabin, creating an echoey environment. Adding heavy bouclé or chunky wool accent pillows absorbs ambient sound while breaking up the flat visual lines of the sofa.
Choose high-density inserts that hold their structure rather than flattening out when leaned on during evening reading.
Dense, looped textiles like bouclé, boiled wool, and chunky waffle weave trap sound waves three times more effectively than slick poly-velvet blends in compact spaces.
Stick to an earthy, grounding palette like moss, warm mustard, or oatmeal to complement the surrounding woodwork.
10. Install a Floating Spice Rail with Silicone Bottom Grip Liners
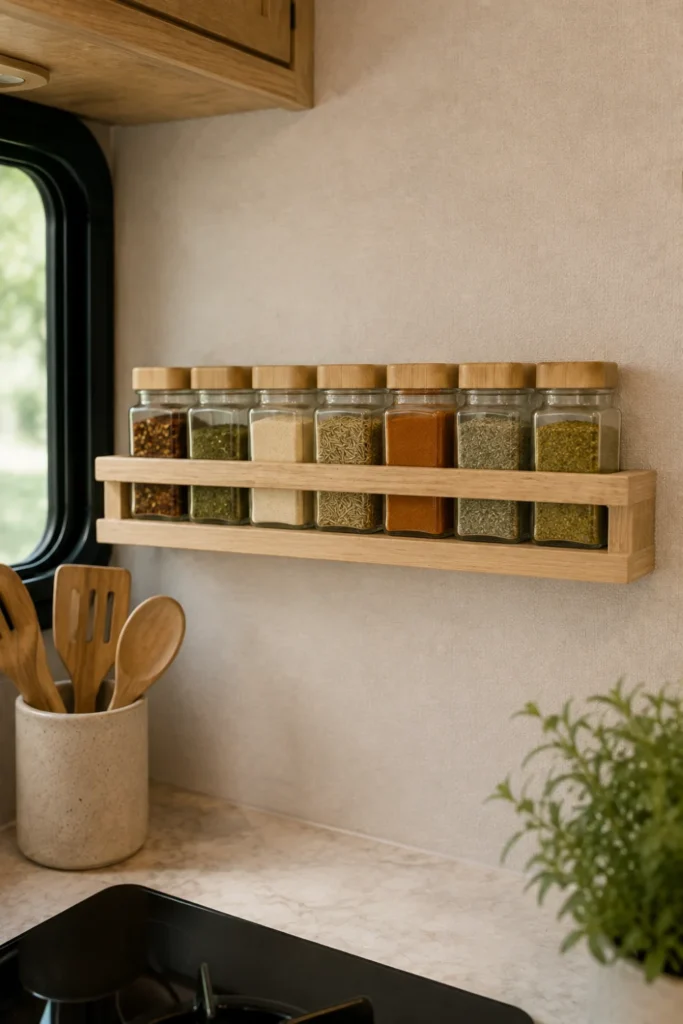
Stashing spices in deep overhead cupboards makes meal prep frustrating and leads to glass jars clattering against each other around sharp turns. A low-profile wooden ledge mounted near the stove keeps your cooking essentials organized and visible.
Lining the rail base with non-slip silicone ensures jars stay seated quietly without creeping toward the edge when driving.
⚠️ Travel Security Check
Pick rails with a front retaining lip that rises at least 2 inches high. This prevents jars from tumbling out during sudden stops or steep driveway departures.
- Measure the clear space between the range hood and the backsplash edge.
- Fasten the wooden rail into structural wall framing using short wood screws.
- Transfer dry spices into matching square glass jars, which pack tighter than round containers.
11. Swap Factory Plastic Cabinet Knobs for Brushed Brass Pulls
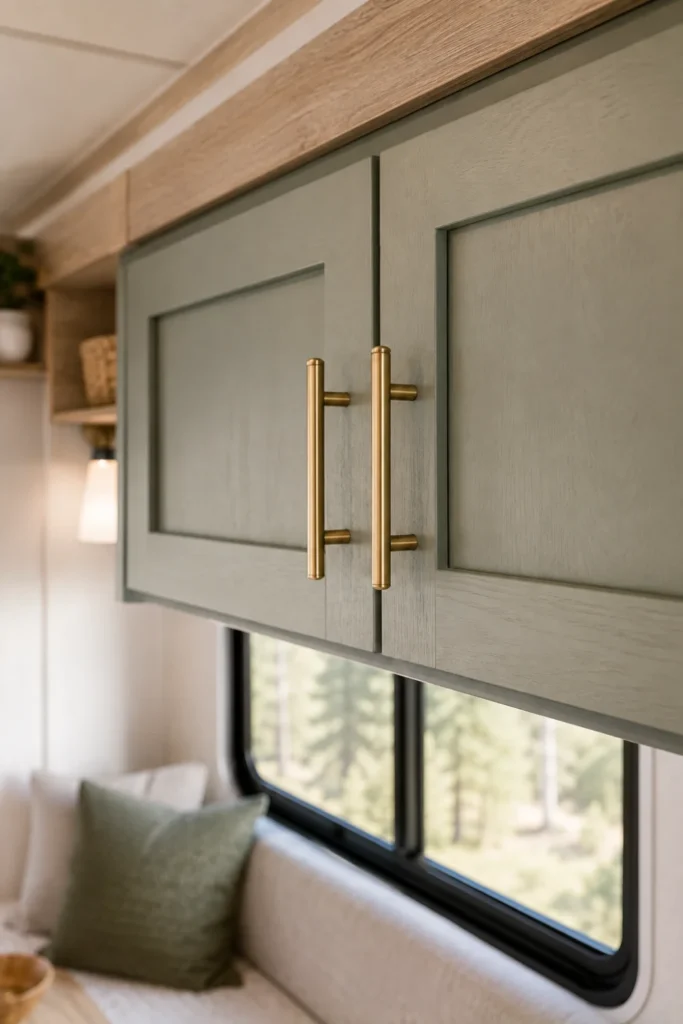
Factory camper cabinetry often features flimsy, generic black plastic or stamped nickel knobs that feel cheap to the touch. Swapping these for solid brushed brass or matte iron hardware provides an instant tactile upgrade across your kitchen and bedroom.
Standard RV cabinet doors usually use 3-inch center-to-center hole spacing, making it easy to swap handles using a single screwdriver.
- Check that the screw length matches the thinner 1/2-inch RV cabinet door thickness so screws do not poke through the inside faces.
- Ensure the new hardware clears adjacent drawer fronts and slide-out moldings when opened.
12. Line Bedroom Accent Walls with Peel-and-Stick Grasscloth
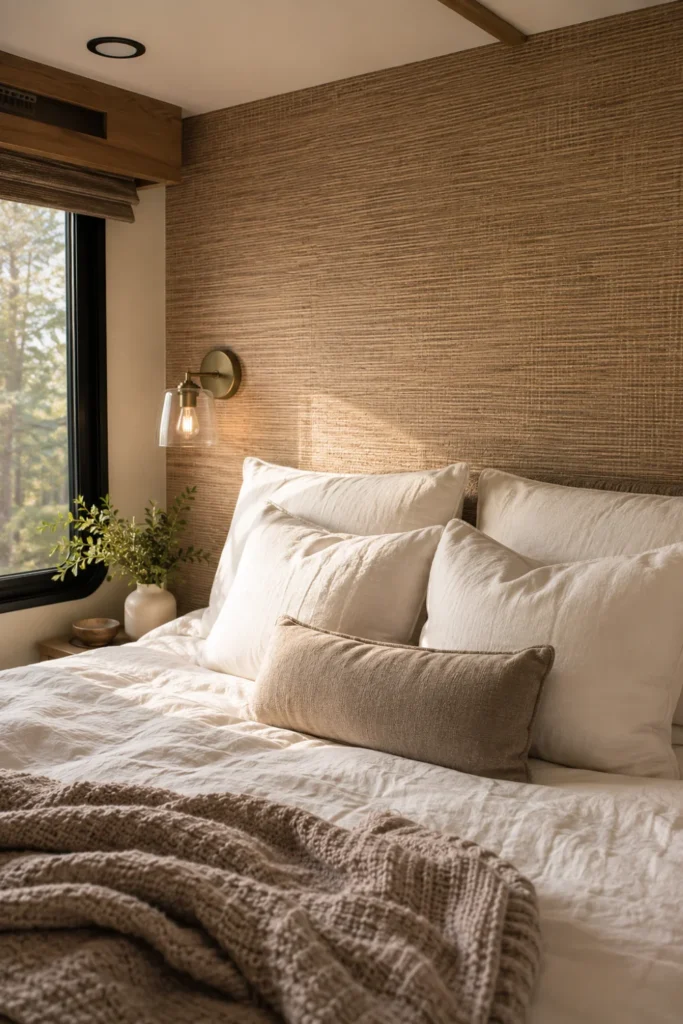
Camper bedrooms can feel claustrophobic when surrounded by four identical faux-woodgrain walls. Adding peel-and-stick faux grasscloth wallpaper behind the headboard creates an organic accent wall that adds depth and warmth to the sleeping nook.
High-grade vinyl grasscloth provides realistic weave textures while remaining easy to wipe down and resistant to humidity shifts.
Flat, monotonous vinyl paneling with visible seam battens that feels enclosed and uninviting.
Textured, dimensional headboard accent that grounds the bed and visually deepens the sleeping quarters.
Use a felt-edged smoothing squeegee during application to work out air pockets without tearing the printed texture.
13. Strap a Woven Rope Storage Basket Beneath the Dinette Bench
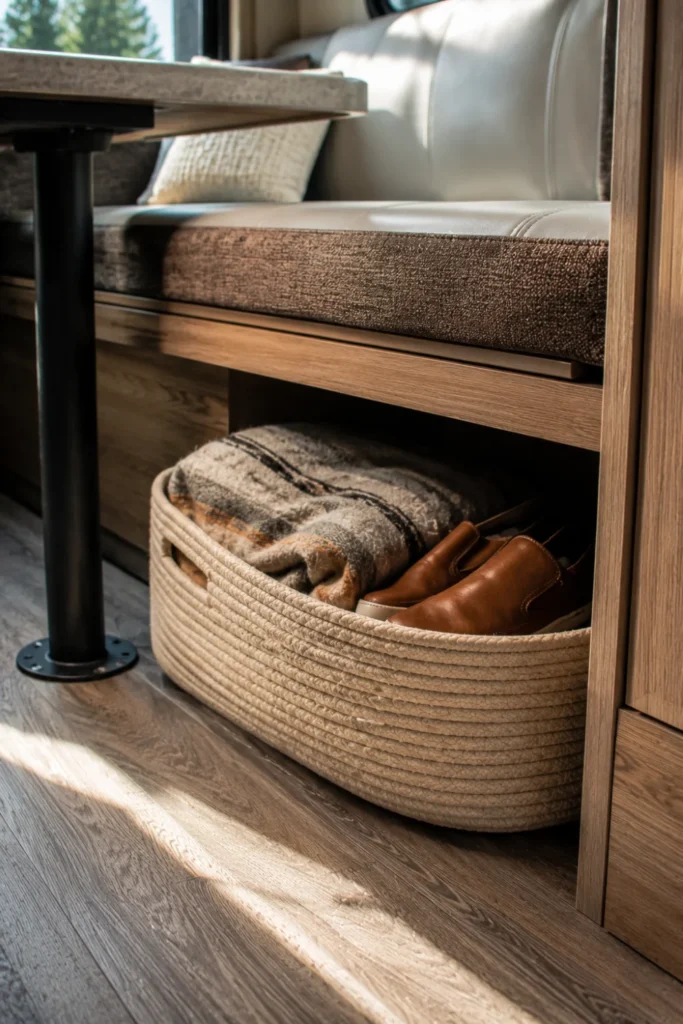
The open floor area under dinette tables often turns into an unorganized pile of shoes, dog leashes, and loose gear. A flexible coiled-cotton basket keeps everyday items corralled while adding a pleasant, casual texture to the dining booth.
Soft rope baskets are forgiving on bare shins and will not scuff furniture panels as you slide in and out of the booth.
What to Stash in the Floor Basket
Secure the back handle of the basket to the dinette base with an elastic bungee loop to keep it from sliding during turns.
14. Add Amber Glass Soap Dispensers Mounted with Rustproof Caddies
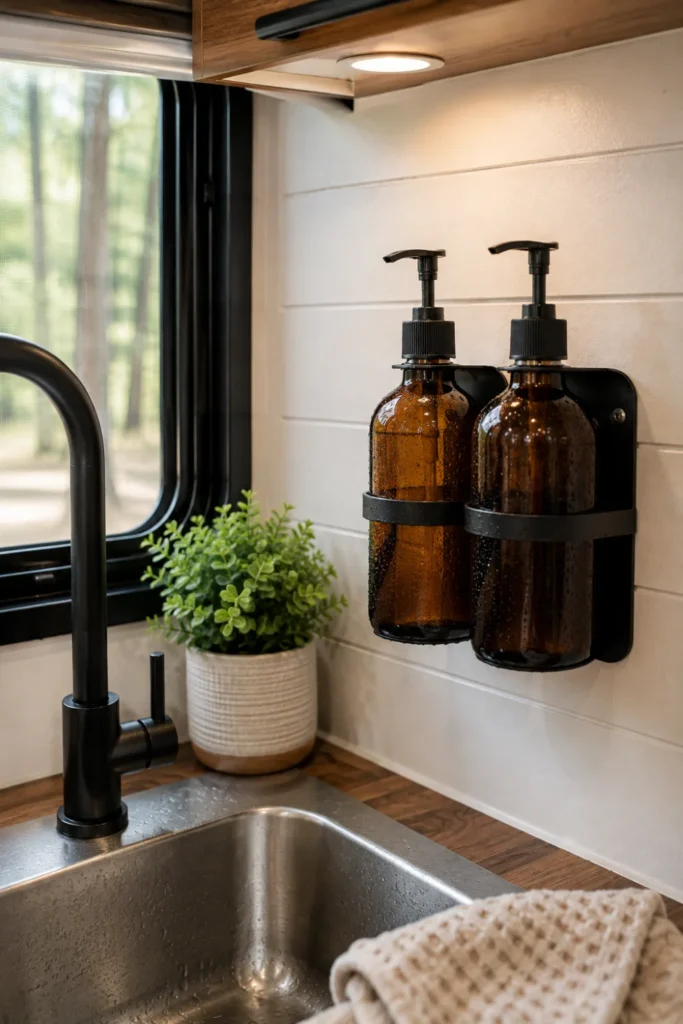
Brightly branded, disposable plastic dish soap bottles make camper counters feel messy and cluttered. Wall-mounted amber pump bottles create a cohesive apothecary look while keeping cleaning supplies fixed during travel days.
Wall-mounted bottle holders eliminate the need to pack up counter bottles every time you prepare to hitch up.
Choose shatterproof amber PET plastic or silicone-sleeved glass bottles.
Use lockable twist-down pumps that will not pump soap when bouncing.
Avoid free-standing ceramic bottles that slide off sinks during transit.
Skip uncoated metal brackets that corrode in damp RV bathrooms.
- Mount the bracket using waterproof adhesive backing plates for a drill-free installation.
- Label bottles with minimalist waterproof vinyl decals for dish soap, hand wash, and lotion.
15. Soften the Entryway Step Well with a Custom Cut Coir Mat
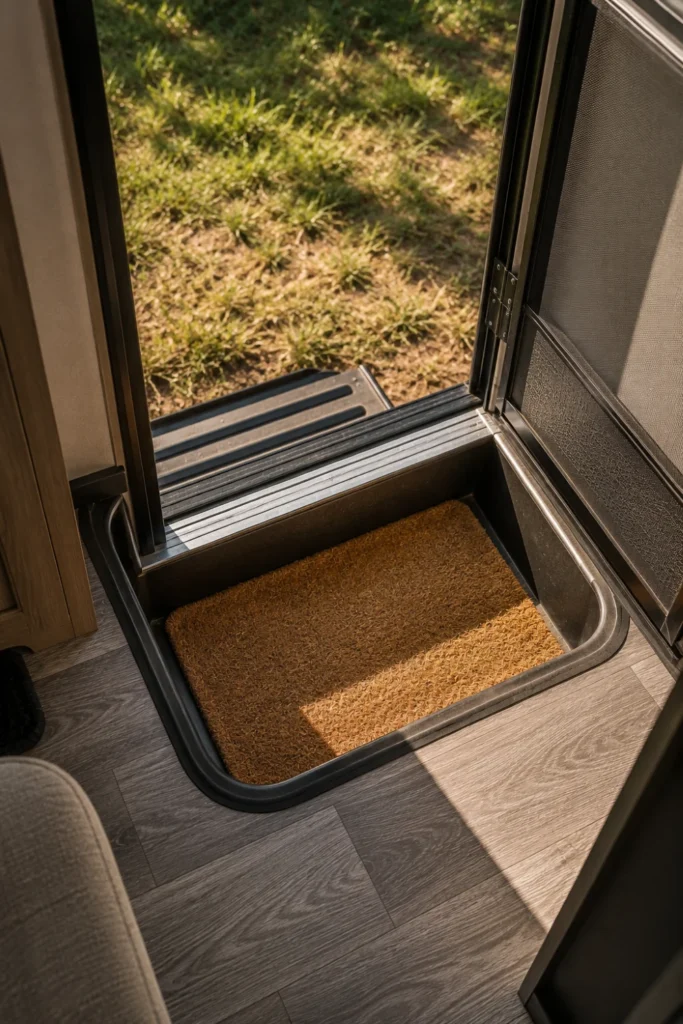
The recessed metal entry stairs of a travel trailer or motorhome are functional but look industrial and collect mud fast. Trimming a slim natural coir or rubber-backed ribbed mat to fit the step well catches debris right at the threshold.
This simple addition warms up the entryway view the second you unlock the screen door.
Trace the shape of the step well tread onto heavy cardboard as a cutting template.
Cut the coir mat backing smoothly using a sharp utility knife on a scrap board.
Fasten the underside corners with heavy-duty outdoor velcro for easy shake-outs.
Select a low-pile mat so the folding entry door threshold clears the step without dragging or binding.
16. Tuck Faux Eucalyptus Sprigs into Ceramic Wall Pockets
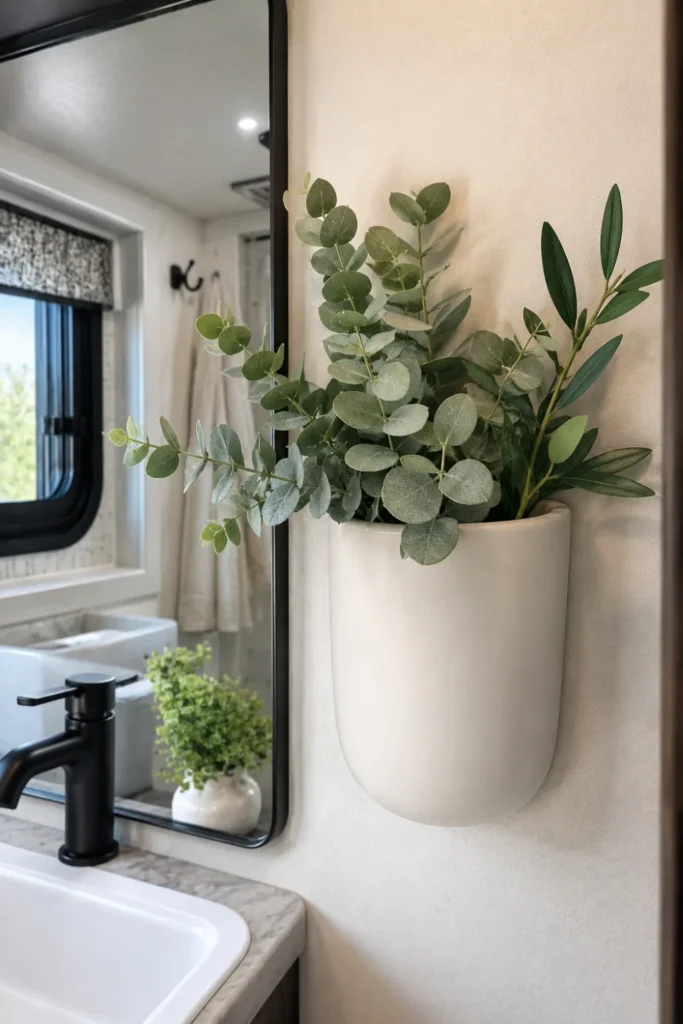
Real houseplants struggle in RVs due to shifting sunlight levels, dry heating cycles, and rough driving conditions. Flat-backed ceramic wall pockets holding realistic faux greenery add fresh plant life without taking up valuable counter real estate.
Wall planters bring the outside in while keeping tables clear for cooking, working, and dining.
- Look for faux stems with frosted, matte leaves like silver dollar eucalyptus, olive branch, or cedar.
- Secure the stems inside the pocket using a dab of floral putty to stop them from bouncing out on the highway.
17. Drape a Washed Waffle-Weave Coverlet Over the Master Bed
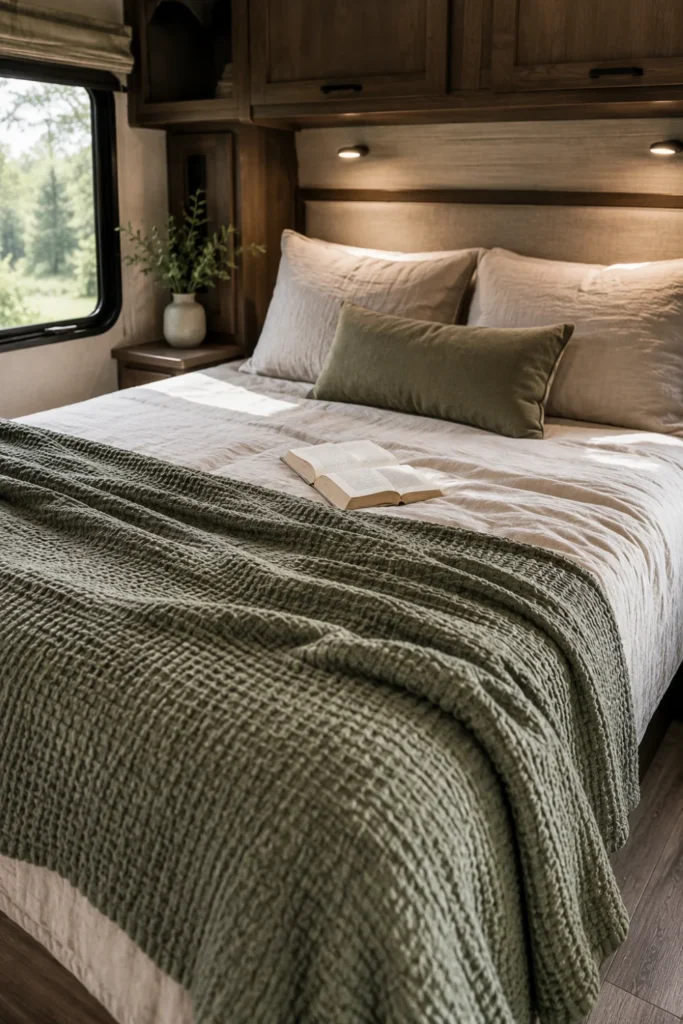
Factory camper beds often come dressed in slick, stiff polyester bedspreads that slide off the mattress overnight. Replacing that factory comforter with a breathable, pre-washed cotton waffle-weave coverlet transforms the master bedroom into a welcoming retreat.
Waffle textures hide wrinkles naturally and provide just enough weight without overheating during mild summer boondocking nights.
Always tuck your coverlet tightly around the lower foot corners of the mattress before pulling in your bedroom slide. This prevents loose fabric from catching in slide-out seals and mechanical rollers.
- Choose an oversized king or queen blanket to fully cover the short RV mattress base.
- Fold a chunky knit throw horizontally across the foot of the bed for layered texture.
- Add two standard-sized textured shams to support your back during morning coffee in bed.
Making your camper feel like a cozy, grounded retreat does not require a complete teardown or thousands of dollars in custom cabinetry. By focusing on tactile fabrics, warm directional lighting, and secure travel-friendly accents, these rv decorating ideas let you build an inviting home on wheels that travels comfortably anywhere you go.
Save this list to your RV decor board for the next time you are ready to refresh your camper before your next road trip.

