
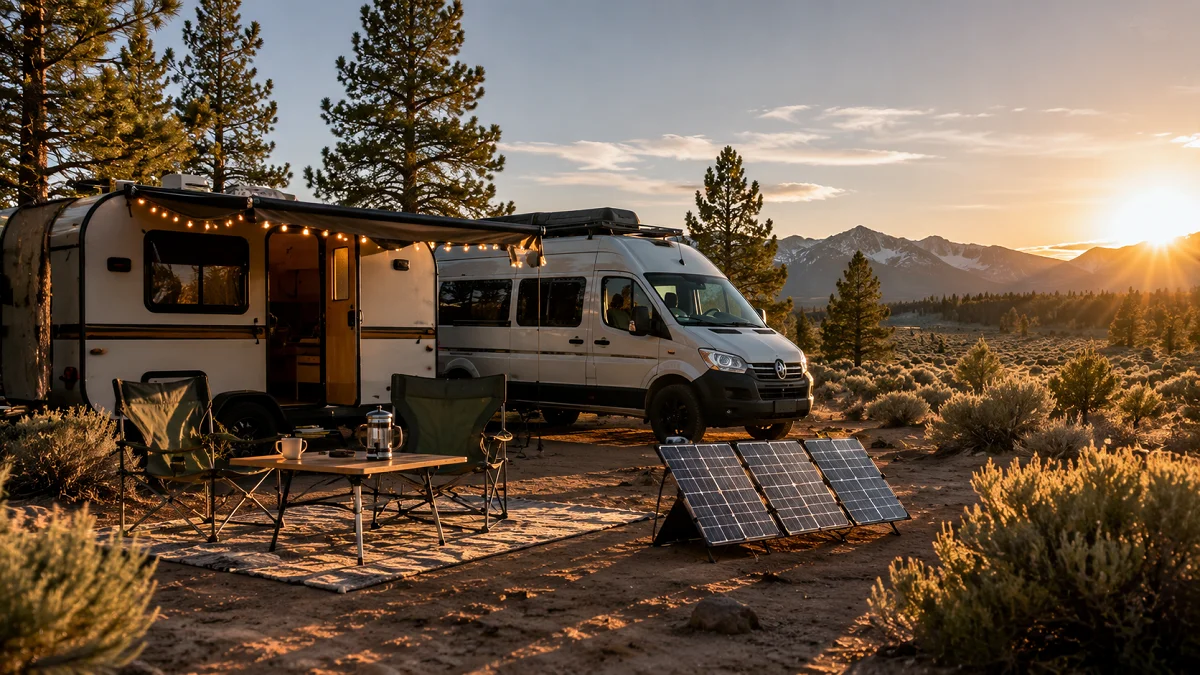
Camping away from crowded parks gives you quiet mornings, open views, and total privacy. The catch is simple: when you pull onto public land, you bring only what your tanks hold and your battery banks store.
Many campers run their house batteries down to zero on the second night, or fill up their gray tanks before the weekend is even half over. Off-grid camping should not feel like an exercise in self-denial.
A few targeted adjustments will make your rig comfortable for a week on public land without requiring a noisy generator. These field-tested rv boondocking ideas focus on cutting power draw, saving water, and keeping your interior clean and comfortable.
1. Install an Aerated Low-Flow Showerhead to Stretch Freshwater Reserves
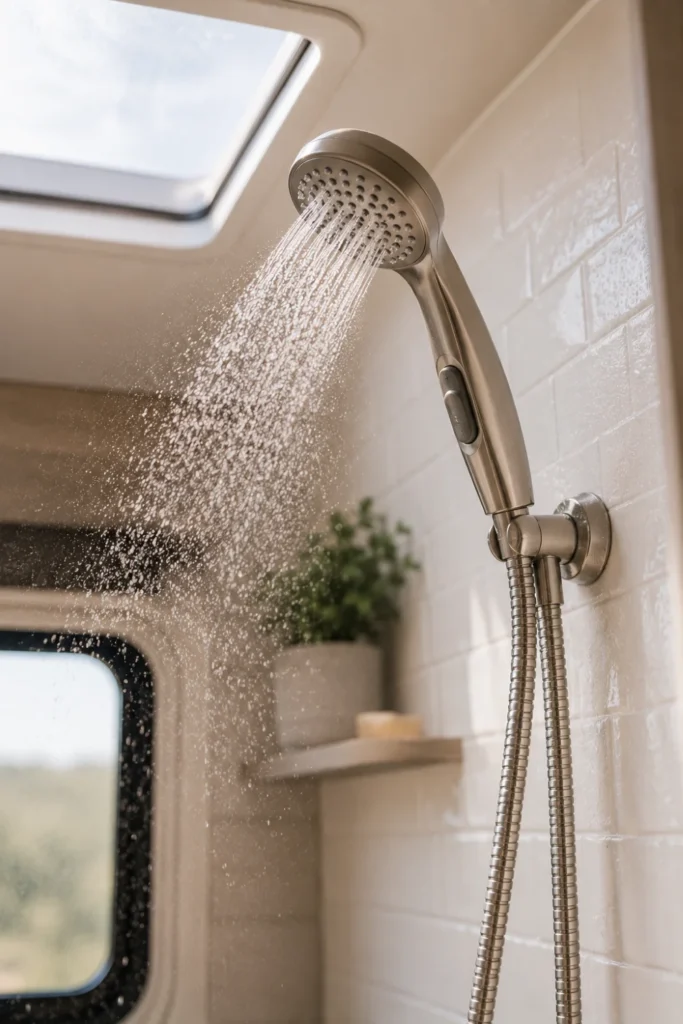
Standard RV showerheads pump out over two gallons per minute. That flow rate will drain an average forty-gallon freshwater tank in less than four showers, leaving you dry for dishes and cooking.
Replacing the factory head with an aerated model mixes air into the water stream to maintain pressure while cutting volume in half. Look for a unit with a physical trickle switch right on the wand.
Turn the water on to wet down, flip the trickle switch to pause while lathering, and flip it back on for a fast rinse. You will cut your shower consumption down to roughly one gallon total.
2. Build a Reflective Window Insulation Kit for Fast Temperature Control
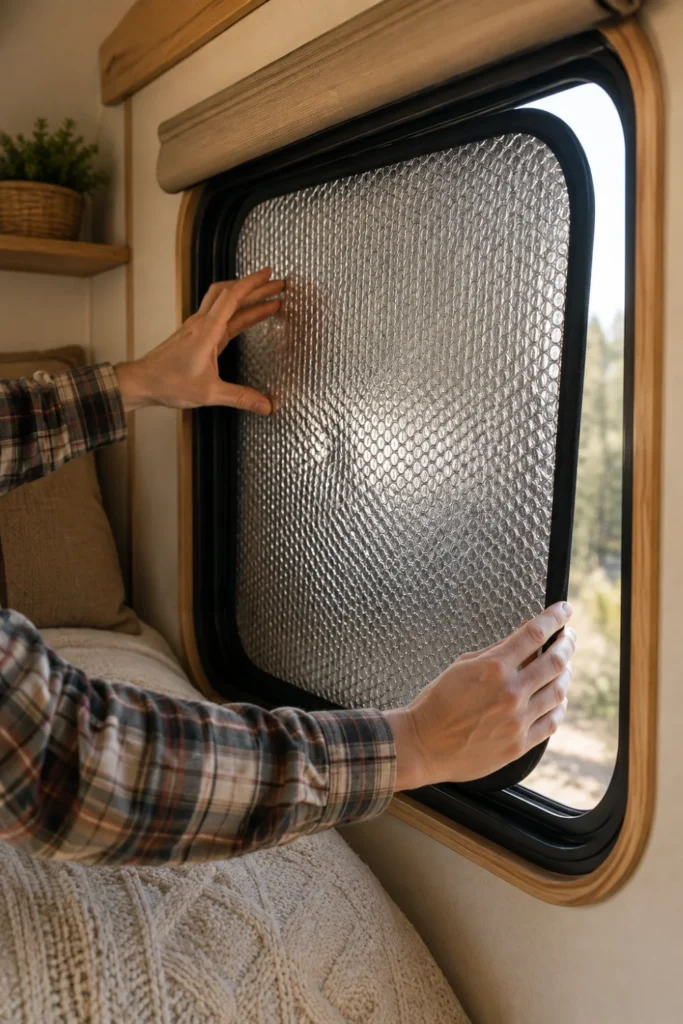
Single-pane RV glass radiates summer heat directly into your living area and pulls interior warmth out during cold desert nights. Relying on your furnace fan will kill a battery bank overnight.
Custom radiant barrier inserts block radiant heat before it penetrates your rig. Buy a roll of foil bubble insulation, measure your window frames with a tape measure, and cut each panel slightly oversized for a friction fit.
Window Cover Supply Checklist
Face the shiny side out during blazing summer afternoons to bounce sunlight away. Flip the foil inward on freezing nights to reflect your body heat back into the cabin.
3. Switch to a 12-Volt Portable Fridge to Bypass Inverter Idle Draw
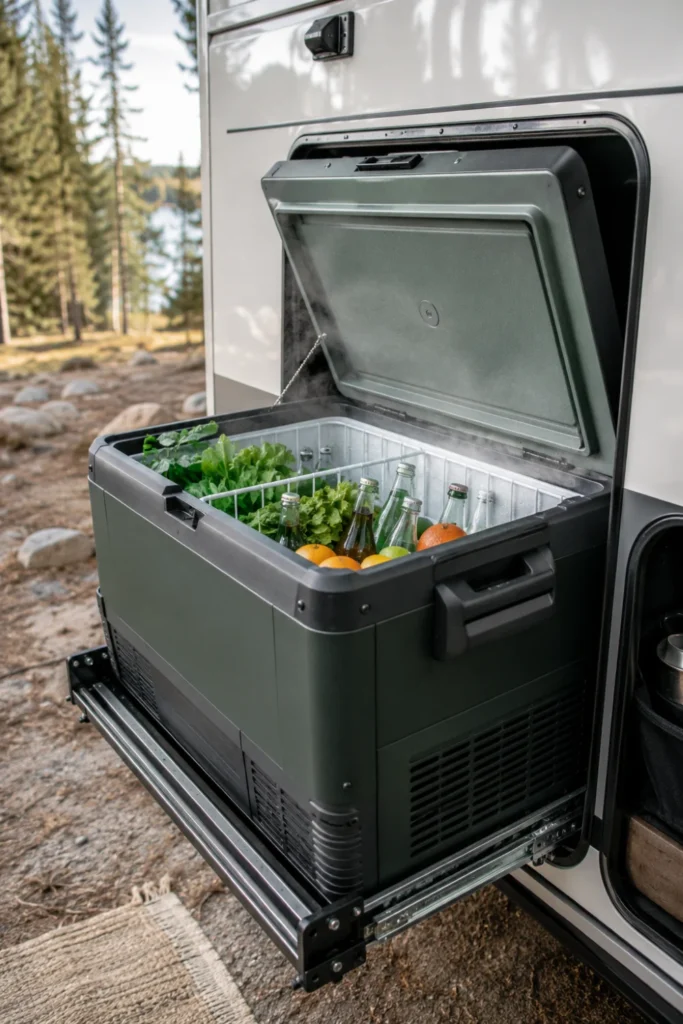
Running a 120-volt residential refrigerator through a power inverter wastes energy through constant phantom loads. The inverter burns battery power simply staying powered on, even when the compressor is resting.
A dedicated 12-volt compressor chest fridge plugs directly into your DC socket, pulling power only when cycling. It keeps meats and vegetables safely cold at a fraction of the daily amp-hour cost.
| Feature | Inverter + 120V Fridge | 12V Dedicated Fridge |
|---|---|---|
| Idle Power Loss | High (15-30W continuous) | Zero (direct DC line) |
| Daily Battery Drain | 80-120 Amp-hours | 25-45 Amp-hours |
| Off-Grid Reliability | Requires large solar setup | Runs easily on 100W panel |
Keep your chest fridge in an exterior storage bay or secured in the dinette. You can set it to sub-zero freezer temperatures for long trips or run it as a regular cold bin.
4. Position a Portable Solar Suitcase to Track Moving Afternoon Sunlight
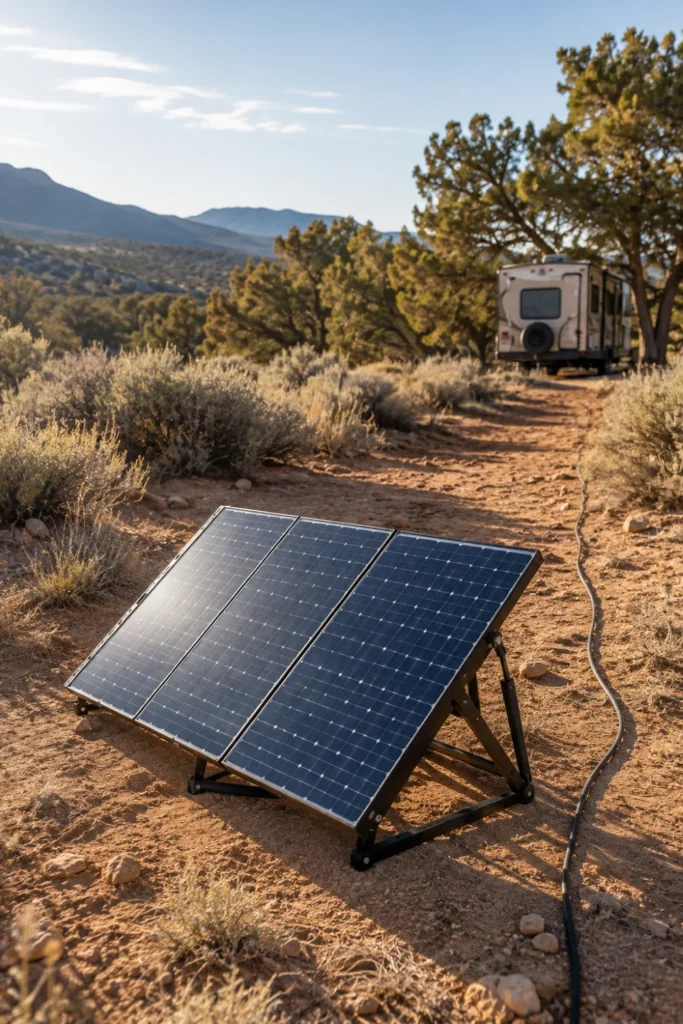
Rooftop solar panels are stationary. If you park your camper in the cool shade of pine trees to beat the summer heat, your roof panels will generate almost zero power.
A folding portable solar panel on a twenty-foot extension lead lets you park the camper in full shade while moving the collectors into open light.
Adjust the tilt legs three times daily to face the sun squarely.
Lock the frame to your RV bumper with a braided steel cable.
Do not lay panels flat on ground brush where shadows cover one cell.
Do not run thin 16-gauge wire over long distances due to voltage drop.
Reposition the panel twice a day: once facing southeast in the morning, and once angled southwest around two in the afternoon. That adjustment alone boosts daily harvest by twenty percent.
5. Pack a Countertop Gravity Water Filter for Endless Drinking Supply
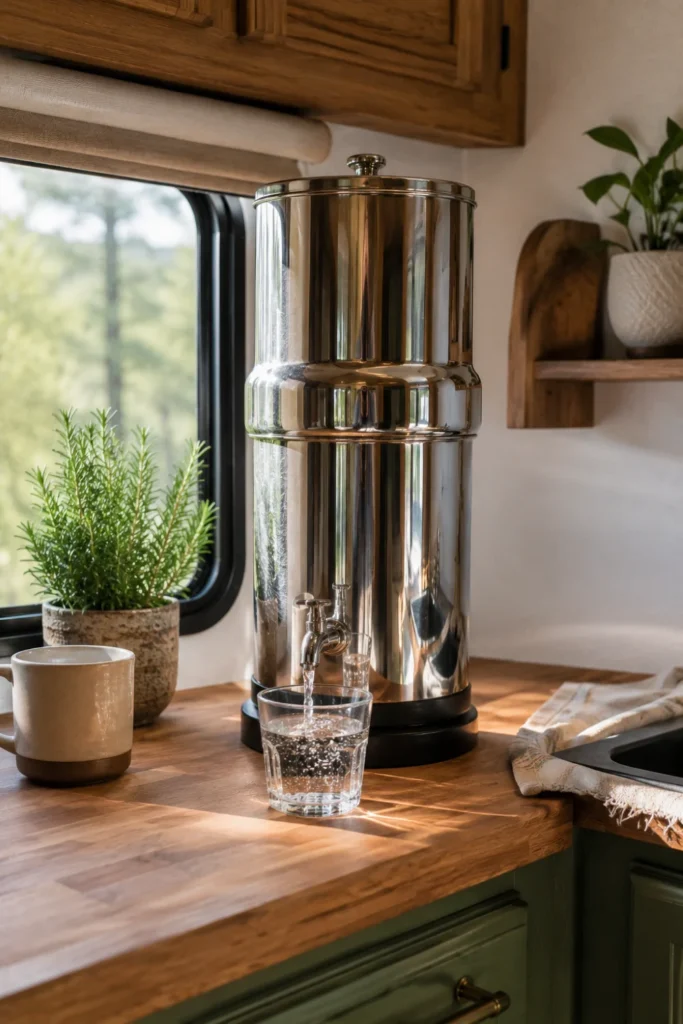
Hauling plastic jugs of drinking water eats into your cargo carrying capacity and fills your trash can fast. Relying solely on the water in your freshwater tank can also be risky if algae or tank sediment develops.
A stainless steel gravity filter lets you pour creek water, lake water, or unverified spigot water into the top chamber and get clean drinking water out the bottom spigot.
💡 Priming Tip
Prime your micro-pore purification elements under house tap pressure before packing. Dry filters out of the box will trickle water very slowly until thoroughly saturated.
Set the filter canister on your galley counter while parked. Top it off every evening before bed, and you will have several gallons of cold drinking water ready every morning.
6. Mount USB-Rechargeable Puck Lights to Keep House Batteries Untouched
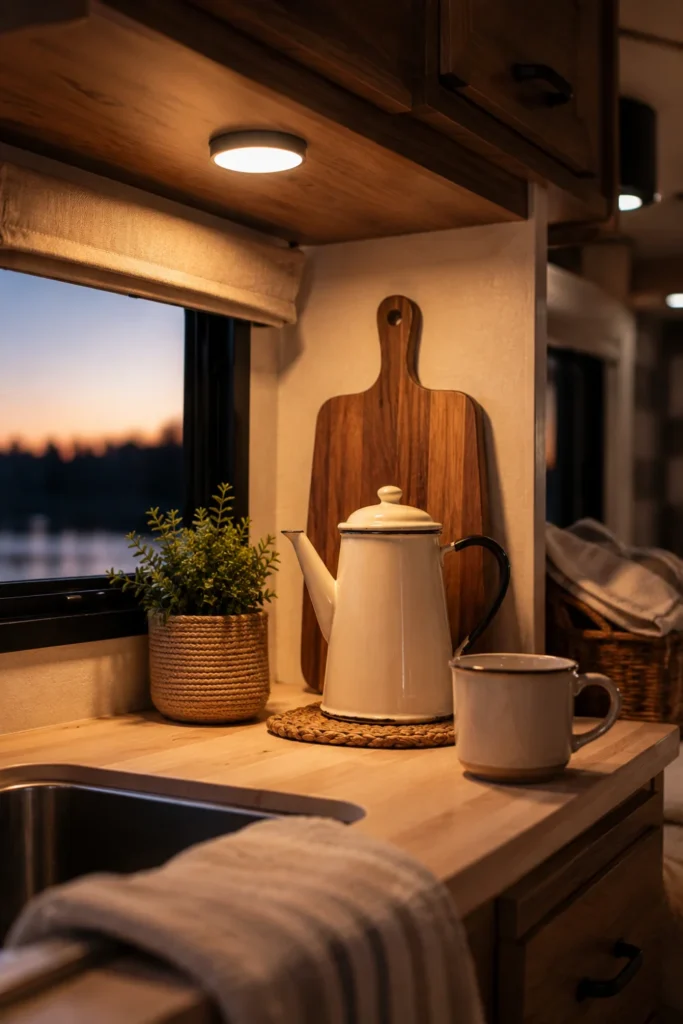
Factory 12-volt ceiling lights draw power directly from your house bank. While LED bulbs draw less current than old incandescent bulbs, running six of them every evening steadily lowers your resting battery voltage.
Magnetic, USB-chargeable puck lights run on their own internal batteries. You charge them from your vehicle cab while driving and stick them throughout the camper at camp.
Stick the adhesive steel plates to your ceiling panels, pantry walls, and bathroom doorway. When the light dims, pull the puck down and plug it into a solar power bank.
7. Pre-Cook One-Pot Base Meals at Home to Slash Camp Dish Water
Washing greasy pots, spatulas, and saucepans burns through more fresh water than brushing teeth and taking showers combined. Cooking heavy meats in camp also fills your gray tank with food grease that can clog tank sensors.
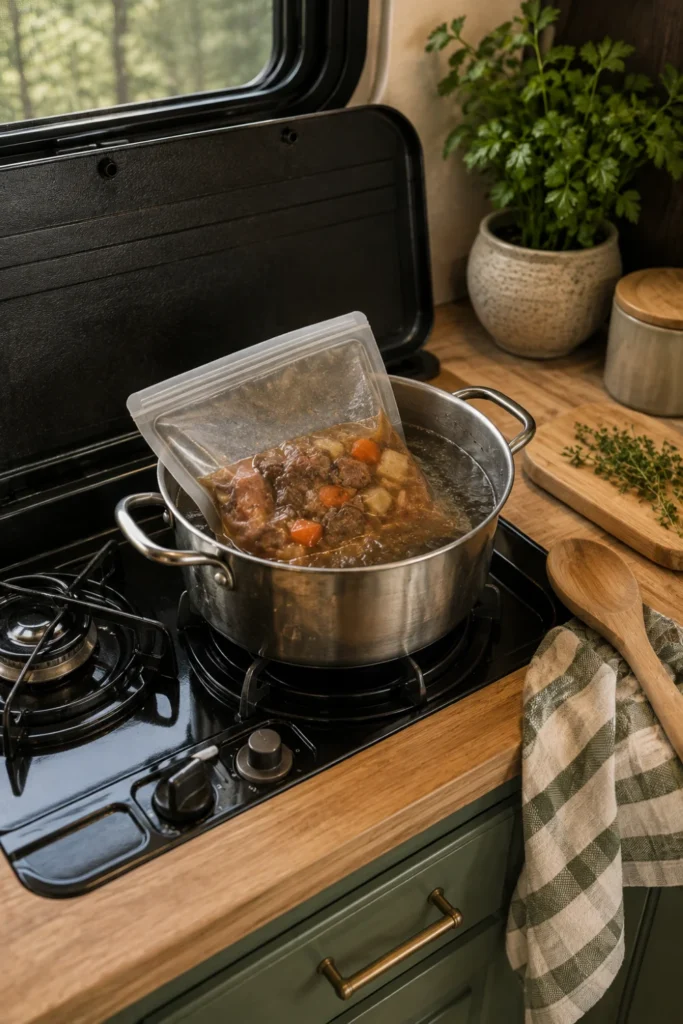
Prepare meal bases like shredded carnitas, hearty stews, and chili in your home kitchen. Freeze them flat in heavy-duty silicone bags before loading your camper fridge.
Drop frozen flat meal bags into a shallow pot of simmering water to reheat.
Serve food onto wax paper-lined enamel plates for zero plate scrubbing.
Wipe forks clean with a vinegar mist spray and a dry paper towel.
The water in your heating pot stays spotless and clean. You can pour it directly into your coffee kettle or use it to wash your hands afterward.
8. Use a Collapsible Wash Basin System to Repurpose Gray Water
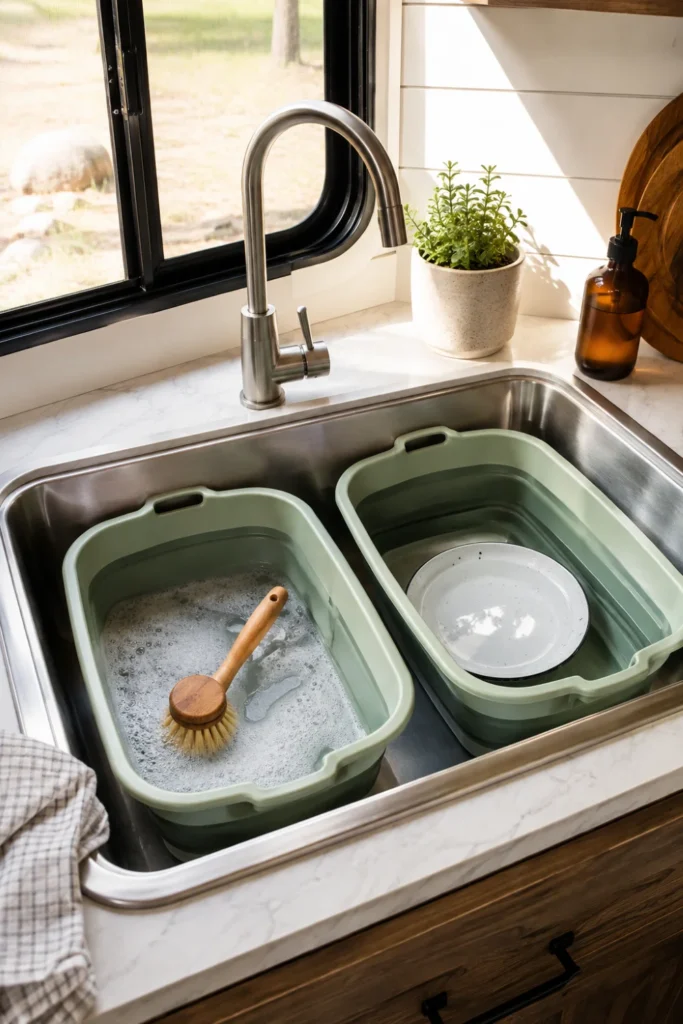
Letting dishes rinse under open sink faucets fills up your small gray tank in two or three days. When the gray tank backs up into your shower pan, your boondocking trip comes to a quick end.
Setting two small silicone basins into your sink creates an efficient two-stage washing station. Use one tub for soapy hot water and the second for clean rinse water.
Drains 4 to 6 gallons straight into the closed gray tank during every dinner cleanup, filling tanks rapidly.
Uses under 3 quarts of water total. Dirty wash water is gathered and dumped into the toilet bowl to save gray space.
Because your black tank fills much slower than your gray tank, dumping soapy dish wash directly down the toilet balances your tank capacities evenly over the week.
9. Fit Reversible Roof Vent Covers for Continuous Airflow During Rain
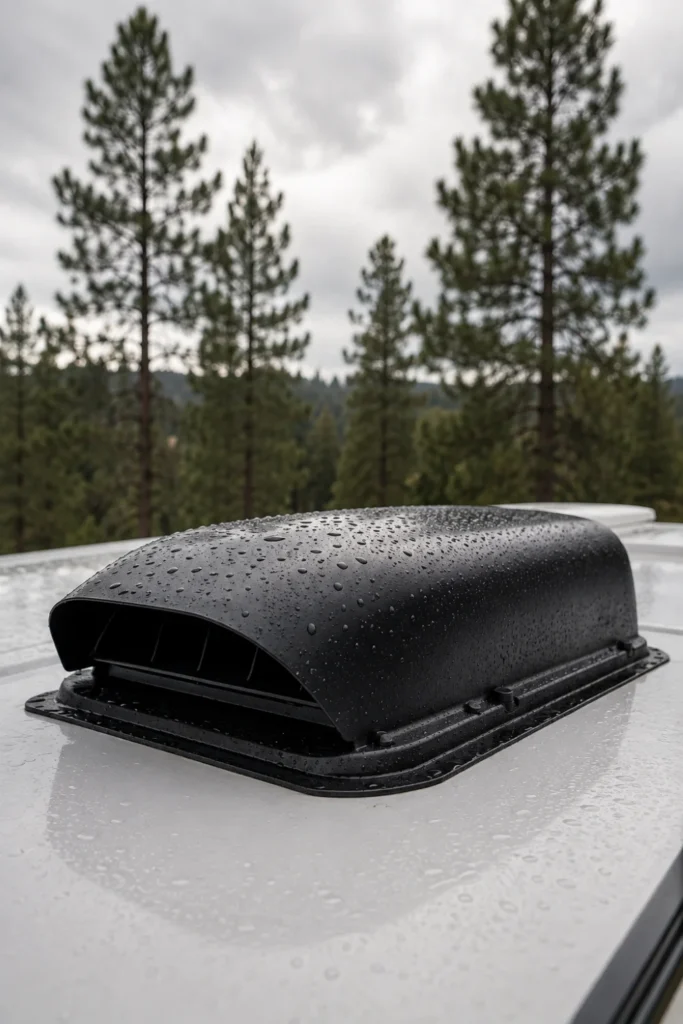
Moisture from breathing and cooking builds up inside a sealed RV very quickly. On rainy afternoons when you are stuck inside, closed roof vents trap moisture and cause damp walls, fogged glass, and stuffy air.
Aerodynamic vent covers install over your existing roof vents, forming a sheltered hood over the opening.
📌 Good To Know
Cracking your hooded roof vent three inches while running the fan on low draws moist cooking air out without letting rainfall inside, even during heavy summer thunderstorms.
Leave your roof vents cracked open all day while you are away hiking or fishing. The vents will maintain airflow through the cabin without letting sudden rain soak your upholstery.
10. Mount External Cell Booster Antennas on a Telescoping Flagpole Mount
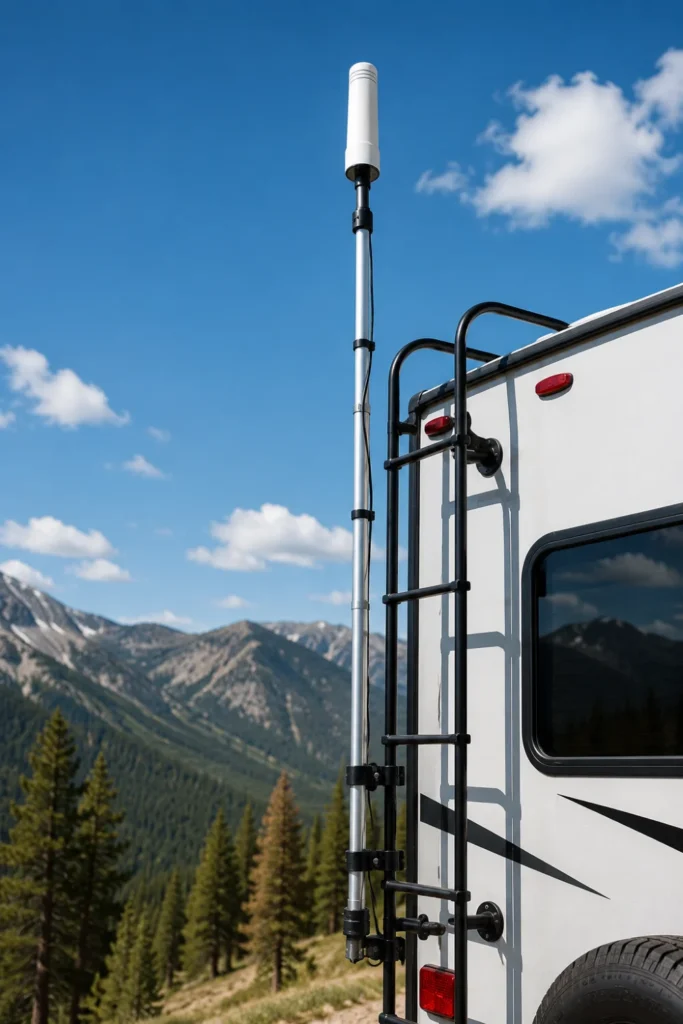
Remote dispersed campsites are often tucked down in valleys or canyons where cellular signals are weak. Keeping a cellular booster inside the RV cabin usually fails because aluminum siding and thick framing block the weak signal.
Mounting an omni-directional or directional booster antenna on an extendable pole raises the receiver ten to fifteen feet above your rig’s roofline.
Height delivers line-of-sight. Clearing tree lines and roadside berms turns an unusable one-bar connection into a stable data link.
Secure the telescoping pole to your rear ladder or trailer tongue jack using heavy rubber grip clamps. Run the shielded coaxial cable through a slide seal to your interior booster box.
11. Layer Natural Wool Floor Rugs Over Cold Bare RV Vinyl
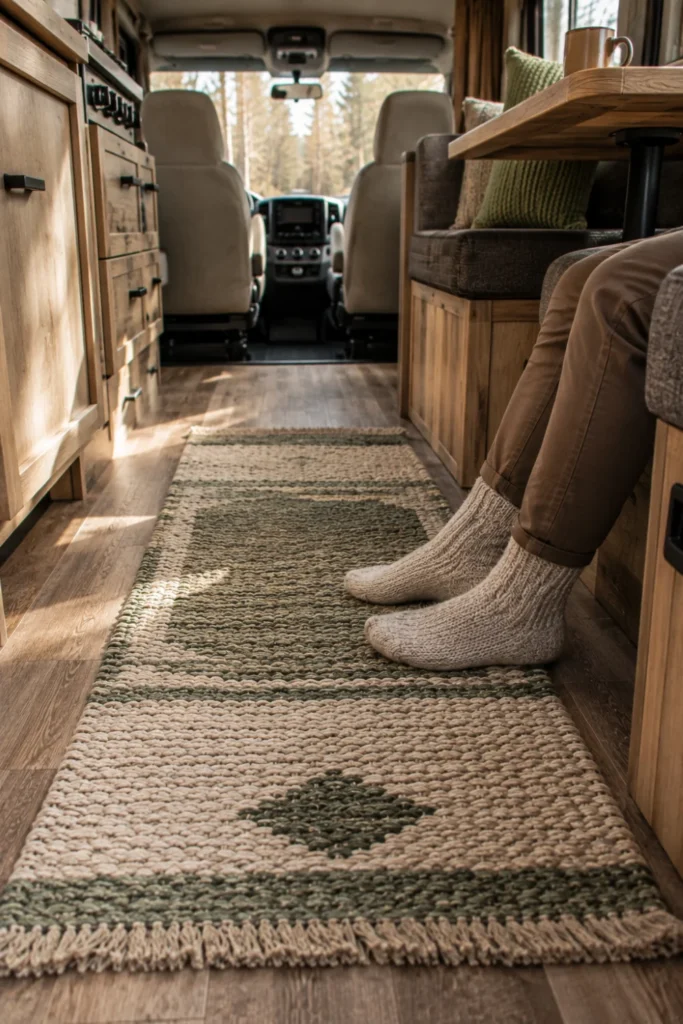
RV subfloors are built with minimal insulation over an open chassis frame. Cold air sweeps beneath your trailer, turning standard vinyl flooring into a giant cooling plate that pulls warmth right out of your feet.
Heavy woven wool rugs or thick natural fiber runners act as a thermal barrier between cold floors and your living space.
- ▸Galley Prep Alley: Traps falling sand and prevents bare feet from getting cold during morning prep.
- ▸Bedside Landing Zone: Stops cold air drafts from chilling your feet when stepping out of bed.
- ▸Main Cabin Center: Covers bare vinyl flooring to hold interior radiant heat during chilly nights.
Unlike synthetic rugs, wool fibers insulate even if dirt or moisture gets tracked in. Shake them outside over a rock once a day to keep your camper floor clean.
12. Upgrade to a Waterless Composting Toilet to Eliminate Black Tank Dumps
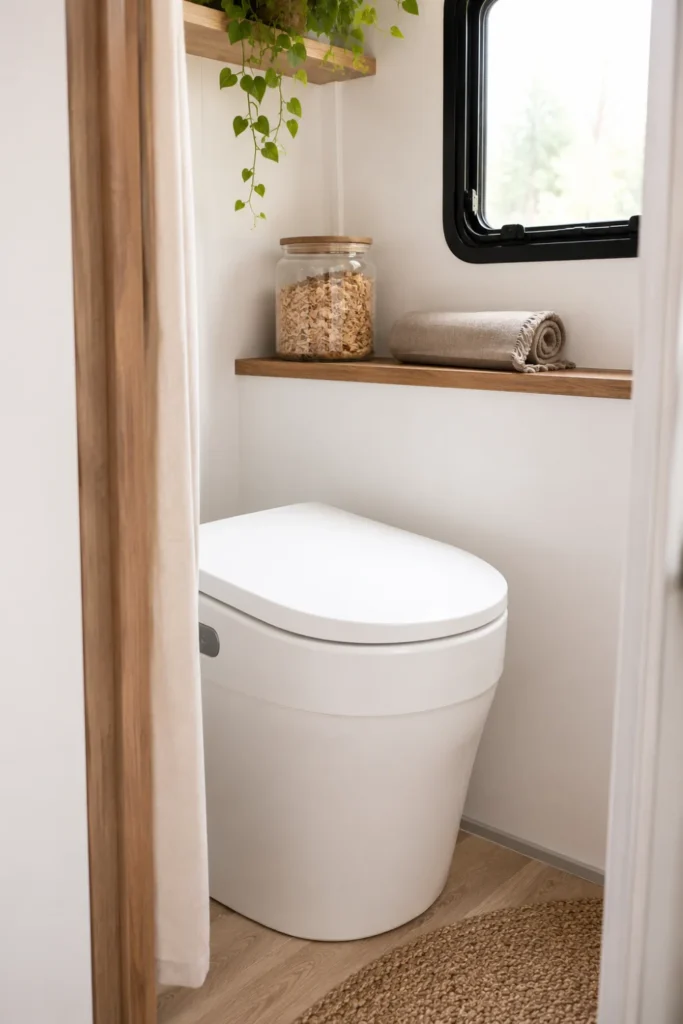
Traditional RV toilets use a quart of clean freshwater for every flush and require access to a sewer dump station every five to seven days. That dependency shortens off-grid trips more than any other system.
A urine-diverting composting toilet separates liquid from solid waste into two different compartments. Liquids drain into an easy-to-empty small bottle, while solids break down odor-free in dry organic coconut coir.
Prime the base bin with light, expanded coconut coir or fine pine shavings.
Run the tiny 12-volt exhaust vent fan continuously to maintain negative air draft.
Never let liquid urine cross into the solid composting chamber.
Do not add moist wipes or synthetic toilet papers that resist rapid breakdown.
With zero water required to flush, your freshwater supply lasts twice as long. The solid bin only needs emptying once a month for two campers.
13. Keep a Dedicated 12-Volt Tire Inflator in an Exterior Bay
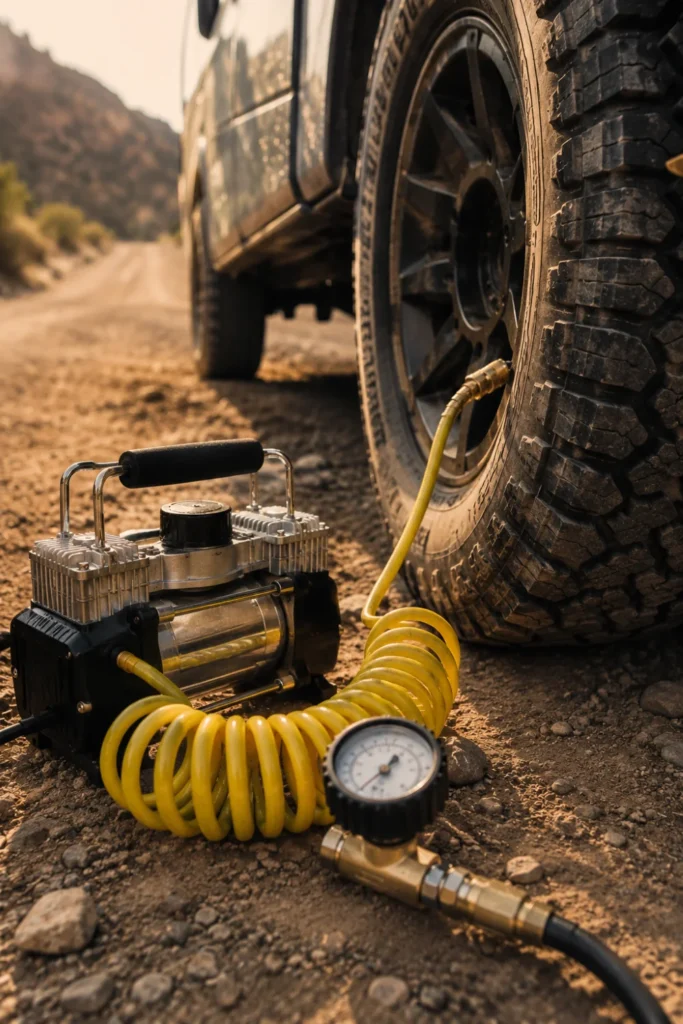
Corrugated dirt washboards and rocky fire trails will shake your RV interior loose. Dropping your tire pressure down fifteen percent smooths out rough forest roads and protects your trailer’s suspension from hard jolts.
Once you return to smooth asphalt, you must air those tires back up immediately to carry highway weights safely.
Trail Recovery Kit Contents
Avoid small cigarette-lighter inflators, which overheat on large trailer tires. Choose a heavy compressor that clamps directly onto your battery terminals with heavy alligator leads.
14. Fit Exterior Bug Screens Over Furnace and Water Heater Exhaust Vents
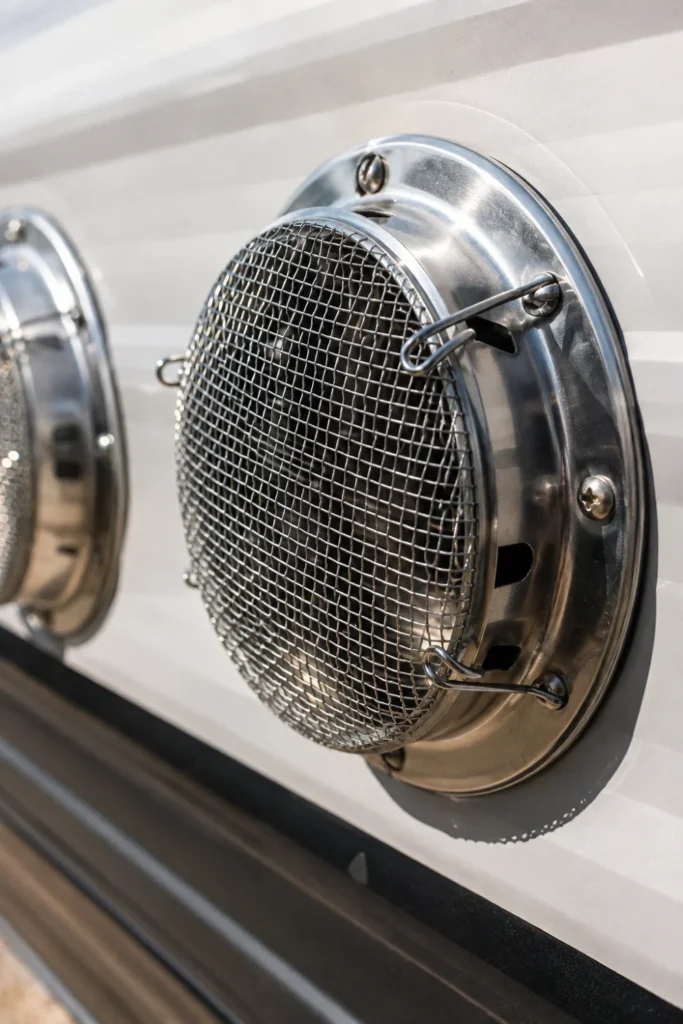
Mud daubers, wasps, and spiders are drawn to the scent of propane exhaust ports. When parked out in deep sagebrush or woods, insects can crawl inside your furnace burner tubes and build dense mud nests within forty-eight hours.
Those mud nests block internal air mixtures, causing your water heater or furnace to misfire, produce heavy soot, and trigger safety shutdowns.
Snap stainless steel mesh covers directly over your exterior louver plates using the included spring hooks. They allow gas ventilation while blocking nesting insects.
15. Run a Low-Amp 12-Volt Sirocco Fan Directly Over the Sleeping Area
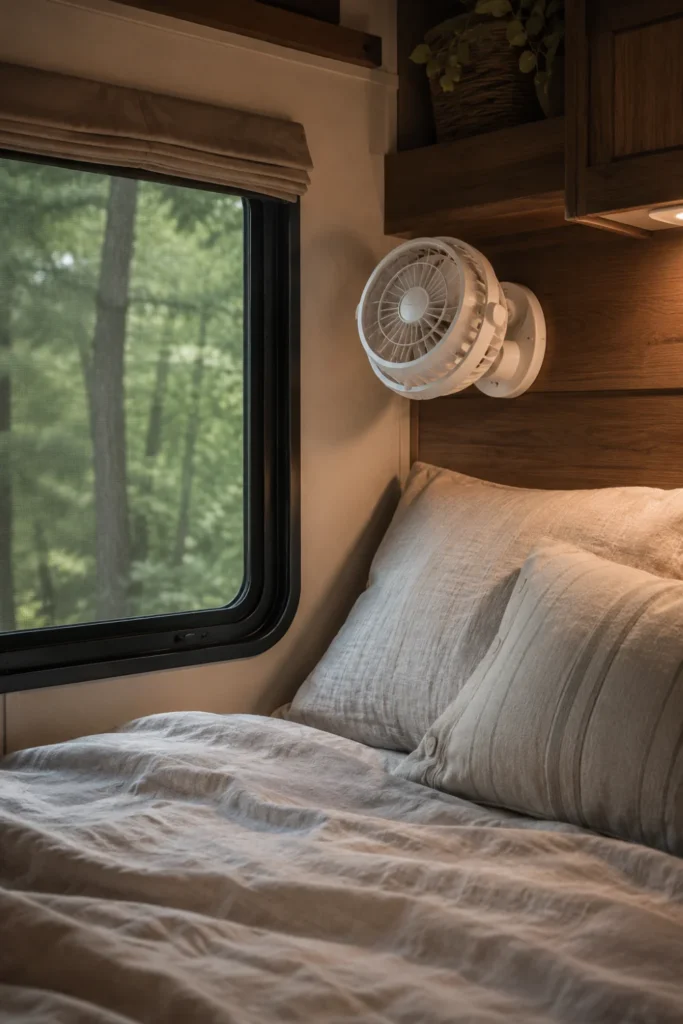
Running an air conditioner requires firing up a loud gas generator, which ruins the quiet experience of camping on open public land. Trying to sleep in a warm camper without air movement is equally tough.
Gimbal-mounted 12-volt marine fans draw less than 0.4 amps of current on medium settings. They swivel 360 degrees, allowing you to point a steady stream of air right over your mattress.
💡 Airflow Direction Tip
Angle the fan blades across your body toward an open, screened window. This setup pushes body heat out while pulling cool evening air across your bed.
Wire the fan into a nearby overhead 12-volt reading light circuit. You can run it all night long without putting a dent in your battery capacity.
16. Set Up a Flat Foldable Step Mat System to Stop Trail Dust at the Door
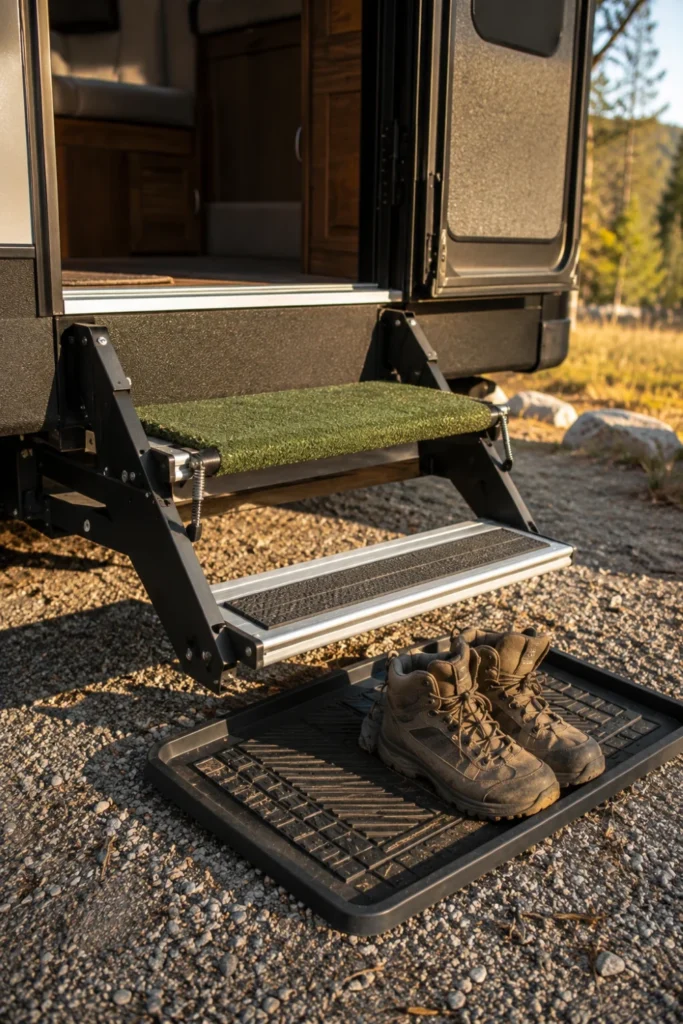
Dirt, pine needles, and dust blow across open campsites and get tracked onto your floor within minutes. Once grit works its way into your living area, it grinds down flooring materials and gets into bed sheets.
A two-stage entry mat system traps coarse mud on the outside step and catches fine silt right inside the threshold.
Wrap a textured artificial turf wrap around your steel entry step with tension springs. Place a rubber-backed tray inside the door where shoes come off immediately upon entering.
Setting up an off-grid campsite does not mean roughing it or cutting your trip short. Managing freshwater usage, cutting phantom battery loads, and controlling interior temperatures lets you stay out on public lands in total comfort.
Take your upgrades one system at a time, test them on a short weekend run, and dial in what works best for your camping style.
Save this list to your favorite Pinterest camping board so you have these upgrades ready before your next dispersed adventure.

