
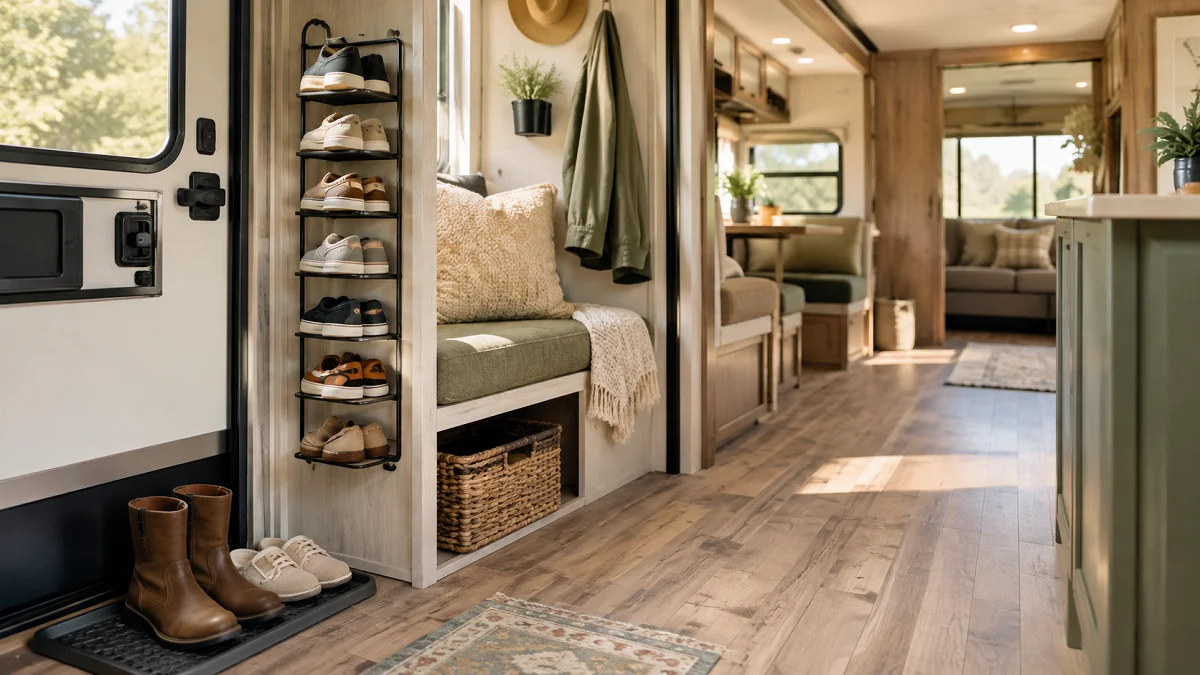
The shoe pile by the RV door can get out of hand surprisingly fast. A couple of pairs become a row of sneakers, sandals, boots, and flip-flops that slowly takes over the walkway. In a small RV, every inch of floor space matters, so letting shoes live on the floor usually creates more clutter than it is worth.
The good news is that you do not need a large shoe cabinet to fix the problem. The best RV shoe storage ideas use places that are already there, such as entry steps, doors, benches, narrow wall sections, and the space underneath furniture.
The ideas below focus on keeping shoes easy to grab without blocking the path. Some are quick weekend projects, while others can be adapted from simple organizers you may already have.
1. Turn the RV Entry Steps Into a Hidden Shoe Station
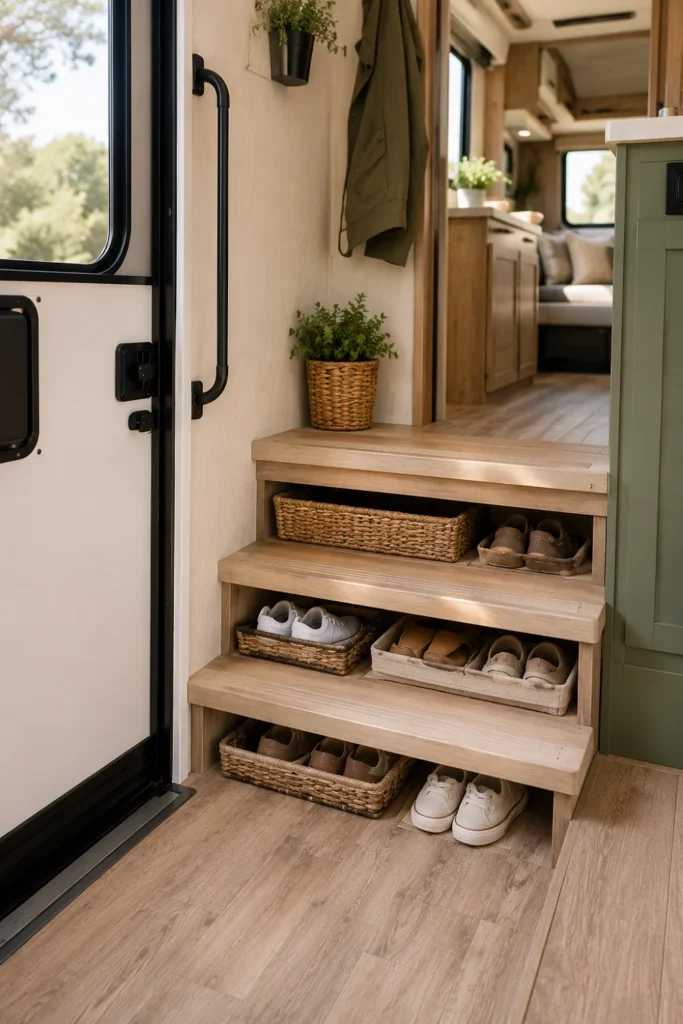
That little space around the RV entry steps often becomes a natural landing spot for shoes. Instead of letting footwear spread across the floor, use the area as a compact storage zone.
Measure the step depth first, then look for shallow baskets, fabric cubes, or a small pull-out container that fits underneath. Keep the pairs you wear most often here, while bulky hiking shoes and seasonal boots can live somewhere else.
A small label on each container can also help when several people share the RV.
Keep the entry area limited to everyday pairs. Once it starts filling up, move rarely used shoes to another storage spot.
2. Hang a Slim Shoe Organizer on the Entry Door
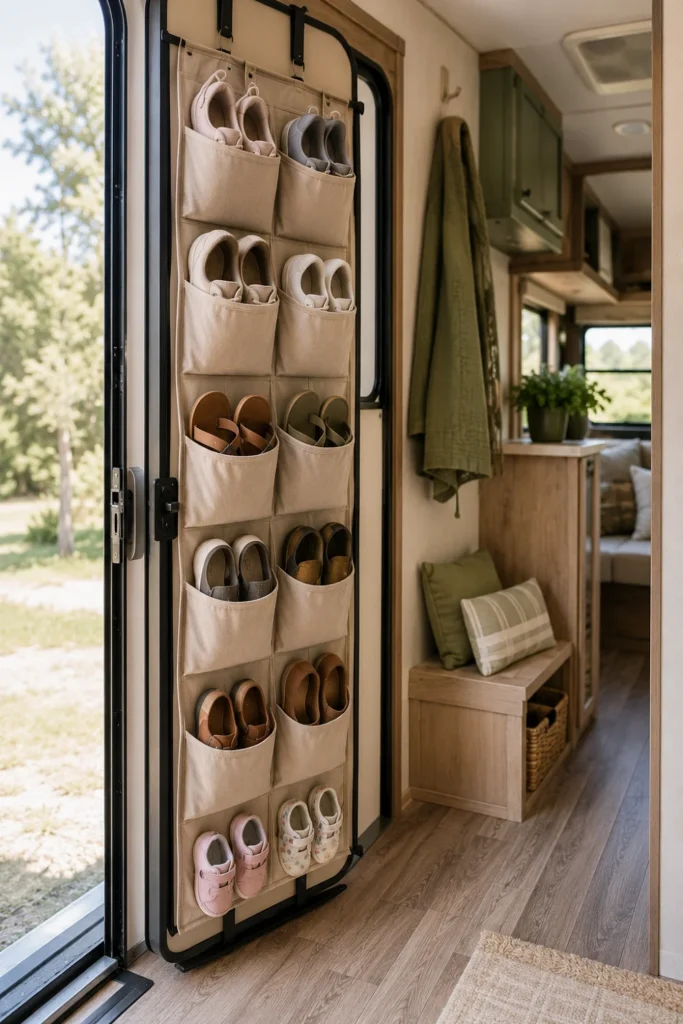
The inside of the RV entry door is easy to overlook because it is usually hidden when the door is open. A slim hanging organizer can turn that unused surface into several small shoe pockets without taking up walking space.
Choose a lightweight organizer with narrow pockets rather than a deep fabric model. Test the door before filling every pocket, since extra weight can make the door harder to open and close.
This works especially well for sandals, slippers, children’s shoes, and lightweight sneakers.
Quick tip: Keep the heaviest footwear out of the door organizer. Boots can put unnecessary strain on the hanging hardware.
💡 Quick Tip
Use the upper pockets for smaller footwear and reserve the lower pockets for slightly larger pairs. Keep the organizer light enough that the entry door still swings normally.
3. Slide a Low Shoe Drawer Under the Dinette
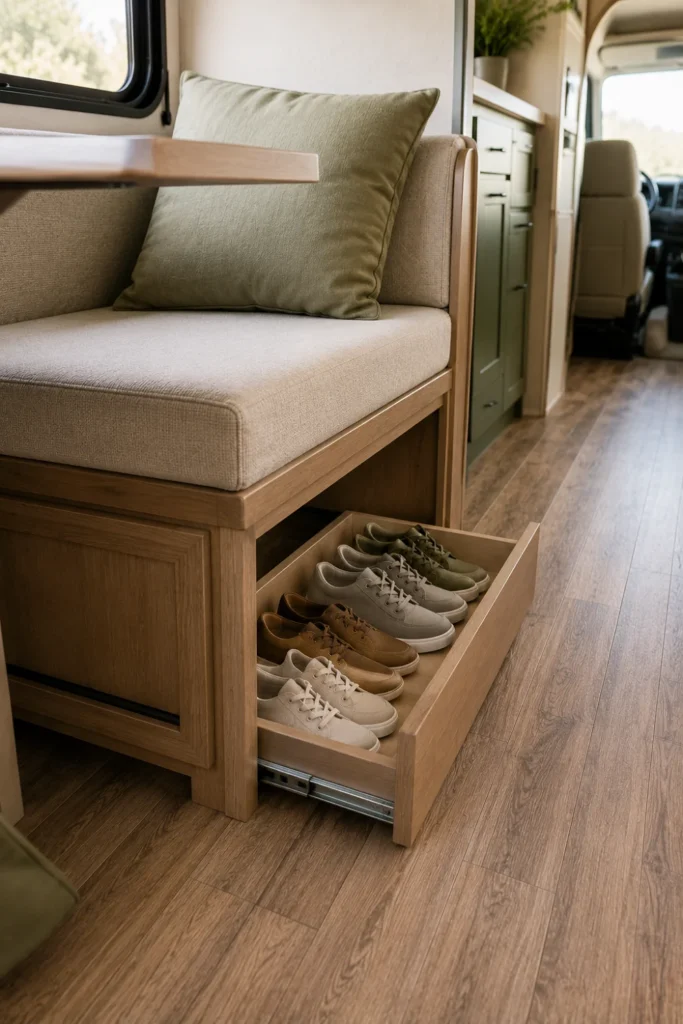
The space beneath an RV dinette is often deep enough for useful storage but awkward to reach. A shallow pull-out drawer makes that hidden area much easier to use for shoes.
Before building anything, check how far the dinette seat extends and make sure the drawer will not interfere with nearby cabinet doors. A low wooden tray on drawer slides can work well, but a sturdy lidded bin on a smooth base is another option if you want a simpler project.
Before and after
The space under the dinette is difficult to reach, so shoes end up beside the furniture instead.
A shallow pull-out tray keeps footwear contained while making every pair easy to reach from the aisle.
A useful detail is adding a small front lip to the tray. It helps keep shoes from sliding forward when the RV is moving.
This setup is best for pairs that need to stay nearby but do not have to be grabbed every few minutes.
4. Use the Inside of a Closet Door for Everyday Shoes
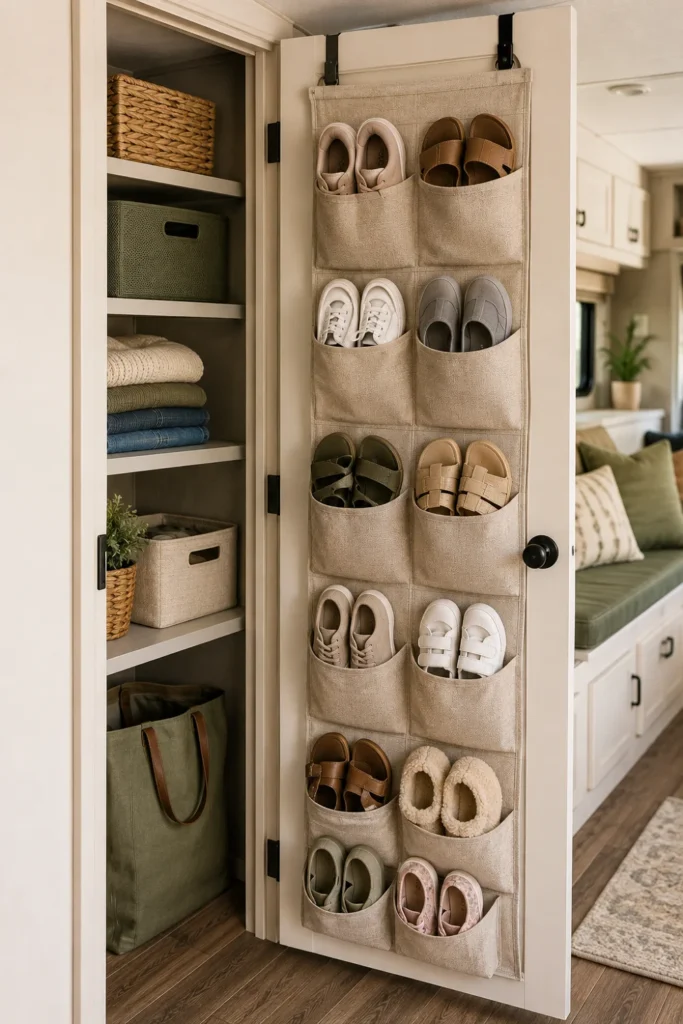
Closet doors can provide surprisingly useful storage when floor space is tight. Instead of giving up valuable shelf space inside the closet, attach slim pockets or small hanging shoe holders to the door itself.
Start by checking the clearance between the door and the shelves behind it. You want enough room for the organizer and shoes without forcing the door against the contents inside.
A simple setup works best:
What to check first
This is particularly handy for flip-flops and everyday sneakers. The shoes stay hidden when the closet is closed, and the floor remains open for walking.
5. Build a Narrow Shoe Rack Beside the RV Bed
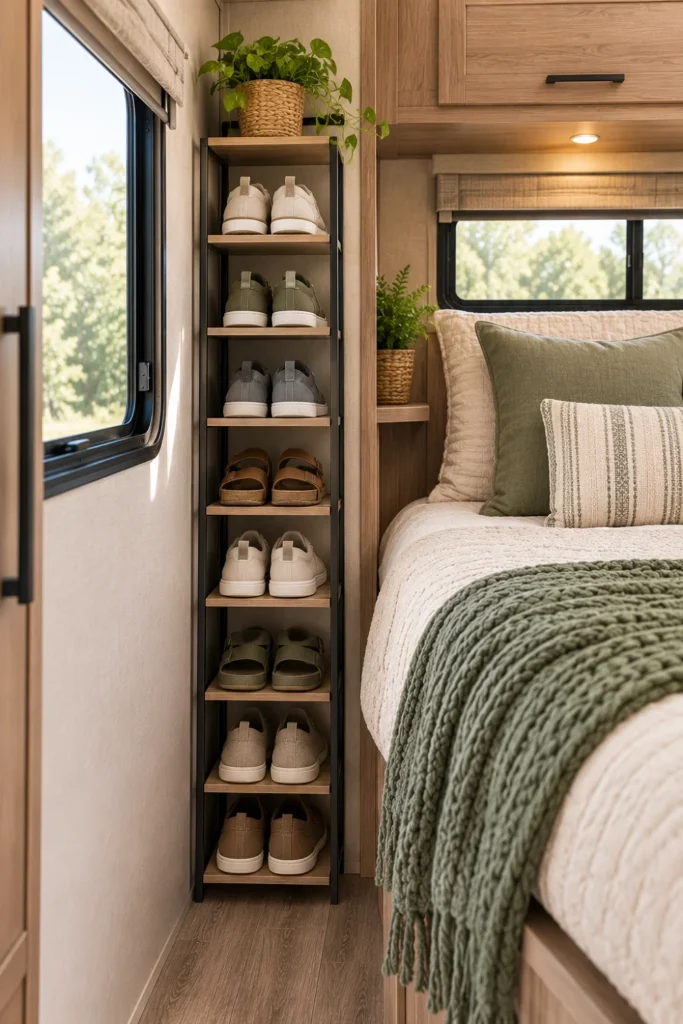
A narrow gap beside the bed can be useless for furniture but just right for a vertical shoe rack. Even a slim unit can give you a dedicated place for footwear without pushing into the main walkway.
Look for a rack that is tall rather than deep. Open shelves make it easy to see what you have, while small raised edges help keep shoes from sliding when the RV moves.
Quick setup guide
Put the shoes you reach for every morning on the easiest shelf to access. Less-used pairs can go higher up, keeping the lower section clear for the footwear that actually gets worn.
A narrow rack also makes it easier to notice when you have collected more shoes than the RV can comfortably handle.
6. Give Each Person One Shoe Basket Under the Sofa
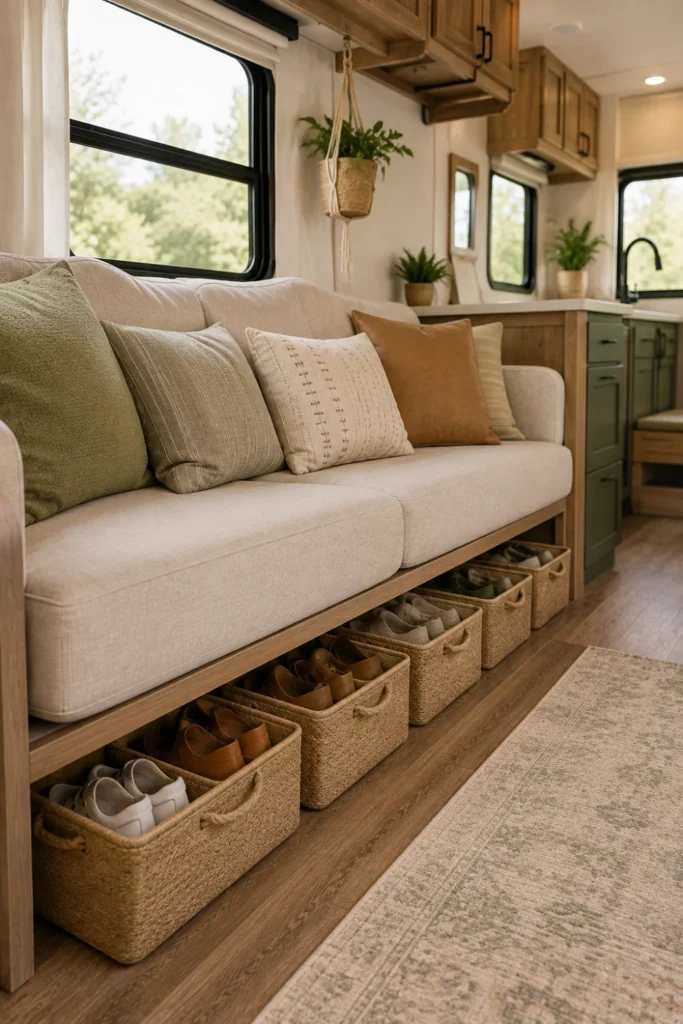
Shared shoe storage gets messy quickly when everyone’s footwear lands in the same pile. Giving each person a small basket creates a simple boundary without adding another piece of furniture.
Choose low baskets that slide easily beneath the sofa. Keep the baskets just deep enough for the shoes they actually wear during the trip.
A simple three-step setup keeps it manageable:
Give each person one clearly assigned basket.
Keep only the pairs needed for the current trip underneath the sofa.
Return every pair to its basket when coming back inside.
This is especially useful when traveling with kids. Nobody has to hunt through a mixed pile for their sneakers, and the floor around the sofa stays open.
For a cleaner look, use matching baskets and add a small name tag to each one.
7. Create a Pull-Out Shoe Tray Under a Bench Seat
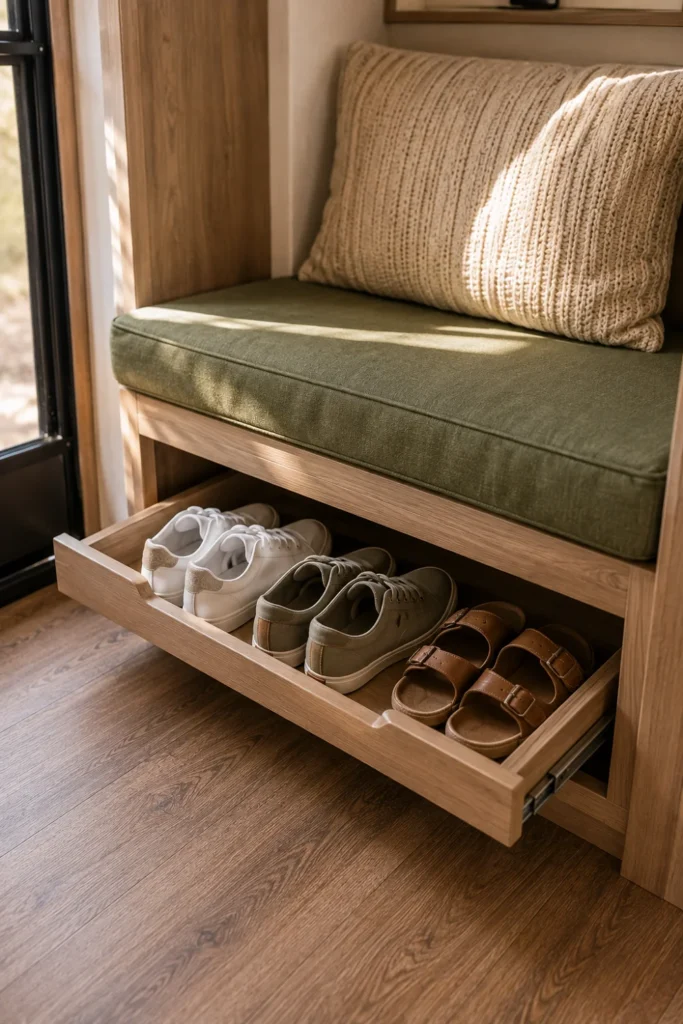
The space under an RV bench can become a forgotten storage cave. A pull-out tray changes that by bringing the shoes toward you instead of making you crawl halfway underneath the seat.
Use a shallow tray with a sturdy front handle. If you are building one, add a small raised edge around the base so shoes stay put while the RV is moving.
The biggest mistake is making the tray too deep. Easy access matters more than maximum capacity.
Keep the tray shallow enough to reach the back without kneeling on the floor.
Add a front lip or raised edge to keep pairs contained.
Do not fill the tray with heavy boots and bulky footwear.
Avoid a tray that blocks another cabinet or seat when pulled out.
It works best for sneakers, sandals, and other everyday shoes. Save tall boots for a storage spot where their height will not interfere with the sliding mechanism.
8. Keep Muddy Shoes in a Washable Entry Boot Tray
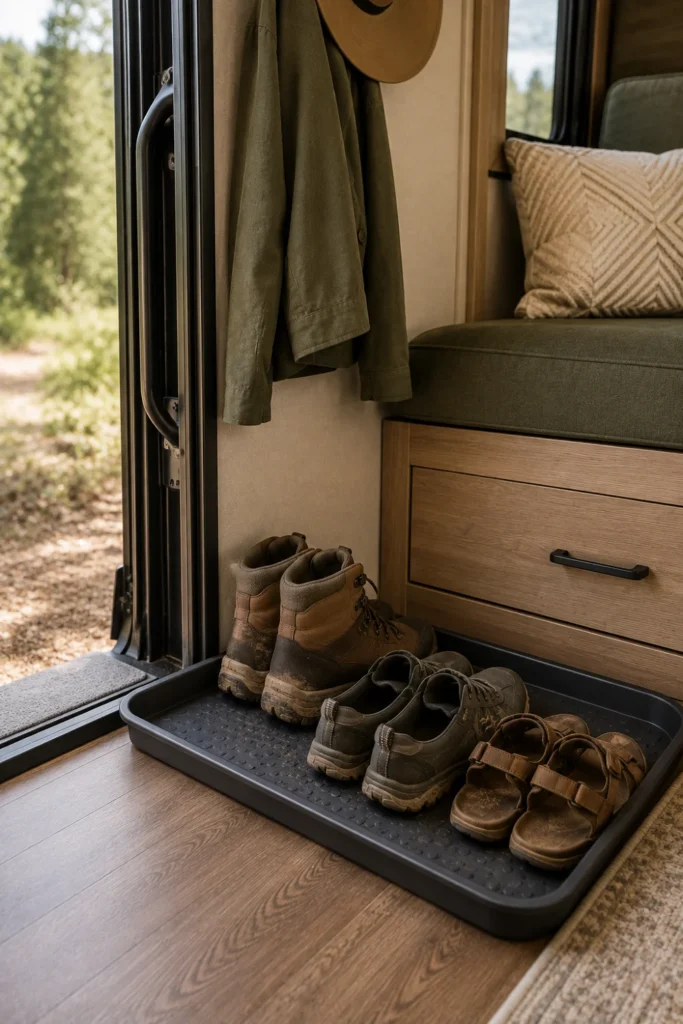
Not every shoe needs to disappear into a cabinet. After a rainy campground walk, muddy boots are better kept somewhere that can handle dirt and moisture.
A shallow boot tray near the entry keeps wet soles contained until they can be cleaned. Look for a tray with a raised rim and a surface that is easy to wipe.
Here is a quick comparison:
| Open Boot Tray | Closed Storage Bin |
|---|---|
| Best for wet or muddy footwear | Better for clean, dry shoes |
| Easy to grab when heading outside | Keeps shoes hidden from view |
| Needs occasional wiping | Needs dry shoes before storage |
The tray does not need to be large. A compact one that holds the family’s current outdoor footwear is easier to manage than a giant container that becomes another clutter spot.
9. Use Vertical Wall Space for a Compact Shoe Rail
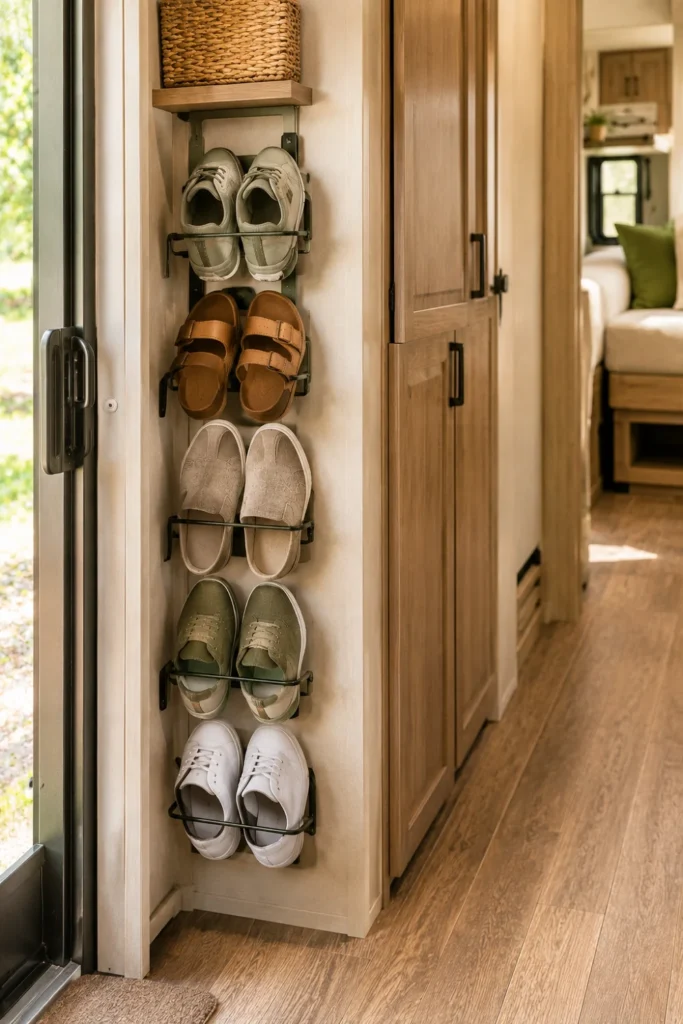
That narrow wall beside a cabinet or doorway may have no room for a shelf, but it could have enough space for a slim shoe rail.
The trick is to keep the storage shallow. A rail, hooks, or compact hanging holders can keep lightweight footwear against the wall instead of projecting into the walkway.
Think upward, not outward.
For a narrow RV wall, choose storage that keeps footwear close to the surface. A few shallow holders can be more useful than one deep shelf.
This idea is best for lightweight shoes, sandals, and slip-ons. Heavy boots need stronger support and are usually better stored low.
Before mounting anything, check what is behind the wall surface and choose hardware suited to the RV construction.
10. Store Seasonal Shoes in Flat Bins Under the RV Bed
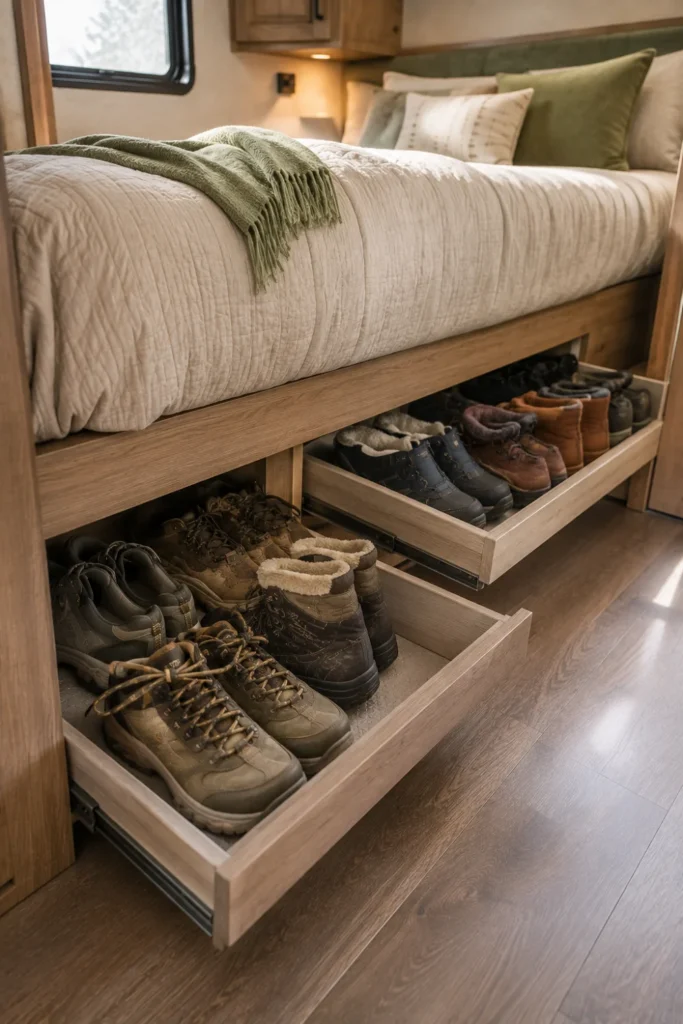
Some shoes spend most of the trip doing absolutely nothing. Snow boots during a summer road trip or bulky hiking shoes on a beach-focused vacation can take up valuable everyday storage space.
Flat bins under the bed are useful for these less-frequently worn pairs. They keep the shoes together and out of the way while leaving your main entry storage available for what you actually use.
Use a simple rotation system:
- ▸Pack away: bulky shoes that are unlikely to be worn during the current trip.
- ▸Label: mark each bin by season or activity so you can find the right pair quickly.
- ▸Rotate: swap footwear when the weather or travel plans change.
Choose flat containers that slide smoothly and leave enough clearance for the bed mechanism. A bin that barely fits can become frustrating every time you need something underneath the mattress.
For RV trips, less-used shoes should earn less accessible storage. Save the easiest spots for the pairs that leave the RV every day.
11. Turn an Awkward RV Corner Into a Tall Shoe Tower
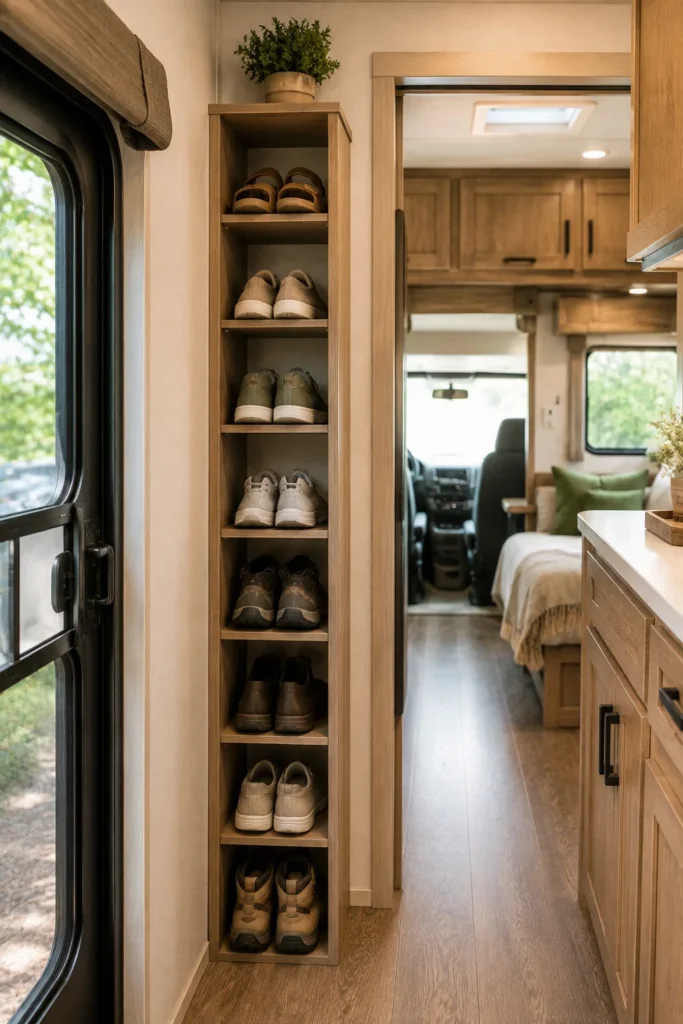
That odd little corner beside a cabinet can be too narrow for a chair and too useful to leave empty. A slim vertical shoe tower can turn it into dedicated storage without taking much floor space.
Measure both the width and the door swing around the area before choosing a rack. Open shelves are handy for daily shoes, while small baskets can hold sandals and loose footwear.
Make the vertical space work harder
The bottom shelf should stay easy to reach, especially if you use the rack near the entry. Keep enough clearance around the tower so shoes can be removed without blocking the aisle.
A narrow vertical rack is a good solution when the RV has height available but almost no spare width.
12. Use Color-Coded Shoe Baskets to Stop the Entry Pileup
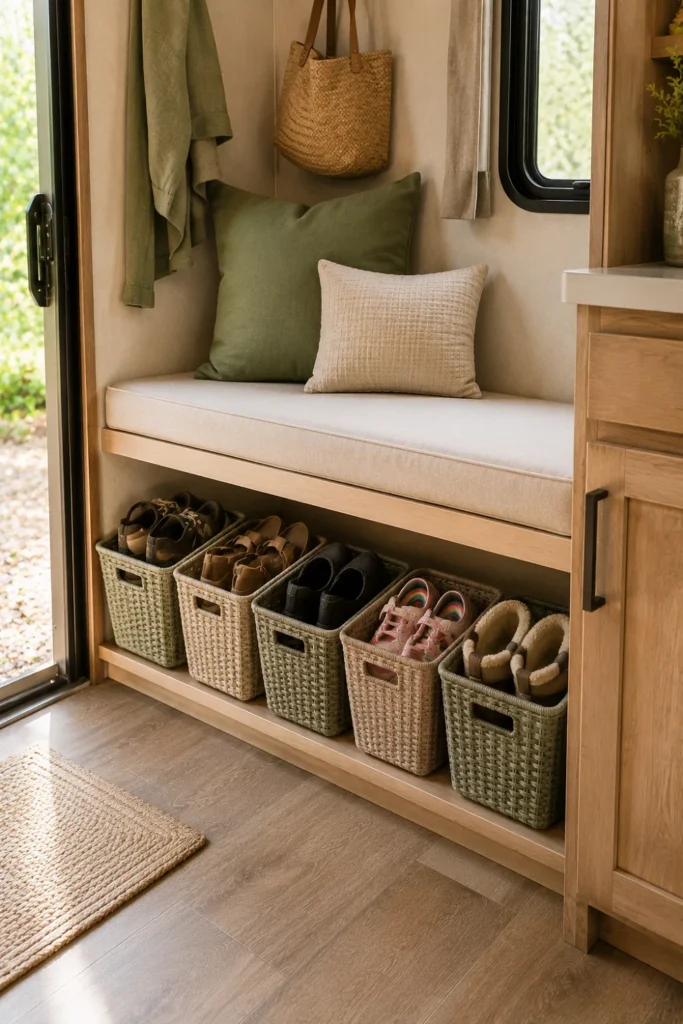
The problem with a shared shoe basket is that it can become one giant footwear bin. Five minutes later, nobody knows whose sneakers are whose.
Instead, give each person a basket or assign a color to each type of shoe. The system works best when everyone can understand it without needing a label.
Keep the categories simple.
Easy basket assignments
You can also use different basket sizes if color is not practical. The goal is simply to make it obvious where each pair belongs.
This works particularly well for families because putting shoes away becomes a quick habit rather than another chore to explain.
13. Add a Shoe Shelf Above the RV Entry Area

The wall above the entry door is often empty because it sits higher than the usual storage zone. A shallow shelf can make use of that vertical area while keeping the floor underneath clear.
Keep the shelf depth modest so nobody bumps into it while stepping through the door. It is better suited to lightweight shoes and sandals than large boots.
A small-space shelf plan
Do not treat this as a place to stack every pair you own. A small shelf stays useful when it has a clear job, such as holding the shoes everyone reaches for when heading outside.
Also check the mounting surface before drilling. RV walls can have wiring, plumbing, or other construction details hidden behind them.
14. Keep Frequently Worn Shoes on a Removable Step Rack
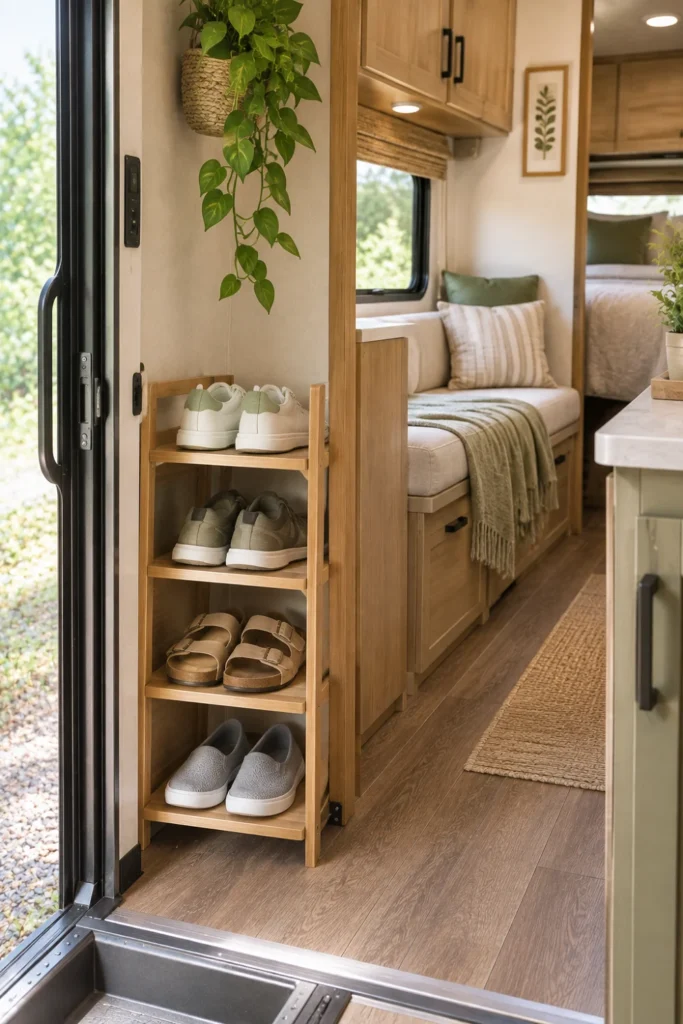
Some RV owners need shoes close to the door but do not want permanent storage attached to the walls. A small removable rack placed near the entry step gives you that flexibility.
Choose a compact rack that can be moved when you need the floor area for cleaning, guests, or changing how the RV is set up.
The key is to treat it as a temporary landing spot, not a shoe closet.
⚠️ Watch Out
Do not let a removable rack narrow the entry path. Test the walking space with the RV door fully open and closed, then keep the rack limited to the footwear used most often.
A lightweight rack is also useful when your storage needs change from one trip to another. You can keep it in the RV for normal weekends and move it aside when you need more open floor space.
For families, one small rack can hold the current outdoor pairs while the rest stay tucked away.
15. Create a Simple Drop Zone for Shoes, Sandals, and Boots
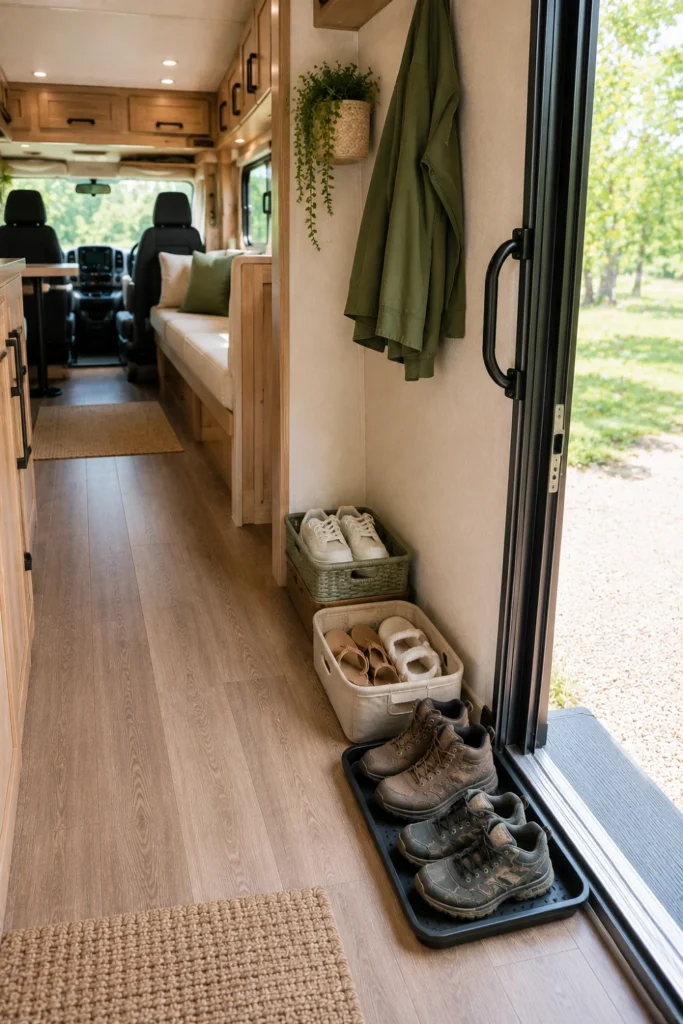
Sometimes the best RV shoe storage is not one clever product. It is a small system that gives every type of footwear a clear place.
Set up three zones near the entrance: one for everyday shoes, one for quick slip-ons, and one for wet or dirty footwear. The arrangement keeps the shoes you grab most often closest to the door while giving bulky or messy pairs a separate home.
Build the entry zone in three parts
The nice thing about this setup is that it can be adjusted to almost any RV layout. A bench basket can become Zone 1, a door organizer can handle Zone 2, and a boot tray can take care of Zone 3.
Once each pair has a home, the entryway becomes much easier to reset at the end of the day. That is really the goal of good RV shoe storage ideas: keep the walkway open without making shoes difficult to reach.

