
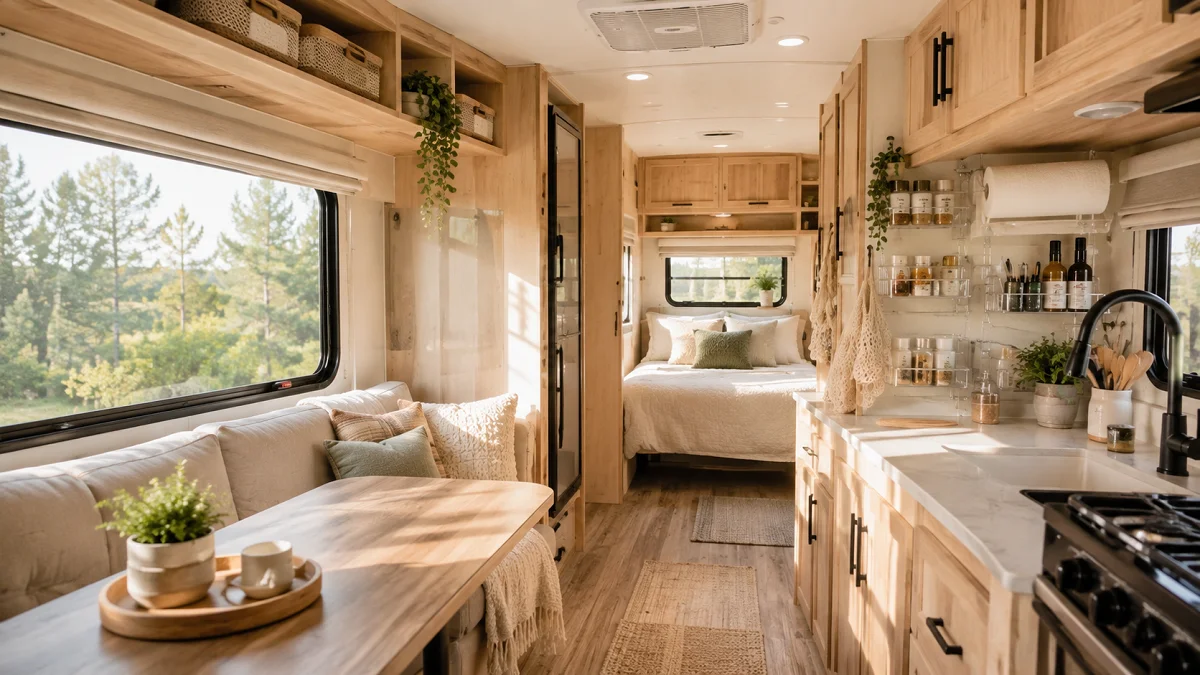
Navigating your first few trips in a camper can feel a bit like trying to pack a full apartment into a oversized rolling suitcase. Things shift on curves, cabinet doors pop open, and suddenly your favorite coffee mugs are sliding across the dinette table. Getting your rig under control does not require expensive custom woodwork or rebuilding your layout from scratch.
With a few smart placements and some basic hardware store finds, you can keep everything secure and easy to reach. Here are 17 practical rv organization ideas to transform your camper from a cluttered mess into a calm, functional home on wheels.
1. Hang Heavy-Duty Tension Rods Inside Every Overhead Cabinet
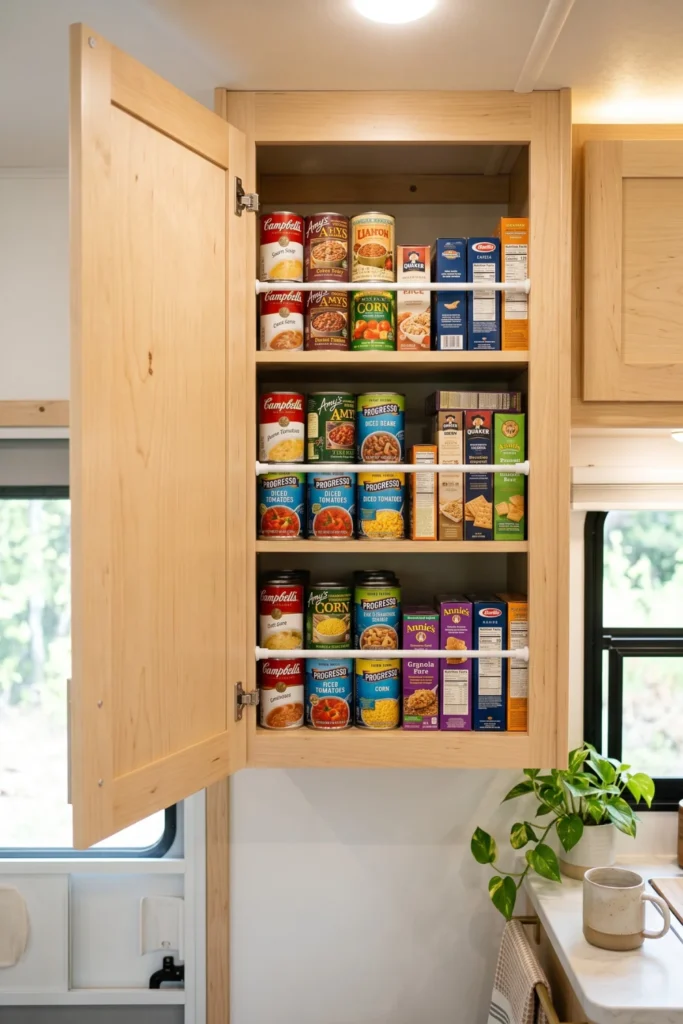
Overhead camper cabinets are notorious for letting items slide forward while you drive. The moment you unlatch the cabinet door after a long highway drive, cans and boxes can tumble right out onto your head.
Placing spring-loaded tension rods horizontally across the front opening creates a simple safety barrier. You can still reach right over them to grab what you need, but your pantry goods stay tucked in place even on bumpy dirt roads.
⚠️ Watch Out
Always buy tension rods with thick rubber end caps. Smooth plastic caps will slide against slick camper cabinet walls under the pressure of heavy canned goods.
2. Mount Square Collapsible Bins on Shallow Closet Shelves
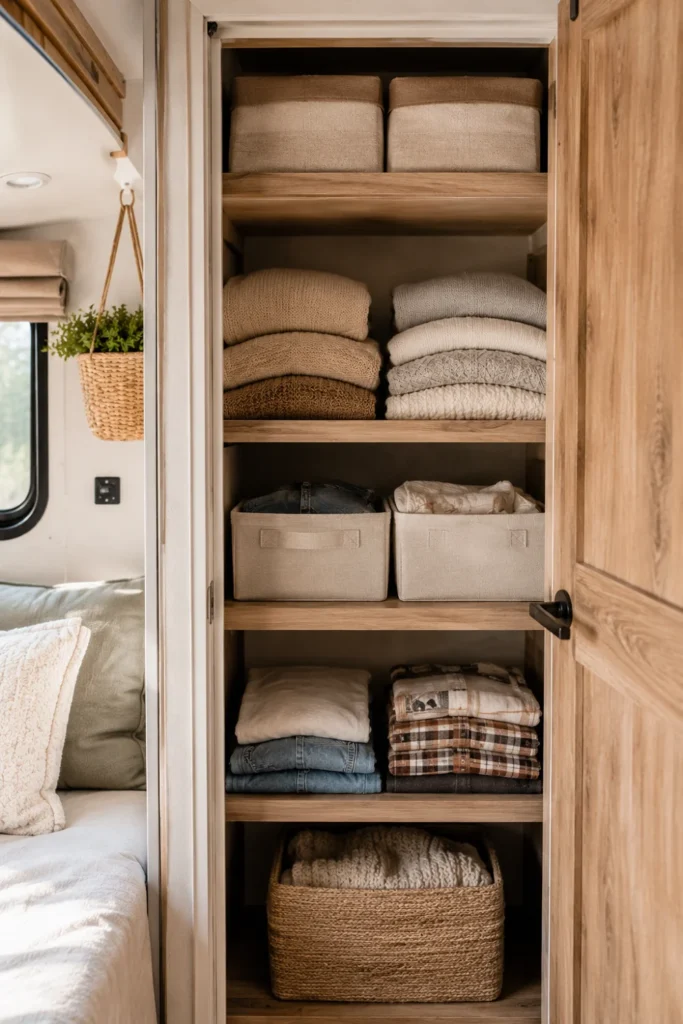
Camper wardrobes and shallow cabinets usually lack internal dividers. Stacking folded shirts or towels directly on these smooth laminate surfaces results in a messy pile after ten miles of driving.
Fabric or silicone bins keep items grouped together so they cannot shift sideways. When you park for the season or store your rig for the winter, you can collapse them completely flat to clear up space.
3. Install Under-Cabinet Slide-Out Wire Baskets in the Kitchen
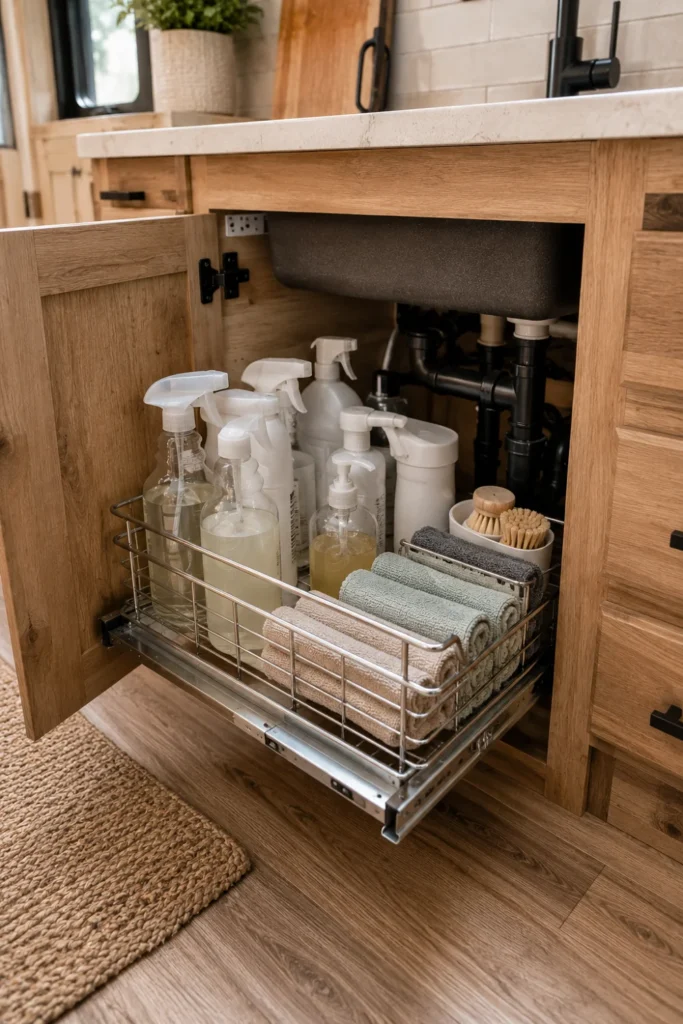
The deep cavity under an RV kitchen sink often becomes a graveyard for loose cleaning supplies, trash bags, and sponges. Reaching to the back requires getting on your hands and knees.
Sliding wire baskets utilize the upper vertical space near the top of the cabinet frame that usually goes wasted. They pull out smoothly so you can grab items without digging through dark corners.
Tools Needed for Installation
4. Secure Canned Goods with Expandable Drawer Dividers
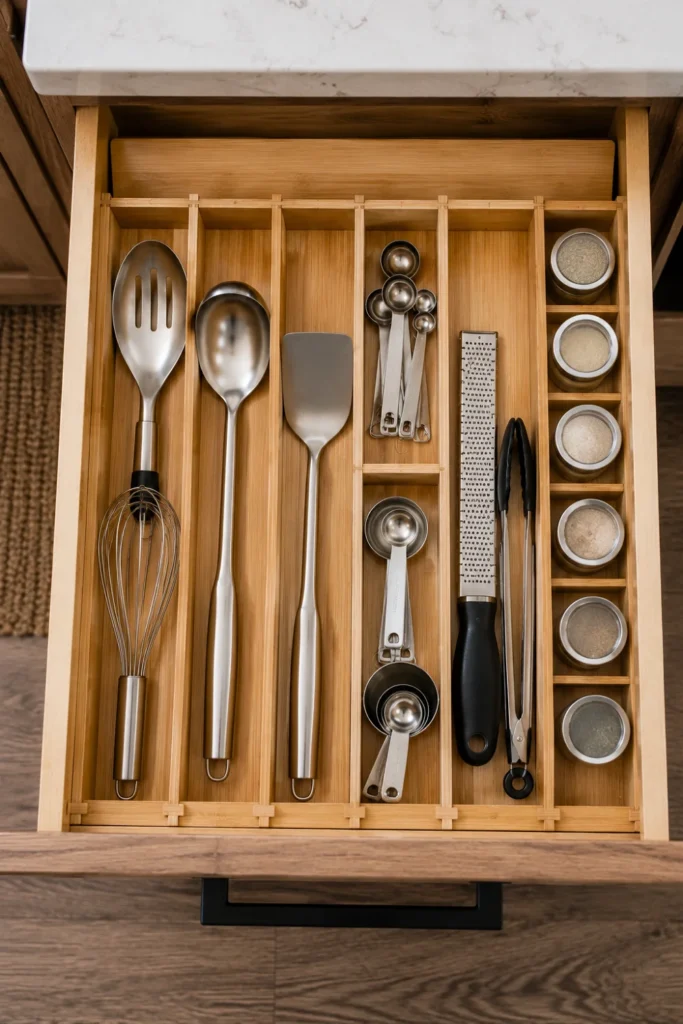
Rambling down highway lanes will quickly turn a neat kitchen drawer into an chaotic mix of loose utensils, spices, and small cans. Standard plastic cut-throat trays usually slide around inside oversized RV drawers.
Tension-based drawer dividers lock securely against the front and back wood panels. They create custom channels that fit your specific utensils and stop items from clanking together.
A noisy, loose pile of utensils and spices rolling around on every sharp turn.
A locked-down, customized grid where every tool stays fixed in its own row.
5. Turn Your Shower into a High-Capacity Drying & Storage Closet
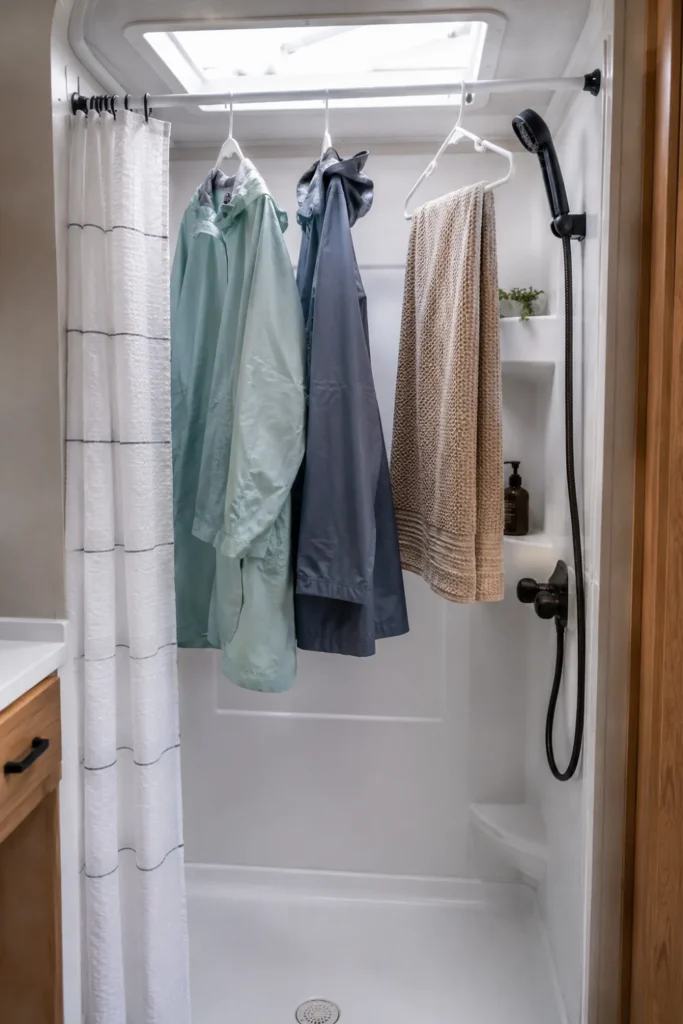
Most RV showers sit unused for the majority of the day. Leaving this space empty is a massive missed opportunity for daily organization when square footage is at a premium.
Installing a secondary tension rod near the top of the shower stall allows you to hang wet rain jackets, towels, or heavy winter coats. It keeps damp gear out of your living area and lets drips fall directly into the grey tank drain.
Wipe down shower walls with rubbing alcohol to clear soap residue before mounting.
Set a heavy-duty tension rod at least 4 inches below the skylight frame for clearance.
Use plastic S-hooks to hold hanging mesh storage bags for extra toiletries.
6. Use Heavy-Duty Wall Command Hooks for Hanging Drinkware
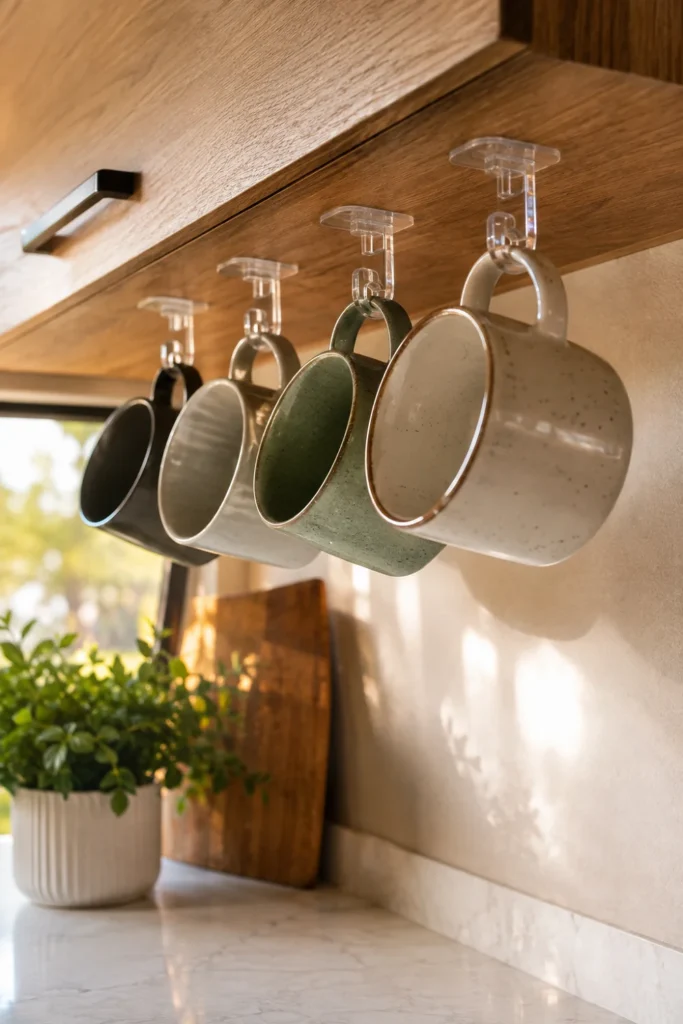
Counter space around the RV coffee maker is extremely limited. Leaving mugs on the counter between uses causes clutter and invites accidental spills while cooking.
Heavy-duty adhesive hooks placed underneath your upper kitchen cabinets give you a designated spot for lightweight mugs or keys. They keep surfaces totally clear while taking advantage of dead vertical wall space.
7. Anchor Loose Bathroom Toiletries with Acrylic Adhesive Holders
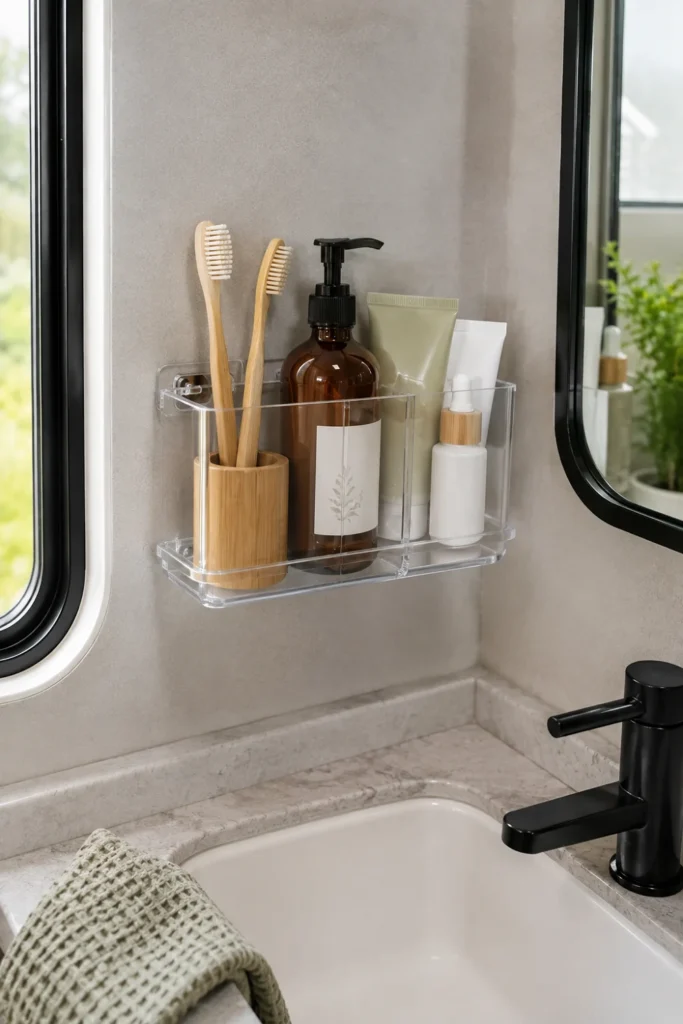
RV bathroom counters are tiny, often measuring just a few inches wider than the sink basin itself. Soap bottles, toothbrushes, and lotions fall into the basin constantly if left out on the counter.
Clear acrylic organizer caddies mounted directly to the wall paneling keep your daily routine supplies within arm’s reach. They lift everything off the counter surface, making cleaning the vanity quick and easy.
| Suction Cup Caddies | Acrylic + VHB Adhesive |
|---|---|
| Prone to falling off during temperature shifts. | Stays locked in place regardless of humidity. |
| Leaves ring marks on thin wallpaper. | Distributes weight evenly across smooth surfaces. |
8. Line Pantry Shelves with High-Grip Rubber Mesh
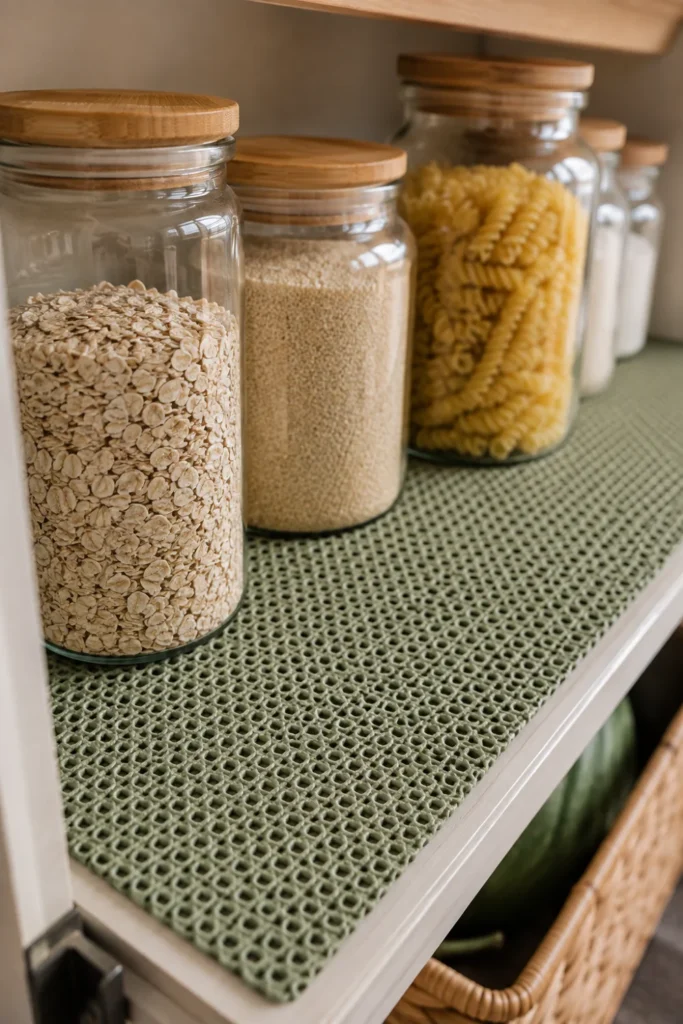
Raw RV shelving is covered in smooth, slippery laminate that offers zero traction. Even light plastic containers will slide around inside cabinets during normal travel days.
Rolling out inexpensive non-adhesive rubber shelf liner provides instant friction. It dampens road vibrations, prevents scratches, and keeps boxes right where you set them down.
Cut liners 1/4-inch wider than shelf dimensions for a tight wedge fit.
Use thick waffle-weave rubber mesh for maximum grip.
Avoid permanent sticky-backed shelf paper that ruins camper paneling.
Don’t use hard plastic smooth tray liners.
9. Mount Vertical Shoe Organizers Under the Bed Frame
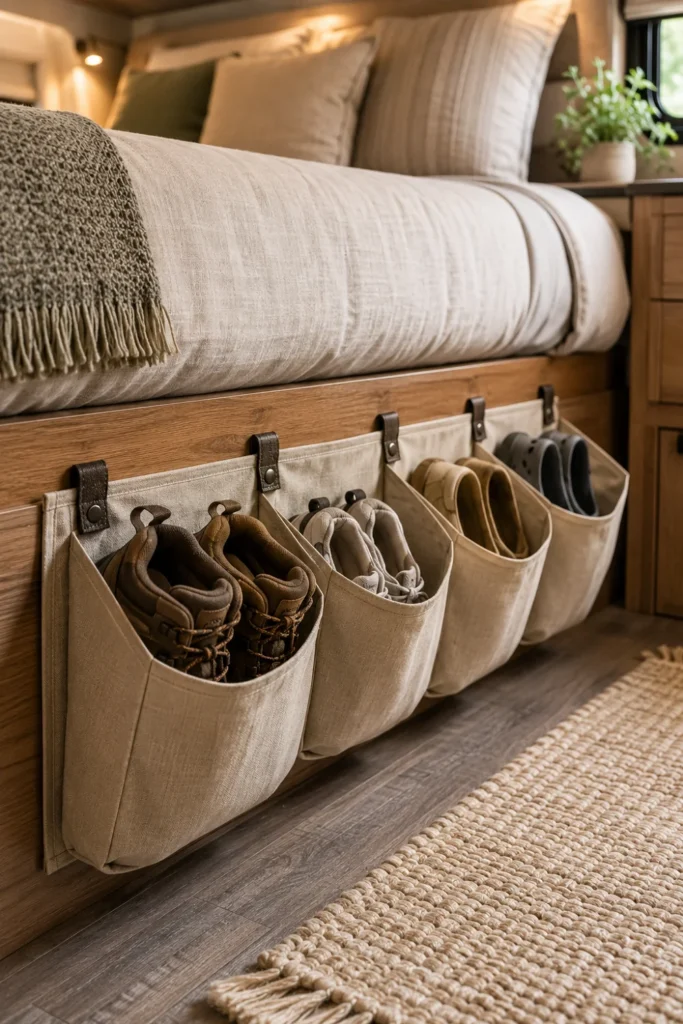
Shoes left near the entry door are the number one tripping hazard in any camper. A pile of boots blocks the walkway and tracks dirt across the interior flooring.
A canvas pocket shoe organizer trimmed to size can be stapled or screwed directly into the wooden bed base frame. This keeps your footwear tucked away flat against the wall, out of the main walking path.
- ▸Primary Bedroom: Keeps sneakers and slip-on shoes off the floor.
- ▸Pantry Wardrobe: Holds water bottles, flashlights, and bug spray.
- ▸Exterior Pass-Through: Organizes sewer hose adapters and work gloves.
10. Attach Magnetic Strips for Spice Jars & Kitchen Cutlery
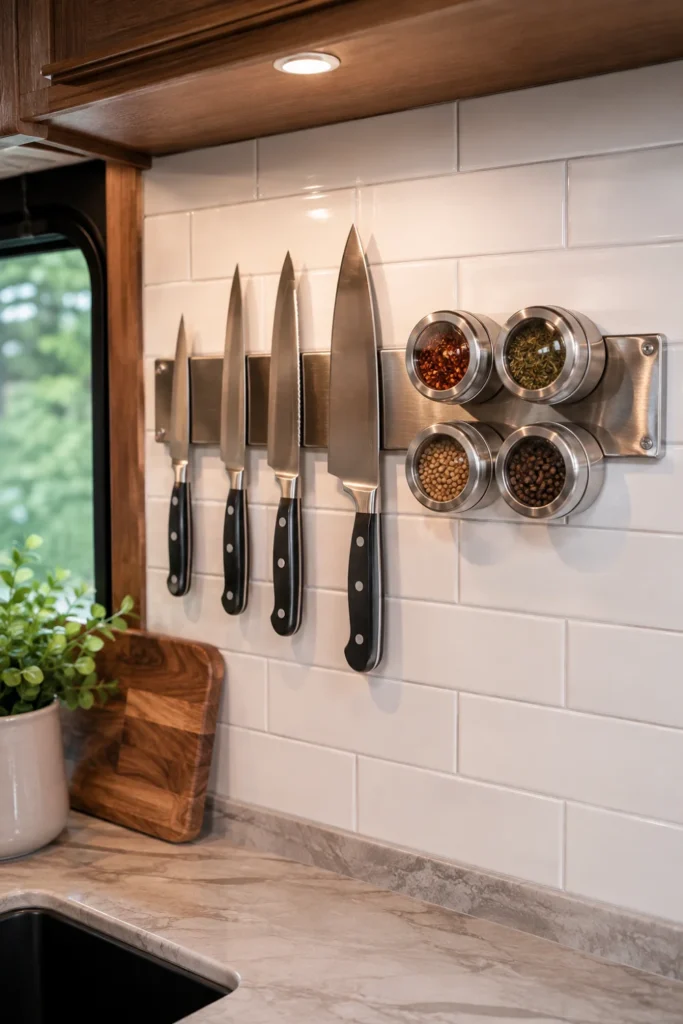
Big block sets of kitchen knives take up valuable counter space, while loose spice bottles quickly turn pantry drawers into a cluttered mess. Finding a safe place to store sharp cutlery is a priority for every camper cook.
Installing a heavy-duty magnetic bar along the kitchen backsplash securely locks metal knife blades and steel-topped spice tins in place. They remain instantly accessible while you cook and stay firmly attached even during travel.
Always mount magnetic bars directly into solid cabinet framing or stud backing, not thin hollow wall panels.
11. Store Cutting Boards and Pans in Back-of-Door Racks
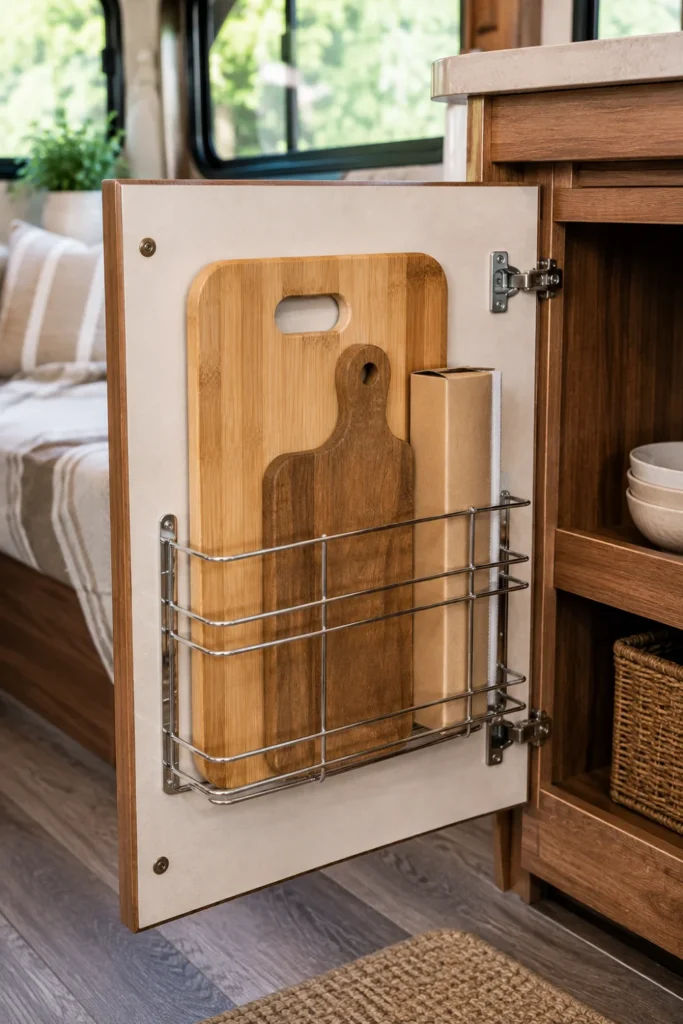
Flat items like sheet pans, cutting boards, and foil boxes are difficult to stack neatly in deep lower cabinets. Stacking them vertically means pulling out five items just to reach the board at the bottom.
Inexpensive wire storage racks mounted on the inside of lower cabinet doors create dedicated vertical slots for thin kitchen tools. This frees up main cabinet shelves for bulkier pots and appliances.
💡 Pro Tip
Check the clearance between the cabinet door rack and internal shelves before mounting to ensure the cabinet door shuts completely.
12. Stash Heavy Camping Gear in Heavy-Duty Pass-Through Bins
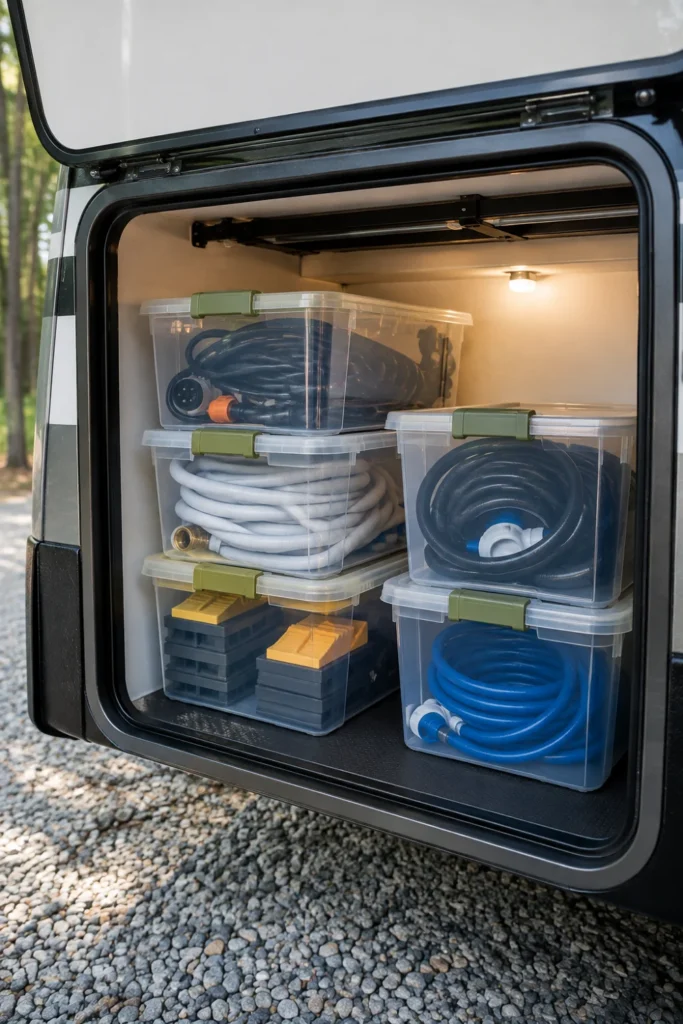
The basement or pass-through storage bay under your camper can quickly become an unorganized heap of hoses, cords, leveling blocks, and camp chairs. Finding one specific fitting shouldn’t require unpacking the whole compartment.
Clear, stackable plastic totes with latching lids allow you to categorize outdoor gear while protecting it from road dust and dampness. Using clear bins lets you quickly scan contents without opening every container.
13. Loop Over-the-Door Towel Racks on the Bathroom Door
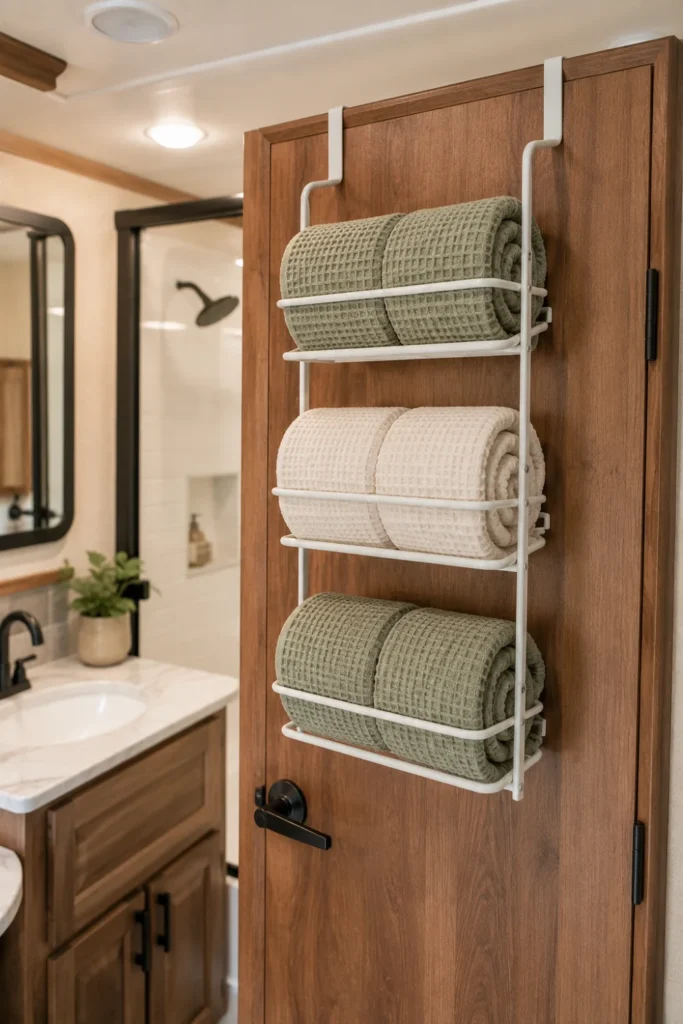
RVs rarely come with enough built-in towel bars for a full family. Damp bath towels left lying on the bed or thrown over dinette chairs won’t dry properly and can create a damp smell inside the rig.
A multi-tier metal over-the-door rack instantly converts the back of your bathroom door into a drying station. It requires no drilling or permanent changes, making it ideal for renters or new owners cautious about making holes in their rig.
Items Perfect for Back-of-Door Storage
14. Stack Modular Nesting Bowls and Measuring Cups
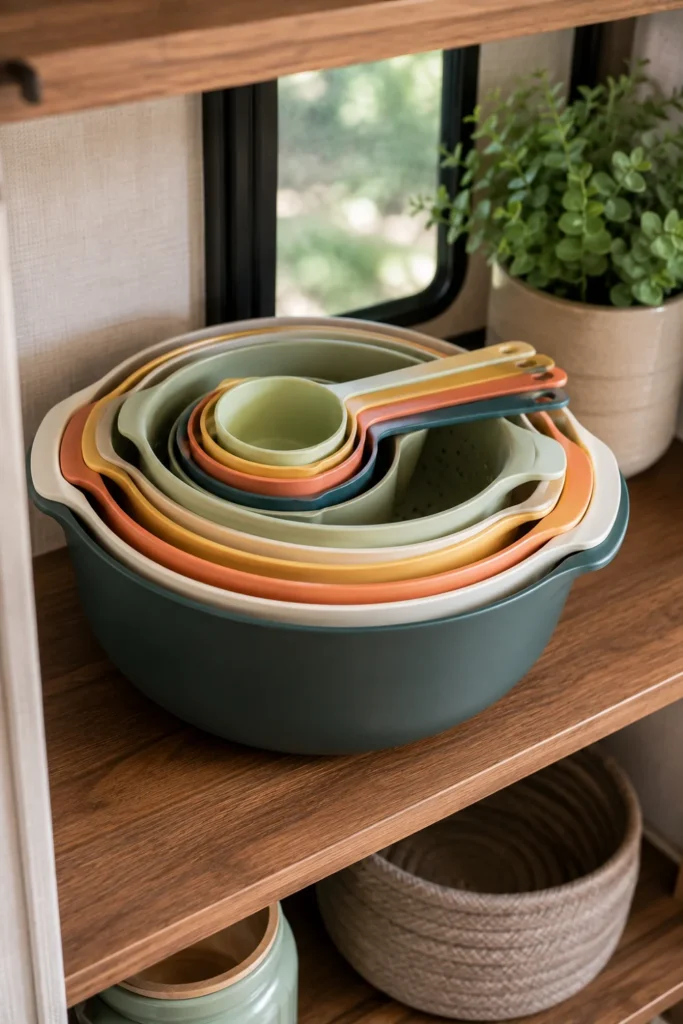
Traditional kitchen mixing bowls, colanders, and measuring sets consume an enormous amount of drawer space. Stacking odd-shaped containers leads to unstable piles that shift and jam drawers shut while driving.
Replacing standard cookware with nesting sets shrinks a full collection of mixing bowls, strainers, and measuring cups down to the size of a single large bowl. Look for silicone or lightweight BPA-free materials that don’t rattle or break when jostled.
Consumes an entire full-sized cabinet with loose, unstable piles.
Combines 8+ essential cooking tools into one self-contained, compact stack.
15. Strap Electronics and Cables into Velcro Wall Organizers
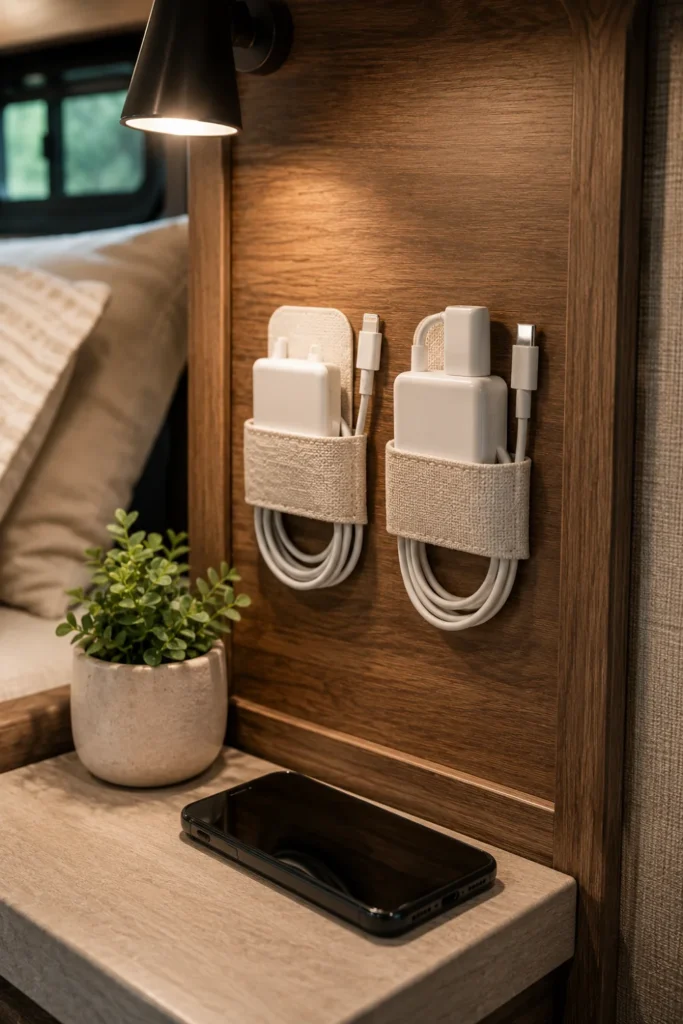
Charging cords for phones, tablets, and e-readers easily turn nightstands and kitchen counters into a tangled web of wires. Loose cables are messy and can easily get pinched or damaged in cabinet doors.
Mounting self-adhesive fabric cable loops or fabric wall docks along side panels keeps charging heads organized and off counter surfaces. It establishes a dedicated tech station so everyone knows where to plug in their gear.
Group charging cables by device type using color-coded velcro wraps.
Attach adhesive-backed cable clips along the trim of your nightstand or desk desk.
Route main power cords down to lower outlets out of high-traffic walking paths.
16. Utilize Ceiling-Mounted Netting for Lightweight Bedding
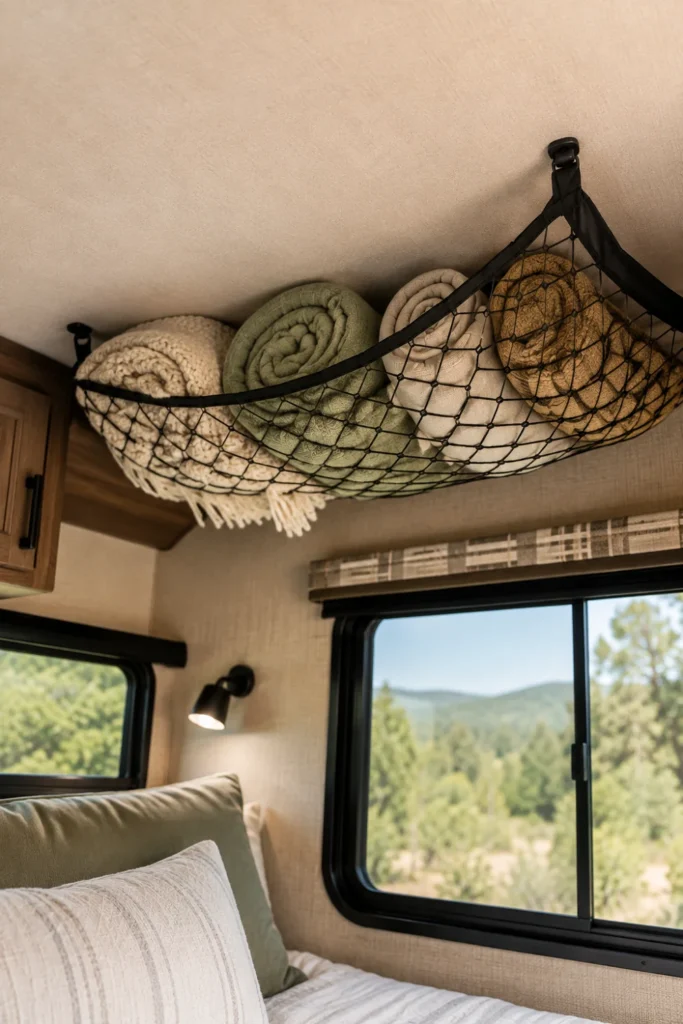
Bulky extra blankets, winter jackets, and sleeping pillows consume massive amounts of valuable closet space. Finding a spot to store these soft items when they aren’t in use can be a real headache.
Installing flexible cargo netting across open overhead ceiling corners turns unused air space into useful storage. It holds soft, lightweight items securely against the ceiling without adding noticeable weight to your rig.
17. Secure TV Cords and Remotes with Heavy-Duty Cable Ties
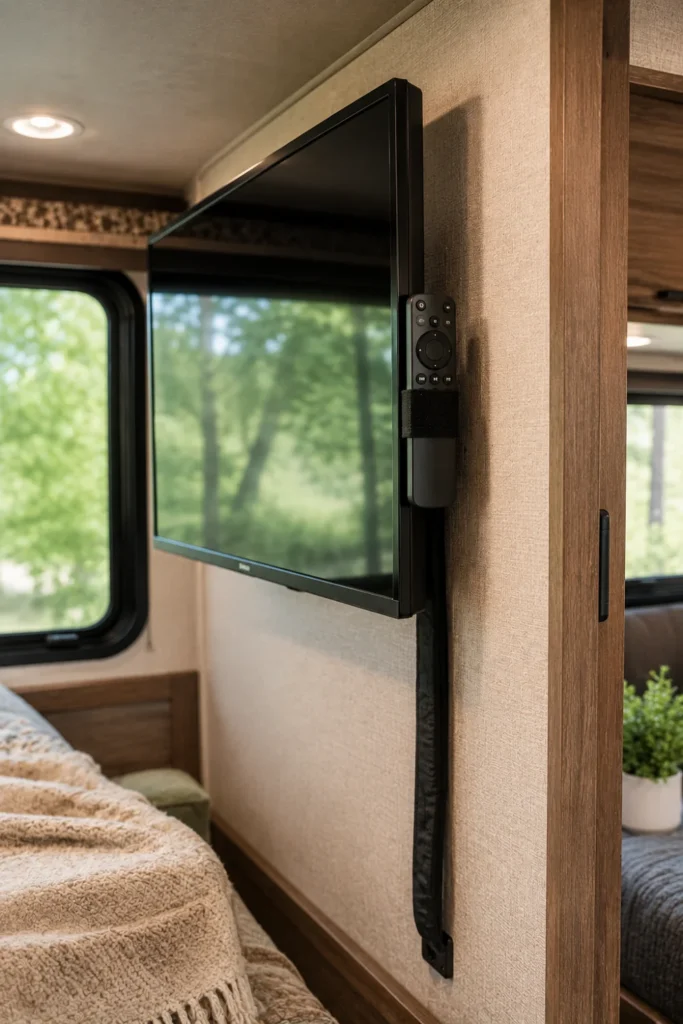
Entertainment center components are prone to rattling while on the road. Loose media cords hanging below mounted TVs can easily catch on slides or get snagged while moving gear in and out.
Bundling media cables inside flexible fabric sleeves keeps your entertainment setup neat and safe from damage. Attaching small velcro dots to the back of remotes lets you dock them directly to the side of the TV frame so they don’t get lost on drive days.
| Loose Wires & Remotes | Bundled & Docked System |
|---|---|
| Remotes slide off tables and break on hard flooring. | Remotes stay securely attached to TV frames using velcro. |
| Hanging cords catch on slides and equipment. | Sleeved cords stay tight against wall mounts out of the way. |
Keeping Your Camper Organized Long-Term
Organizing your camper is an ongoing process that gets easier with every trip. As you spend more time on the road, you will discover what setup works best for your travel style and routine.
Start with two or three of these simple projects before your next weekend getaway. Small adjustments can make a big difference, giving you a tidier space and more time to relax outdoors. Be sure to save this list of rv organization ideas to your Pinterest board so you can reference it when preparing for your next trip!

