
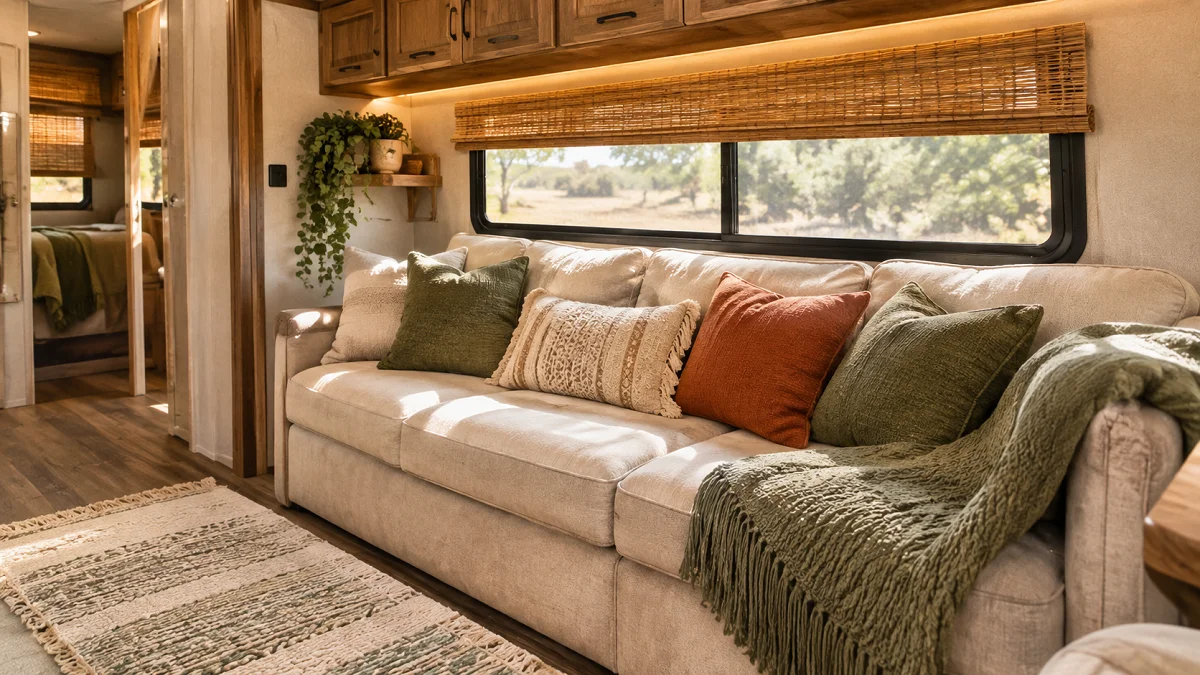
Most factory campers roll off the lot with the same sterile setup: shiny dark pleather, harsh blue overhead puck lights, and boxy brown window valances. It feels more like a motel conference room than a cozy spot to relax after a long drive. Making your camper feel warm and lived-in does not require a complete structural teardown or thousands of dollars.
With a few intentional swaps, you can easily soften hard corners, layer warmer textures, and bring residential charm into a small layout. The secret comes down to lightweight accents, multi-purpose pieces, and warm lighting choices that handle highway travel.
Here are 15 practical rv living room ideas to turn your camper into a comfortable, welcoming retreat on wheels.
1. Trade Cold Pleather for Fitted Linen Cushion Slips
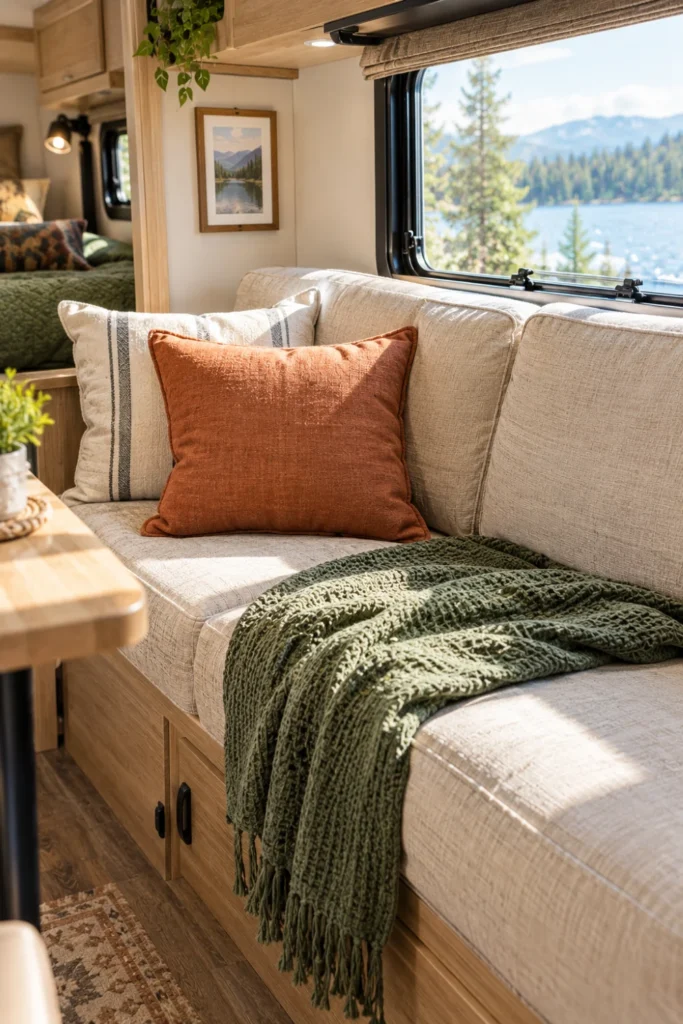
Factory RV sofas are notorious for sticky brown vinyl that feels freezing in the morning and clings to your skin by midday. Instead of spending hundreds on a custom replacement couch, pull breathable slipcovers over the existing foam cushions.
Washed linen or heavy cotton canvas instantly cuts the plastic shine and brings an earthy, residential texture to your seating area.
- Choose zippered box cushion covers with elastic backs for a tight, custom fit.
- Pick neutral tones like oatmeal, warm taupe, or soft olive to hide trail dust.
- Tuck foam pool noodles behind the seat base to prevent the fabric from shifting on travel days.
Cold, sticky surface that shows wear, peels easily, and gives off a dark commercial camper look.
Breathable, machine-washable fabric that creates a soft cottage feel and stays cool in summer heat.
2. Mount Cordless Magnetic Sconces Instead of Overhead Domes
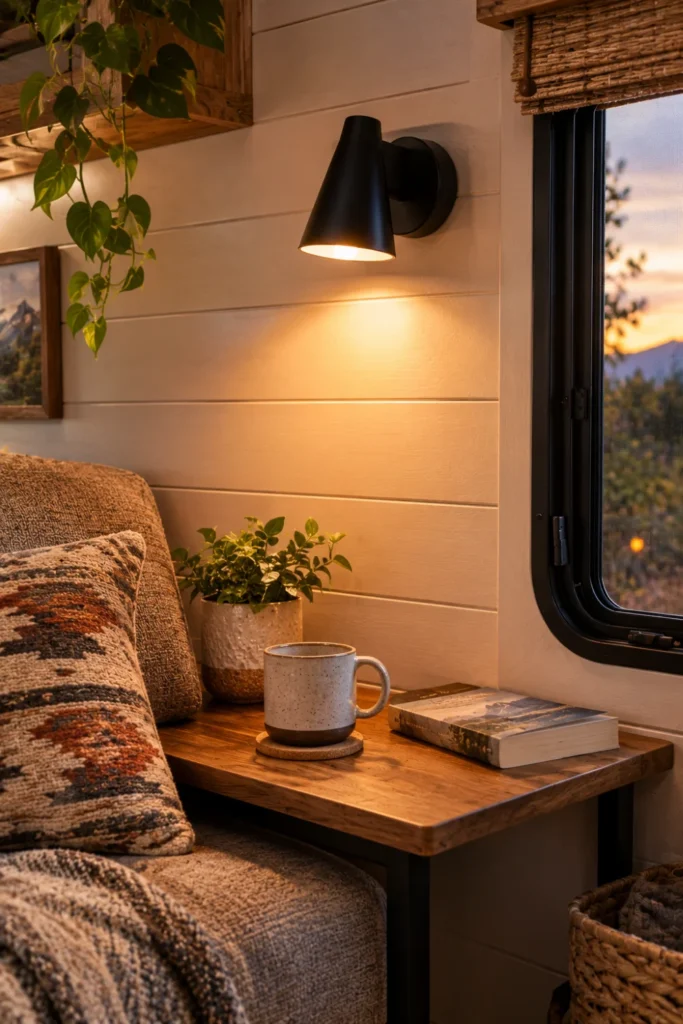
Standard 12-volt ceiling puck lights cast a harsh, clinical glow that flattens your entire living space. You can dramatically shift the evening mood by adding wall sconces that focus light downward at eye level.
Rechargeable magnetic puck lights let you add warm accent lighting anywhere without cutting holes in thin camper walls or rewiring 12V lines.
- Stick the adhesive magnetic base plates to the wall next to the slide-out corners.
- Snap the LED sconce into place for relaxed evening reading.
- Pop the light head off once a week to recharge it via USB-C while you drive.
💡 Quick Tip
Look for magnetic sconces with warm 2700K color temperatures and built-in dimmers to avoid harsh glare across narrow hallways.
3. Hang Low-Profile Woven Baskets for Vertical Storage
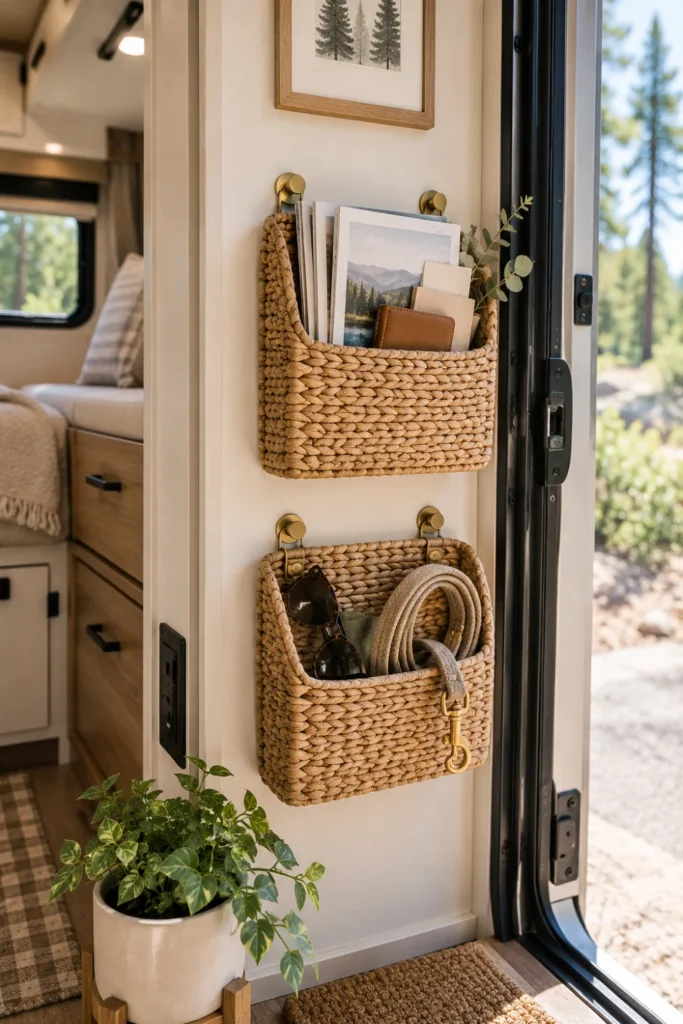
Floor space is precious in any travel trailer or fifth wheel. When remotes, magazines, and dog leashes pile up on the dining table, the entire living room feels instantly cluttered.
Shallow seagrass or water hyacinth hanging baskets take advantage of bare wall space without protruding into your walking path.
- Mount them along the narrow wall beside the main entry door.
- Use adhesive heavy-duty picture hanging strips so you do not puncture interior plywood.
- Keep heavier items in base cabinets and reserve wall baskets for lightweight daily essentials.
4. Anchor the Slide-Out Floor with a Washable Runner
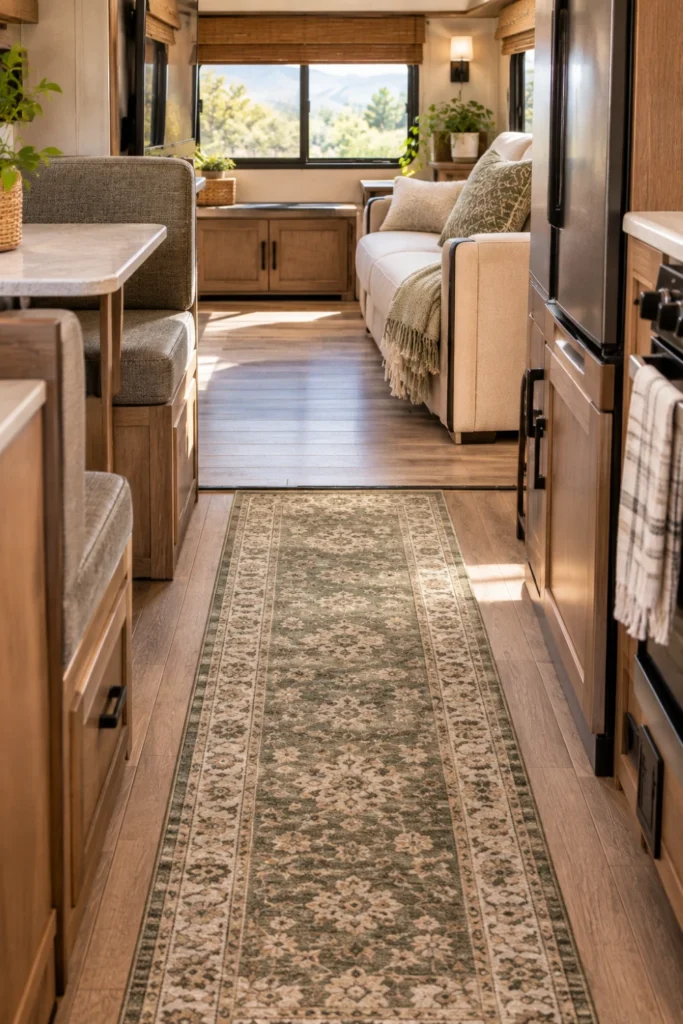
Bare linoleum or factory vinyl flooring can feel cold and uninviting underfoot. A long runner rug instantly ties your furniture together while hiding transition seams where the slide-out floor meets the main trailer deck.
Standard wool rugs are bulky and hard to shake out, while low-profile washable rugs make camp cleanup effortless.
| Rug Feature | Traditional Woven Rug | Washable Low-Profile Runner |
| Slide Clearance | Often catches on slide edges | Flat pile glides easily underneath |
| Camp Dirt & Mud | Traps grit and needs deep vacuuming | Shakes clean or tosses in washer |
| Storage Weight | Heavy and stiff to roll up | Light and folds into small cabinets |
| Feature | Traditional Thick Rug | Washable Flat Runner |
|---|---|---|
| Slide Safety | Can snag slide mechanisms | Zero clearance problems |
| Camp Dirt | Traps trail dust in deep fibers | Laundromat machine friendly |
5. Replace Heavy Factory Cornices with Lightweight Bamboo Shades
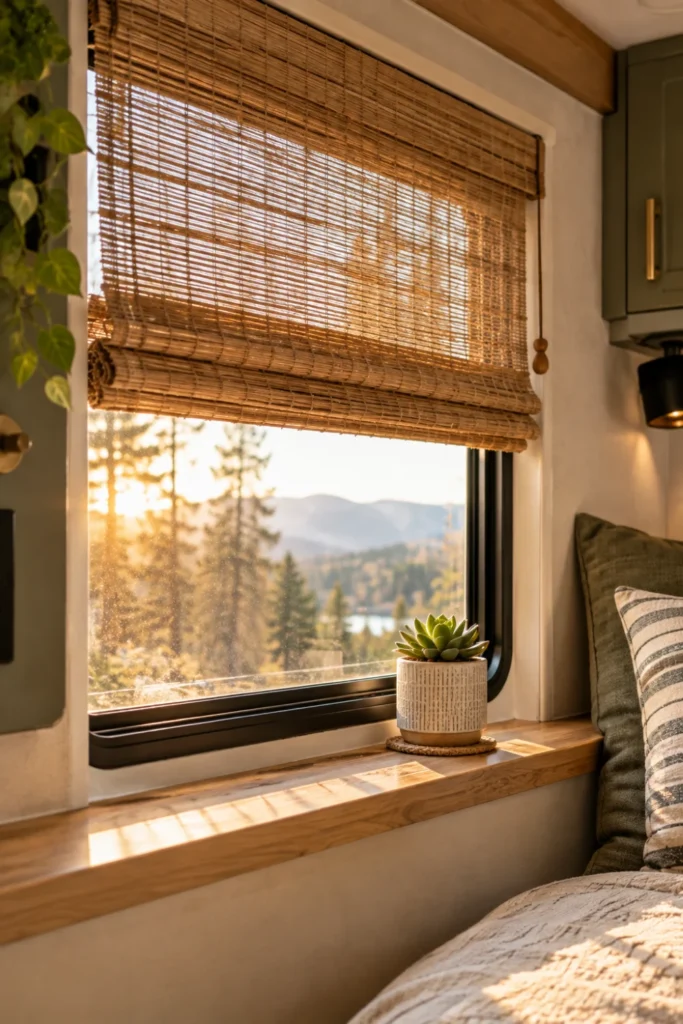
Those padded, oversized fabric valances around RV windows are usually the biggest culprit behind a dark, boxy interior. Removing them opens up precious visual space and lets natural daylight flood the room.
Bamboo roll-up shades add organic texture and roll tight to stay out of the way when the window is cracked open for a cross breeze.
- Unscrew the hidden L-brackets holding the factory fabric box to the wall frame.
- Mount a custom-cut woven wood shade directly into the wooden window casing header.
- Secure the bottom rail with clear silicone bumpers to keep it from tapping against the glass while driving.
Use short 1/2-inch wood screws into solid framing.
Install small Velcro tabs at the sill for travel lock.
Do not use heavy curtain rods that pull hollow drywall plugs.
Avoid long pooling drapes that gather floor dust.
6. Layer Textured Throw Pillows in Earthy Neutrals
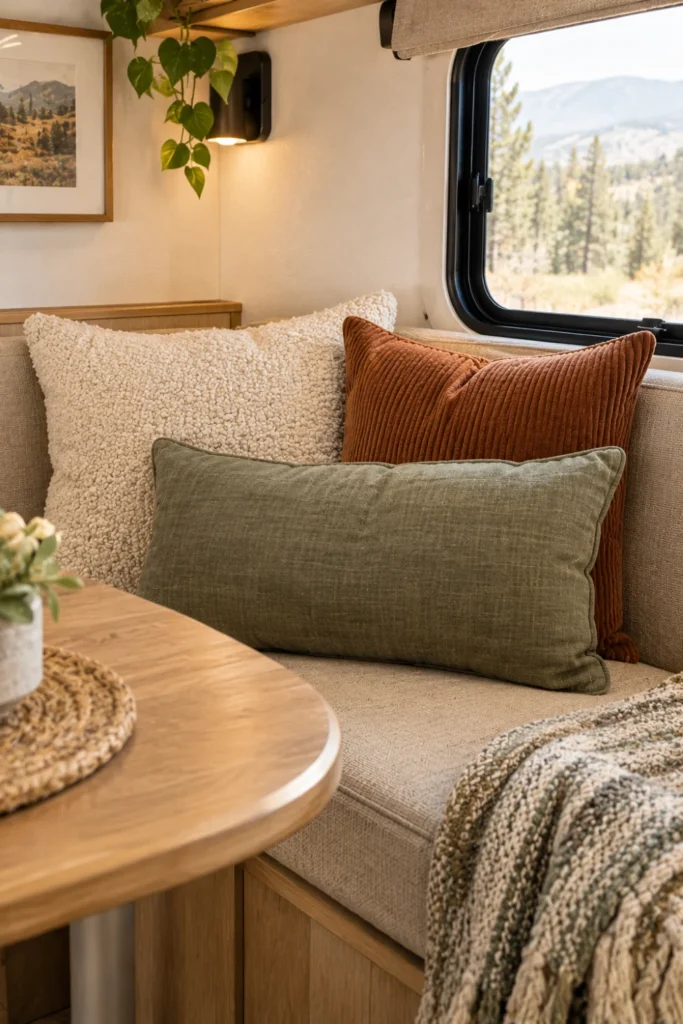
A quick swap of accent pillows can break up flat factory furniture without adding noticeable weight to your rig. Instead of matching sets, mix contrasting weaves like boucle, chunky cotton knit, and washed corduroy.
Stick with durable covers that feature zipper closures so you can strip them down for washing after sandy outdoor weekends.
- Choose down-alternative inserts that bounce back easily after being packed into camper storage.
- Mix warm forest green, clay rust, and ivory tones to connect the interior with outside views.
- Limit yourself to three or four pillows so you do not have to move a mountain of fabric every bedtime.
Camper Pillow Essentials
7. Install Slim Wooden Picture Ledges Behind the Sofa
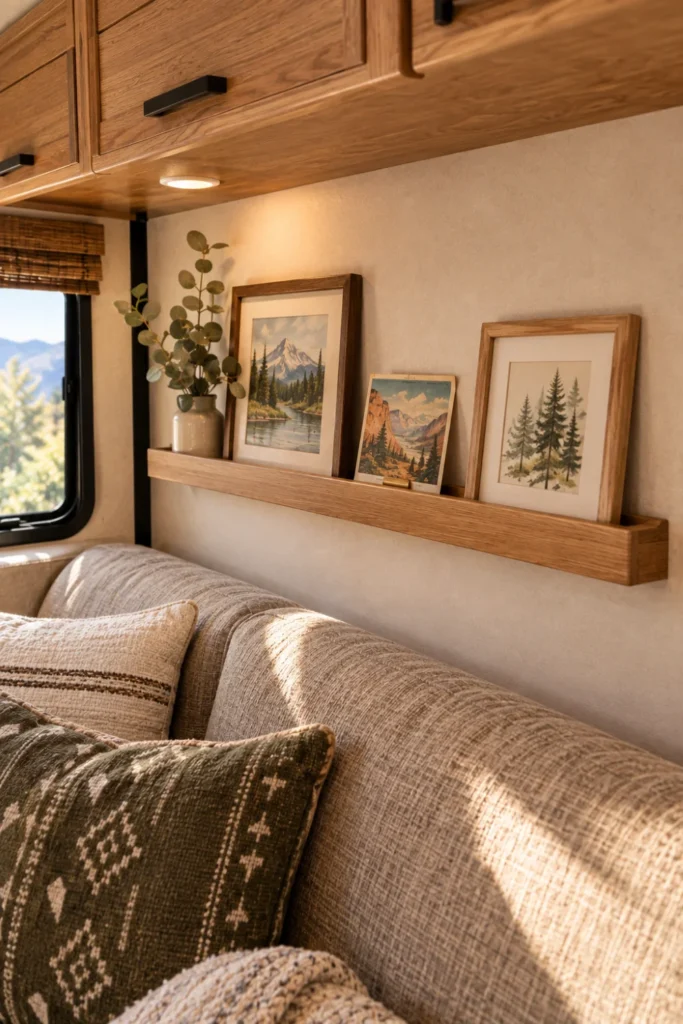
Traditional hanging picture frames rattle against the walls on bumpy mountain passes. A low-profile wooden picture ledge gives you a stable spot to display family photos, mini postcards, and small prints without permanent frame mounting.
Because the ledge sits flat against the wall, it keeps your living area styled without eating up valuable head clearance above the couch cushions.
- Use museum putty beneath each frame base to secure items during travel.
- Keep ledge depth under 2.5 inches to protect sofa headroom.
- Fasten directly into wall studs or use hollow-wall butterfly anchors.
8. Swap the Bulky Booth Table for a Drop-Leaf Wood Top
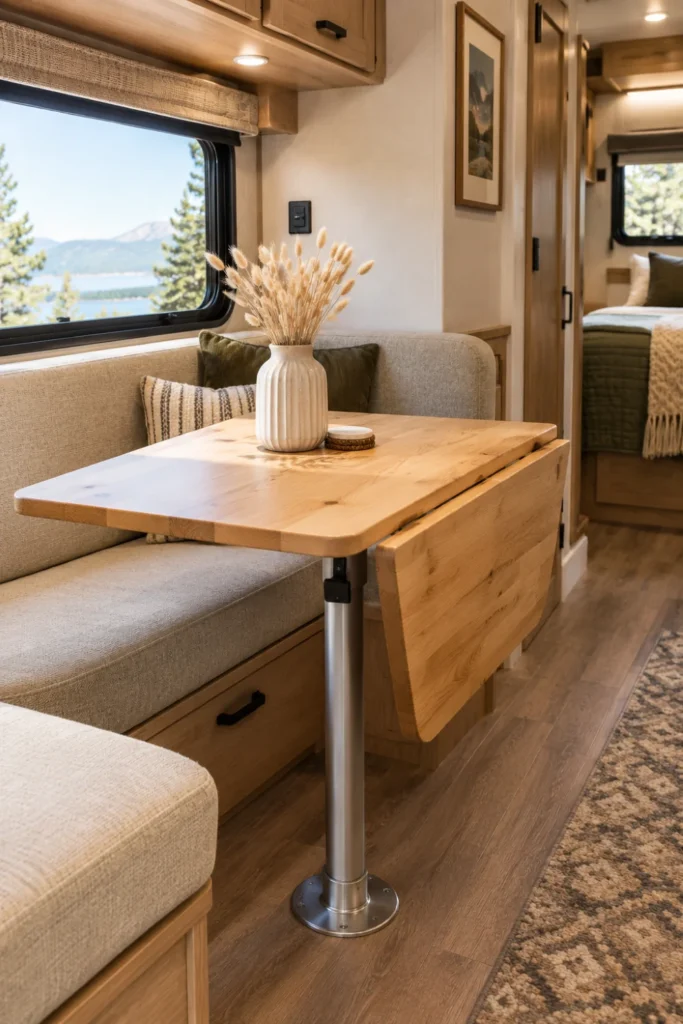
Factory dinette tables are often heavy, laminate slabs that lock your seating layout into place. Replacing the top with a lightweight birch or pine drop-leaf surface gives you an open, airy living area whenever mealtime is over.
A swivel mount base lets you slide the tabletop against the wall to free up prime floor space for stretching out.
- Unscrew the factory pedestal pole and remove the stock laminate tabletop.
- Bolt a Lagun-style adjustable swivel arm to the dinette bench frame.
- Attach a custom drop-leaf solid wood panel sealed with matte water-based polyurethane.
Remove factory poles and unbolt the factory laminate top.
Secure a 360-degree swivel arm directly into the reinforced bench framing.
Fasten a lightweight fold-down top that tucks away when not in use.
9. Tuck Soft Storage Ottomans Under the Entertainment Center
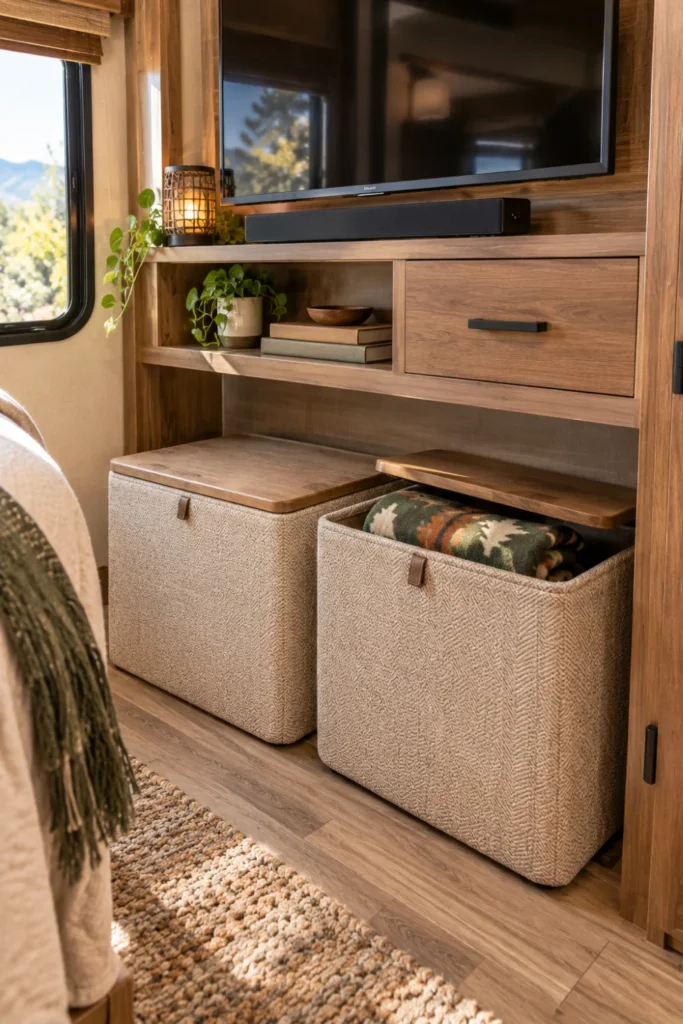
Hard plastic bins ruin the warm look of a living room, but loose gear needs a dedicated spot. Collapsible upholstered storage cubes solve both problems at once by serving as footrests, extra seats, and hidden blanket storage.
When tucked under an entertainment console or slide-out overhang, they soften boxy corners and prevent wasted floor space.
- Choose cubes with removable wooden lids that double as small coffee trays.
- Stash extra fleece throws, board games, or dog towels inside.
- Fold them flat and slide them under the sofa mattress during long haul travel.
Every piece of living room furniture in an RV must serve at least two purposes: seating, surface, or hidden storage.
10. Add Peel-and-Stick Faux Brick Along the Main Feature Wall
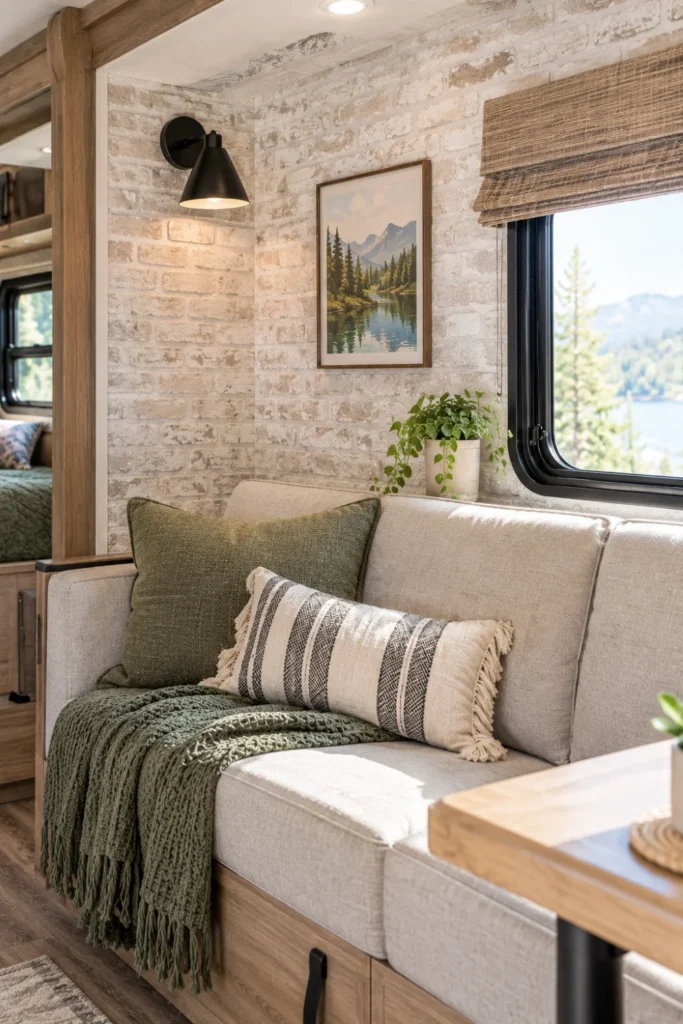
Camper interiors often suffer from endless beige wallpaper panels broken up by cheap plastic batten strips. Covering one focal wall behind your sofa with lightweight 3D peel-and-stick tile brings immediate warmth and architectural depth.
Because campers experience extreme shifts in heat and humidity between seasons, proper wall prep is critical to keep adhesive sheets from curling.
⚠️ Watch Out
Wipe vinyl wall panels with isopropyl alcohol and spray a light mist of high-temp spray adhesive before applying tiles to handle seasonal temperature swings.
- Pick textured vinyl or lightweight foam tiles rather than heavy real stone composites.
- Run adhesive tiles over the vertical wall seam battens for a clean, flat surface.
- Stick to one feature wall to keep the overall look open and uncluttered.
11. Use Brass Rail Sconce Clamps on Open Shelving
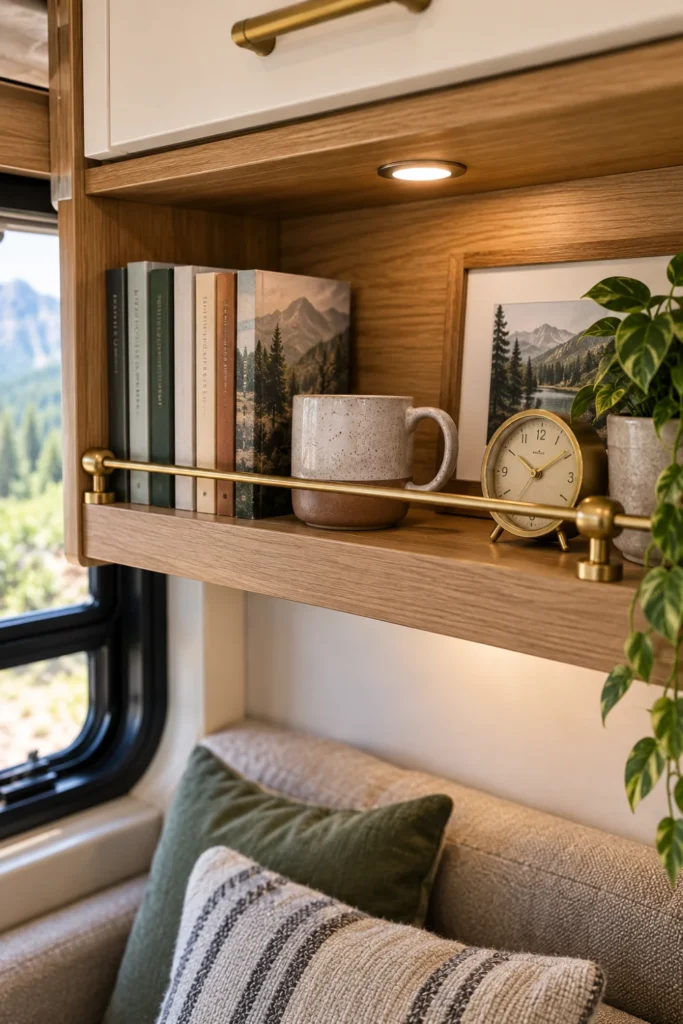
Open storage shelves look great in camper renovations, but everything on them will slide off the moment you hit highway speeds. Installing low brass guardrails or marine railing keeps small books, candles, and jars safely in place.
The warm brass tone also breaks up cool wood finishes and coordinates nicely with matte black camper hardware.
- Mount solid brass gallery rails along the front edge of overhead cubbies.
- Use brass rod clips to create custom lengths for odd-sized factory nooks.
- Secure items with a tiny dab of clear museum wax on the base for added peace of mind.
12. Drape a Chunky Knit Throw Over Worn Dinette Seats
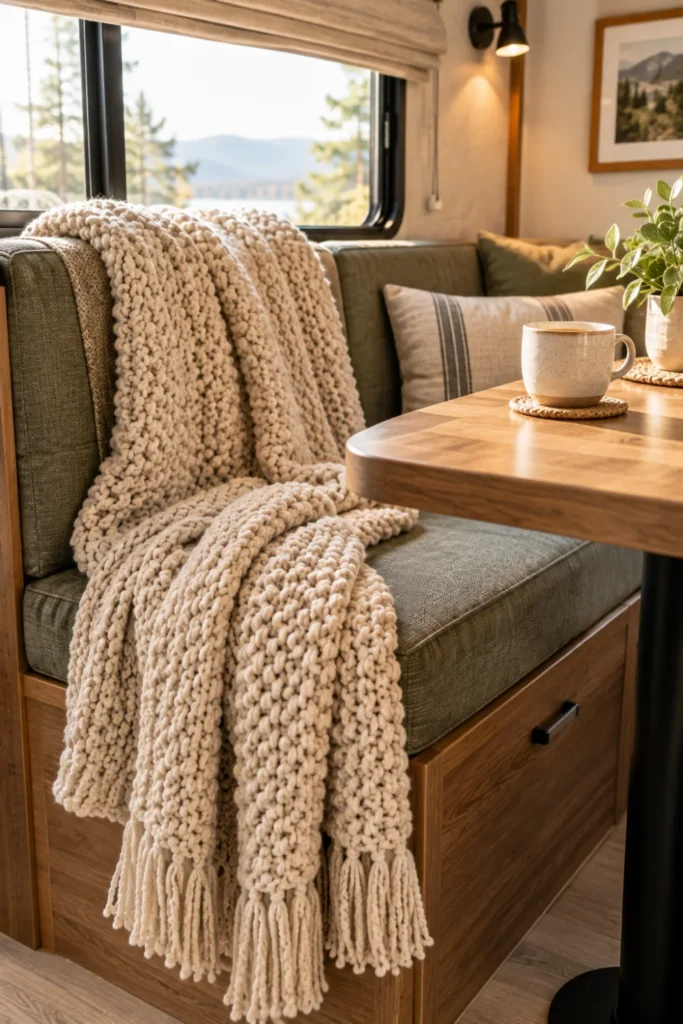
When you do not have the time or budget to reupholster peeling dinette cushions, an oversized cable-knit throw blanket offers an instant styling fix.
Draping the blanket casually over the seat back hides seams and brings an inviting, layered look to the dining nook.
Dinette Styling Checklist
- Look for acrylic or polyester knit blends that hold up to heavy use without stretching out.
- Keep a secondary lighter muslin blanket on hand for warmer summer nights.
- Shake the blanket outside every morning to keep campsite dirt off the cushions.
13. Mount an Ultra-Thin Frame TV with Art Mode
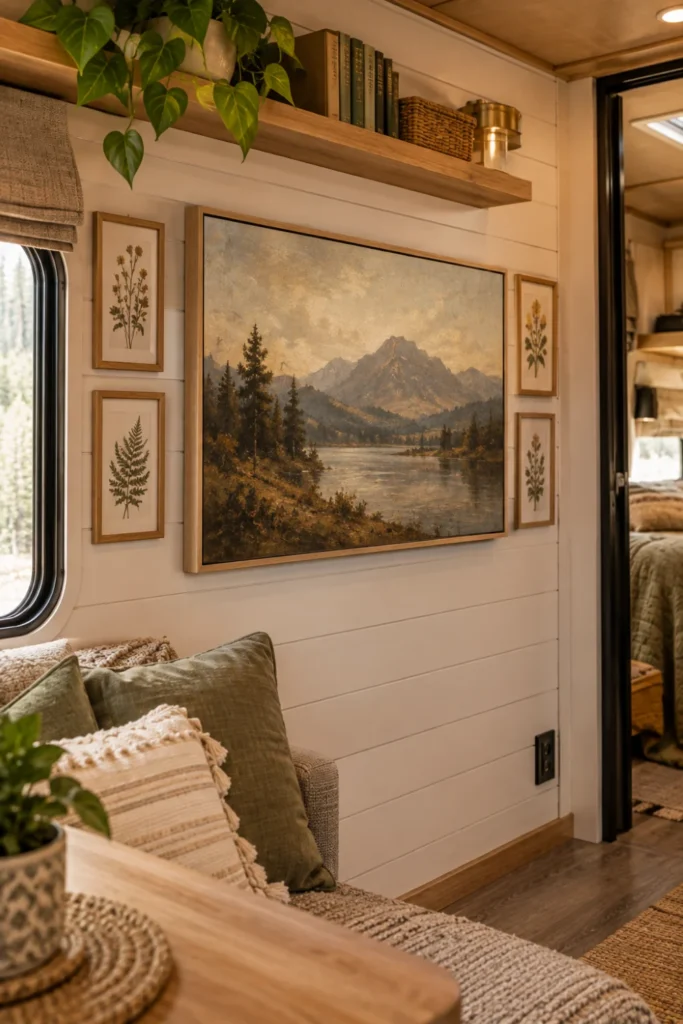
A giant black plastic screen dominating a tiny RV living area instantly pulls the focus away from your cozy decor. Replacing an old bulky television with an ultra-thin frame display turns that blank tech wall into a rotating gallery piece.
When the screen is turned off, ambient landscape paintings or national park vintage prints display softly in the background.
Heavy plastic bezel, visible cords hanging down the wall, and a large black void when off.
Flush wood frame profile, matte screen finish, and beautiful curated landscape artwork.
- Use a locking RV travel bracket to secure the thin frame flush against the wall stud.
- Hide power cables behind a paintable cord cover that matches your wall color.
- Set the screen brightness to automatic so it dims naturally at sunset.
14. Soften Hard Slide Corners with Faux Trailing Greenery
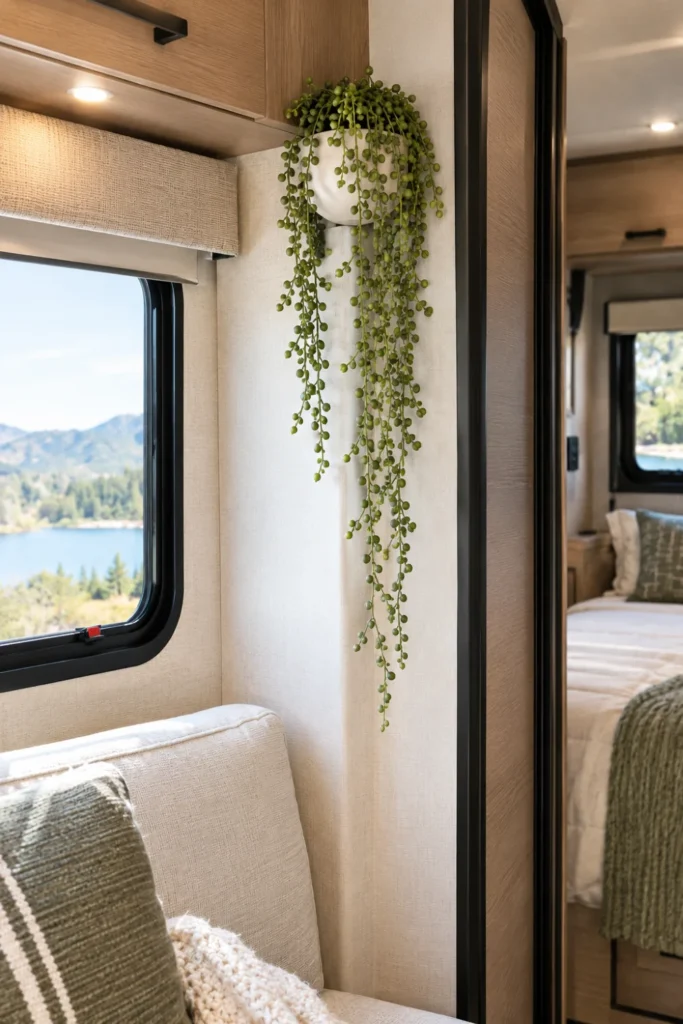
Camper slide-outs create sharp, boxy lines that emphasize the rigid construction of travel trailers. Introducing trailing foliage draws the eye upward and rounds out harsh structural corners.
While live houseplants struggle with extreme RV cabin temperatures and low sunlight during storage, quality faux plants stay lush all year long.
| Plant Style | Live RV Houseplants | High-End Faux Stems |
| Watering Needs | Requires careful watering schedules | Zero water spills on bumpy roads |
| Storage Hardiness | Suffers in winterized campers | Unaffected by cold storage temps |
| Weight Factor | Heavy soil pots that can tip | Lightweight plastic and silk stems |
| Feature | Live Houseplants | Realistic Faux Stems |
|---|---|---|
| Travel Durability | Dirt spills easily around tight turns | Stays firmly in place on ledges |
| Winter Storage | Must be brought inside the home | Safe to leave in trailer all winter |
15. Install Warm Strip Lighting Under Upper Overhead Cabinets
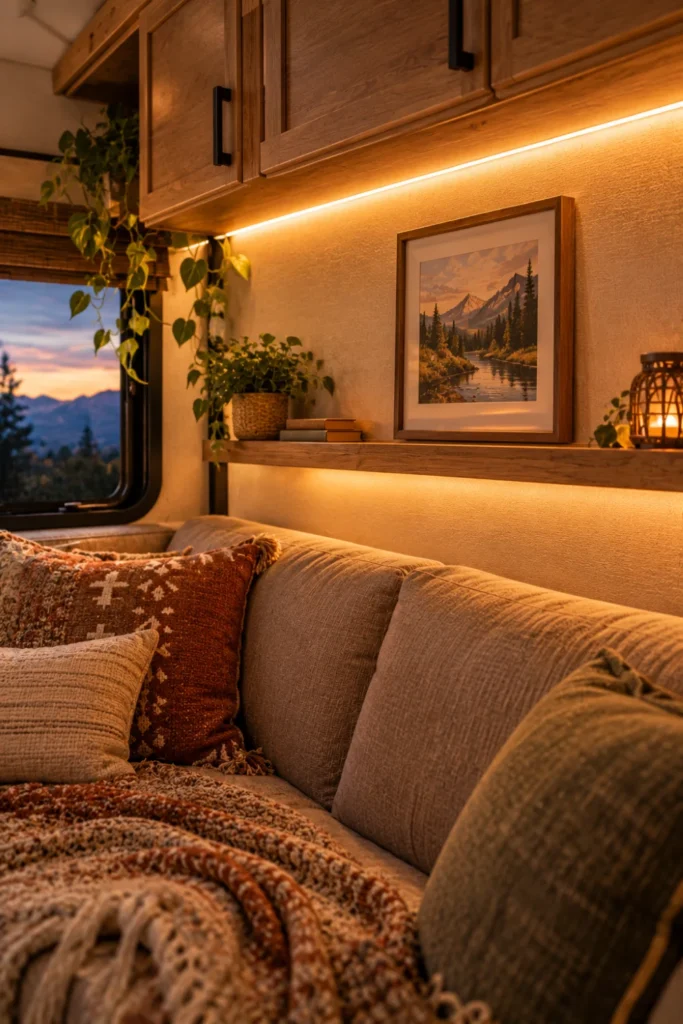
Ceiling dome lights create harsh shadows that make small living rooms feel cramped and closed-in. Tucking slim LED strip lighting beneath the upper cabinets casts an indirect glow downward across your countertops and seating.
This soft, ambient wash provides plenty of visibility for cooking dinner or watching movies without straining your eyes.
- Choose warm white strips rated between 2700K and 3000K to avoid cold blue tones.
- Wire them into an auxiliary switch or use a battery-powered sensor bar.
- Diffuse the lights using a slim aluminum track with a frosted milky cover for a seamless look.
Hidden, indirect lighting under upper cabinets creates depth and gives compact camper walls an instantly larger, cozier feel.
Bringing It All Together
Transforming your camper into a comfortable retreat does not require a massive overhaul or costly custom carpentry. By tackling simple upgrades like warmer lighting, slipcovered seating, and lightweight wall accents, you can easily turn sterile factory spaces into a cozy sanctuary. Try picking two or three quick weekend projects to start, and enjoy how much more welcoming your trailer feels on your next road trip.
Save this list to your RV board on Pinterest so you have these styling ideas handy for your next camper upgrade!

