
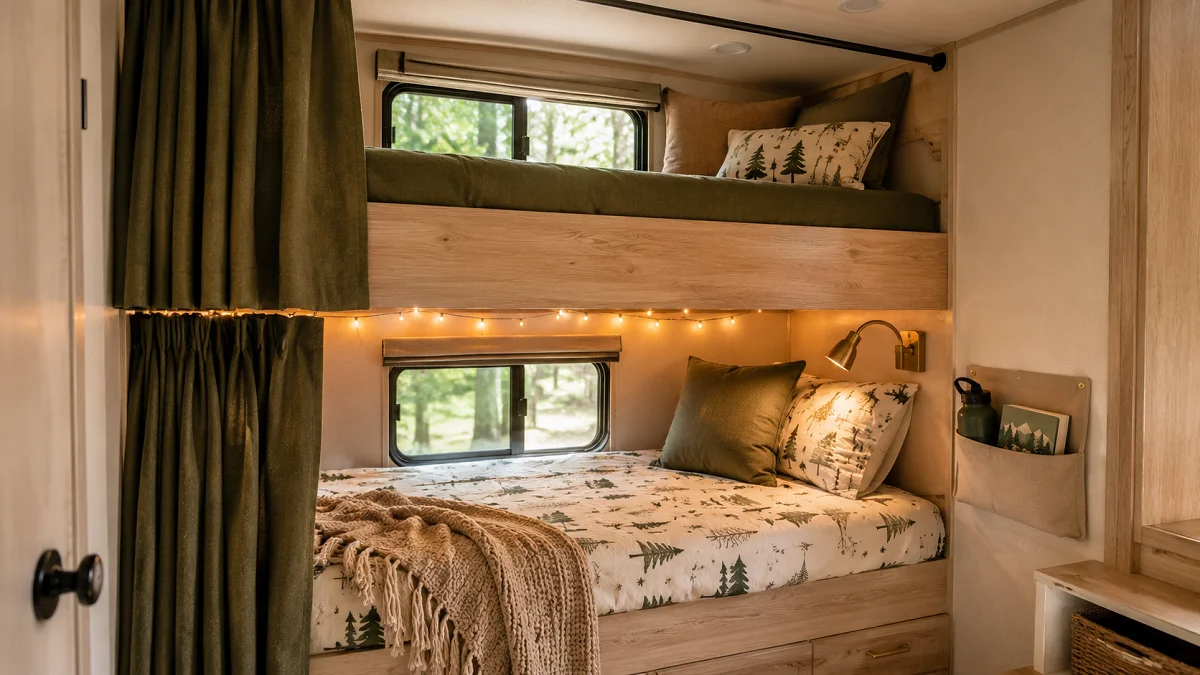
RV bunks often feel like dark, cramped cargo cubbies rather than cozy sleeping spaces. Between paper-thin factory foam, icy exterior walls, and tight dimensions, children regularly resist climbing in when bedtime arrives. Getting kids settled after a long day of hiking or driving should not turn into an hour of negotiations.
A few deliberate changes turn standard bunks into personalized micro-cabins that children look forward to retreating into. Focusing on acoustic separation, proper body support, and functional organization makes these small alcoves functional and welcoming. With the right adjustments to airflow, lighting, and textiles, family travel becomes noticeably smoother for everyone on board.
1. Mount Blackout Track Curtains on Ceiling Sliders for Instant Fort Privacy
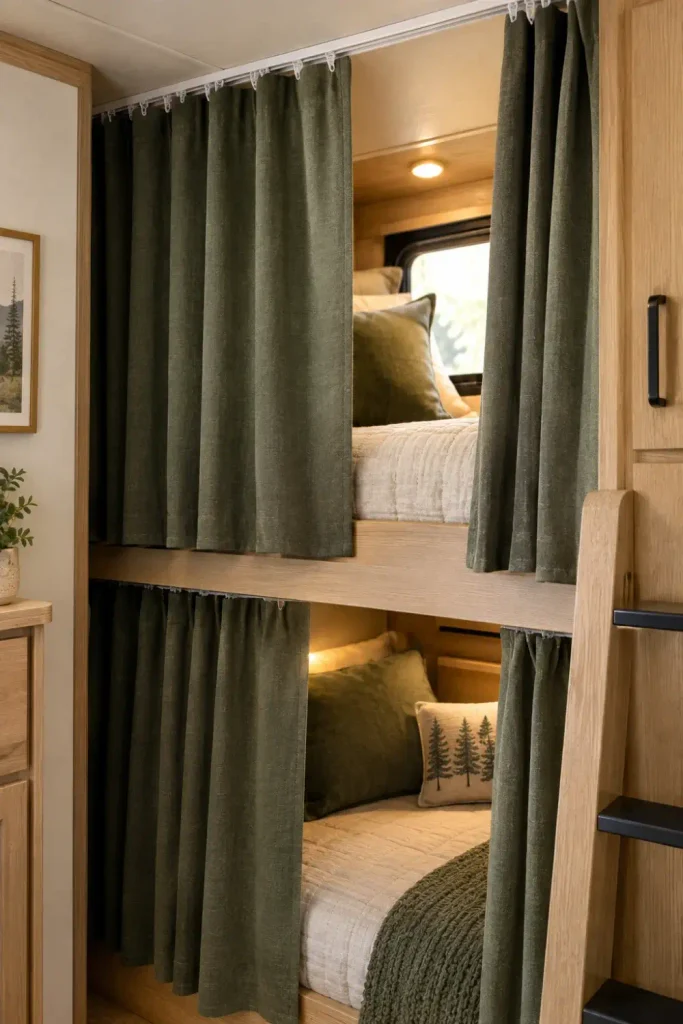
Standard RV bunks leave sleepers exposed to galley light, kitchen chatter, and the television screen. Adding a ceiling-mounted flexible track creates an enclosed den where younger travelers can drift off even while adults stay up talking.
Heavier blackout fabrics pull double duty by deadening cabin acoustics and blocking drafts from uninsulated slide-outs. Opt for tracks with snap carriers so curious hands will not easily yank the sliders off their glide paths.
- Fabric Weight: Look for three-pass microfiber options that resist damp camping air.
- Track Fasteners: Use 3/4-inch hollow wall anchor screws directly into ceiling plywood backers.
- Edge Tie-Backs: Add magnetic tie-backs near the frame to keep pathways open during travel days.
Harsh cabin lighting pours directly into bunks while low-frequency television noise disrupts bedtime routines.
A completely dimmed personal cocoon that dampens interior chatter and lets young sleepers reset without outside distraction.
2. Swap Factory Cardboard Mattresses for Cut-to-Size High-Density Foam
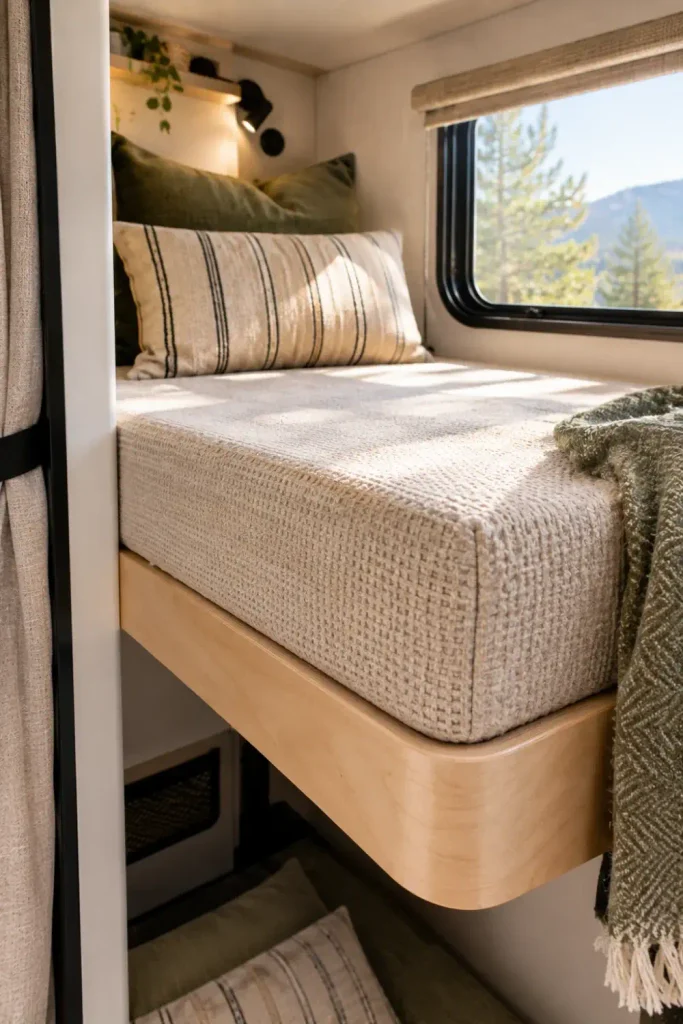
Most stock travel trailer mattresses consist of low-density synthetic foam wrapped in slippery, scratchy nylon. Children toss and turn because the thin material bottoms out against the bare subfloor within an hour.
Ordering a custom slab of 4-inch to 5-inch medium-firm polyurethane foam instantly upgrades sleep quality. Because RV bunk corners often feature unusual angle cuts or curve radii, trimming standard foam yields a far superior fit compared to retail pads.
- Measure the bunk platform dimensions twice, taking note of any clipped corners near bathroom walls.
- Trace the factory mattress contour directly onto the new foam block using a water-soluble fabric pen.
- Mist your slicing blade with silicone lubricant to avoid tearing the core material during long cuts.
💡 Clean Edge Pro Tip
Use an ordinary serrated electric kitchen carving knife to slice high-density foam in steady passes. It produces razor-sharp factory edges without leaving shredded foam crumbs inside the trailer.
3. Install Recessed USB Reading Wands so Cords Never Cross the Bedding
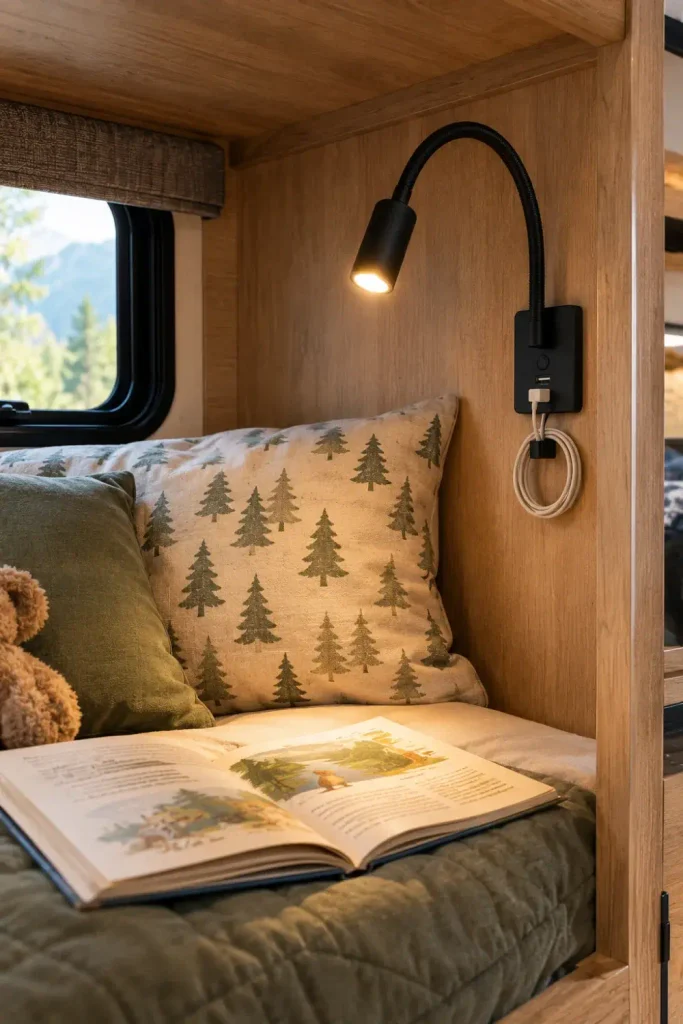
Tangled phone and tablet cords present real tripping and choking hazards inside narrow bunk quarters. Trailing long cables from wall outlets across bunks creates mess and risks damaged charging ports during restless nights.
Mounting a small 12-volt gooseneck reading light directly to the headboard wall supplies warm personal task lighting without flooding the entire bedroom. Units with built-in USB ports let devices charge flat against the wall rather than under pillows where they can overheat.
| Feature Target | Recommended Value | Installation Detail |
|---|---|---|
| Power Feed | 12V DC tap from ceiling lights | Splice behind interior trim with crimp caps |
| Color Temp | 2700K to 3000K warm white | Minimizes blue-spectrum light before sleep |
| Lumens Output | 120 to 180 lumens | Focuses light pool strictly inside one bunk |
4. Hang Soft Canvas Wall Pockets at Feet Level for Books and Water Bottles
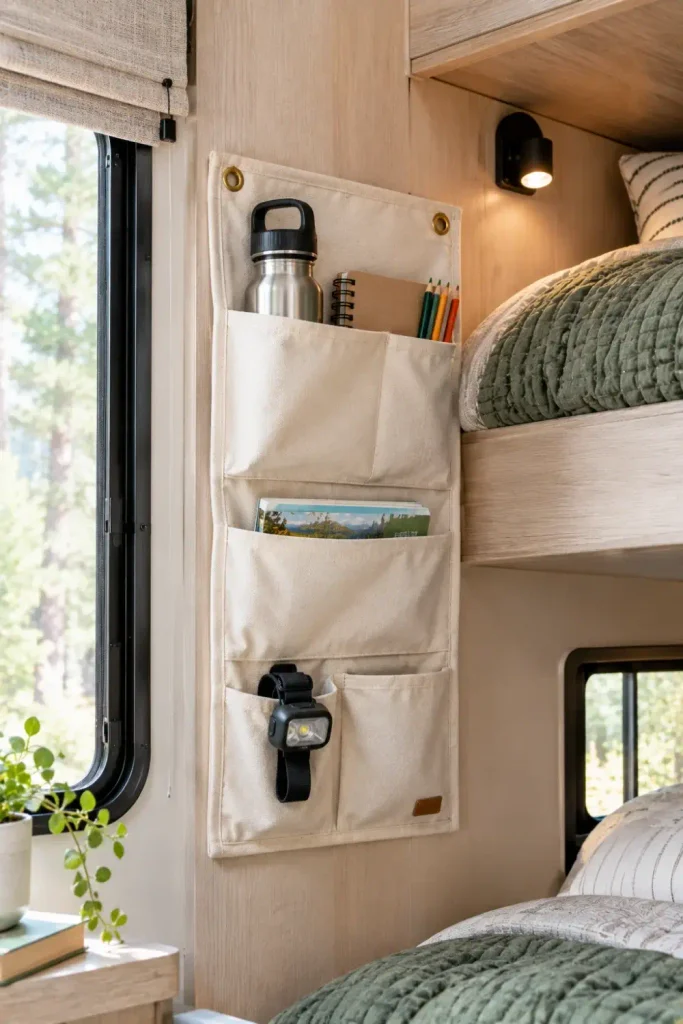
Small bunks quickly become disorganized when personal items like stuffed animals, paperbacks, and water bottles sit directly on the mattress. A crowded bed reduces usable sleeping width and creates clutter.
Heavy-duty canvas bedside organizers hung near the foot of the bed keep loose items off the sheets. Securing the organizers to the lower wall prevents kids from knocking essentials onto the floor in the middle of the night.
- Mount pockets on the footwall instead of the sidewall to preserve maximum shoulder space.
- Select organizers with reinforced grommets to prevent tearing from heavy insulated tumblers.
- Fasten through wood framing studs or use screw-in anchors rated for thin luan paneling.
Nightstand Pocket Checklist
5. Pad Raw Wooden Ladder Rungs with Split Foam Pipe Insulation
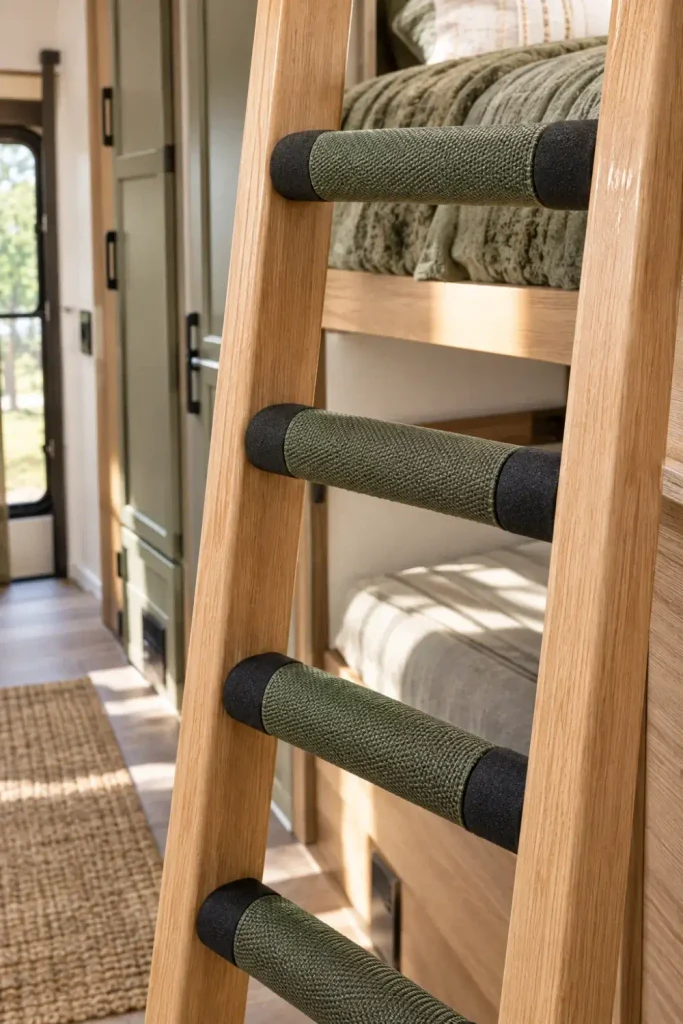
Climbing up into high bunks with bare feet can hurt when stepping on narrow, unpadded wooden ladder rungs. The discomfort makes kids hesitant to climb into bed on their own.
Covering the rungs with split-foam insulation wrapped in weather-resistant tape cushions each step. This simple adjustment provides better grip and makes late-night bathroom trips safer and quieter.
Use dense closed-cell rubber pipe sleeves that resist compression.
Wrap rungs tightly with textured silicone grip tape for dependable traction.
Do not secure foam with plastic cable ties that leave sharp, exposed tails.
Avoid slick duct tape that becomes sticky and slides around in warm weather.
- Measure the width of each horizontal rung step carefully before buying materials.
- Slit semi-rigid foam along its factory seam and wrap it cleanly over the contact tread.
- Bind each rung using self-fusing tape wrapped counter-clockwise with a 50 percent overlap.
6. Line the Exterior Cold Wall with Quilted Peel-and-Stick Upholstery Panels
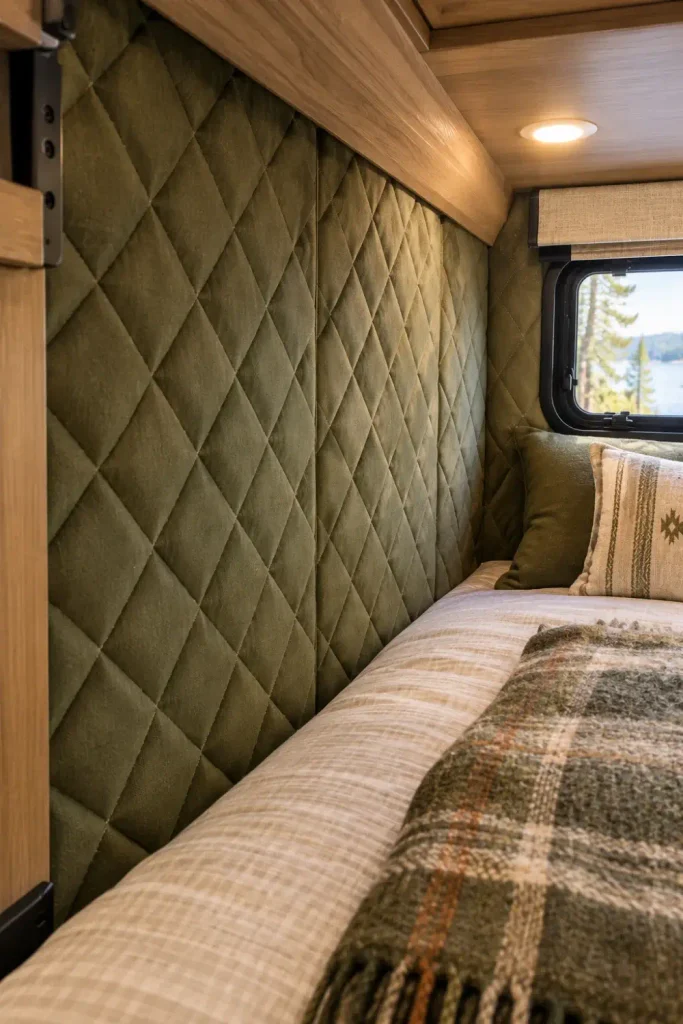
Thin camper walls easily transfer outside temperatures directly into the bunk area. When children shift against the exterior wall at night, the sudden chill often wakes them up.
Adding foam-backed wall panels insulates the bed and keeps the sleeping surface warmer. They also cushion against bumps when the trailer moves and soften sounds from the campground outside.
| Bunk Environment Factor | Standard Luan Wall | Quilted Panel Wall |
|---|---|---|
| Thermal Barrier | Transfers freezing outside temperatures | Cushioned buffer stops conduction chills |
| Sound Deadening | Amplifies gravel and site noise | Absorbs high-frequency camp chatter |
| Cleaning Effort | Shows scuffs and shoe heel marks | Wipes clean with mild soapy water |
- Thoroughly wipe down walls with rubbing alcohol before placing adhesive panels.
- Leave a 1/2-inch air gap along the bottom edge so ambient heat circulates smoothly.
- Choose marine-grade vinyl or performance fabric to resist moisture and condensation.
7. Fasten Fitted Sheet Fasteners or Zip-On Bedding to End the Daily Crawl
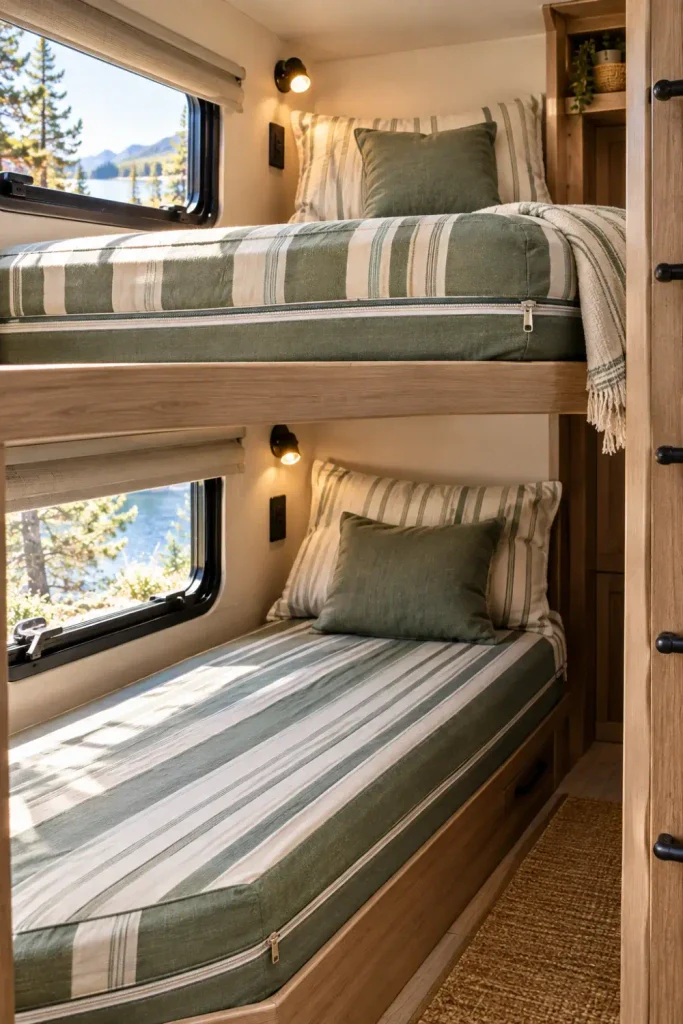
Making an RV bunk requires awkward reaching, twisting, and crawling into cramped corners. Traditional sheets pull loose easily, leaving kids tangled in bunched bedding by morning.
Using zippered bedding systems or heavy-duty elastic bottom clips keeps sheets smooth and firmly anchored. Once installed, kids can easily tidy their own beds by pulling a single zipper along the edge.
Cross-locking elastic tension straps beneath the mattress turn an annoying chore into a five-second zip each morning.
- Three-Way Locking Clips: Anchor mattress corners securely without tearing thin sheet materials.
- Integrated Zip Shells: Combine mattress protectors, base sheets, and light blankets into one unit.
- Quick Linen Changes: Detach the top blanket layer for washing without wrestling the mattress out of the alcove.
8. Add Warm Low-Voltage Fairy Lights Under the Top Bunk Frame
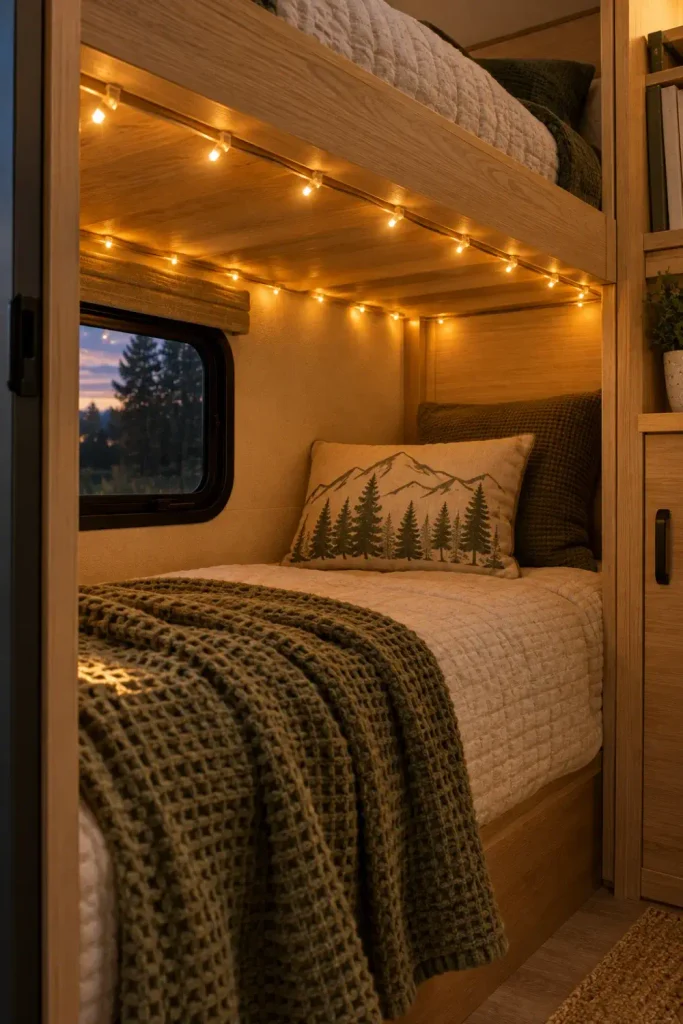
Bottom bunks can feel like dark tunnels because overhead ceiling fixtures rarely reach into lower berths. Relying on harsh, direct lights can make it harder for children to wind down before sleep.
Stringing warm copper fairy lights along the bottom edge of the top bunk frame adds a gentle, comforting glow. This indirect lighting creates a cozy camp ambiance that makes reading and settling in easier.
Degrease the bare underside of the wood frame using isopropyl alcohol to ensure adhesive clips stay put during summer heat.
Press clear cable clips every ten inches along the frame interior to support the strand without snagging blankets.
Plug the string into a compact USB power bank with a 6-hour auto shut-off timer to save your RV battery bank.
- Select lights encased in durable silicone tubing to protect fragile wires from snagging on restless feet.
- Keep the power switch within easy reach of the pillow so kids can turn it off without getting out of bed.
- Choose warm 2400K amber LEDs to minimize sleep-disrupting blue light wavelengths.
9. Secure Lightweight Cargo Netting Across the Frame for Toddler Roll Protection
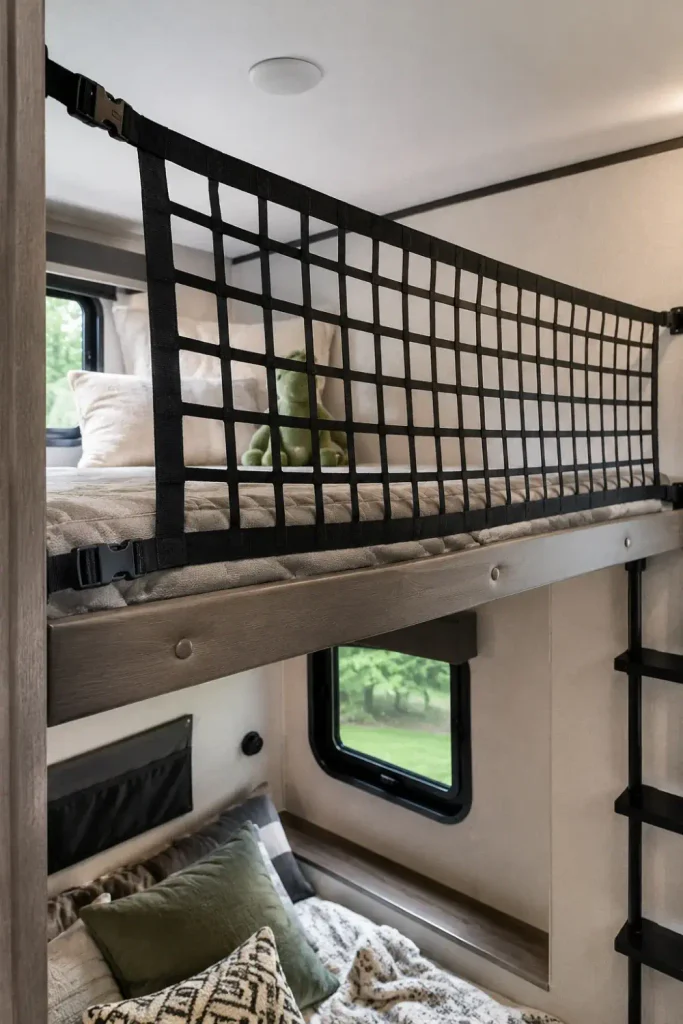
Top RV bunks rarely come with secure safety rails from the factory, making parents worry about kids rolling out during the night. Bulky wooden aftermarket rails take up precious space in narrow camper aisles and block easy access.
Heavy-duty nylon cargo nets offer secure fall protection while rolling up out of the way during the day. Their flexible weave provides reliable protection without feeling overly restrictive or closing off the bunk.
- Fasten lower net brackets into structural bed framework using through-bolts with locking nuts.
- Attach quick-release marine clips along the top edge so adults can open the net instantly.
- Check strap tension regularly to keep the barrier firm against nighttime movement.
10. Stick Magnetic Dry-Erase Boards to the Foot Wall for Daily Camp Art
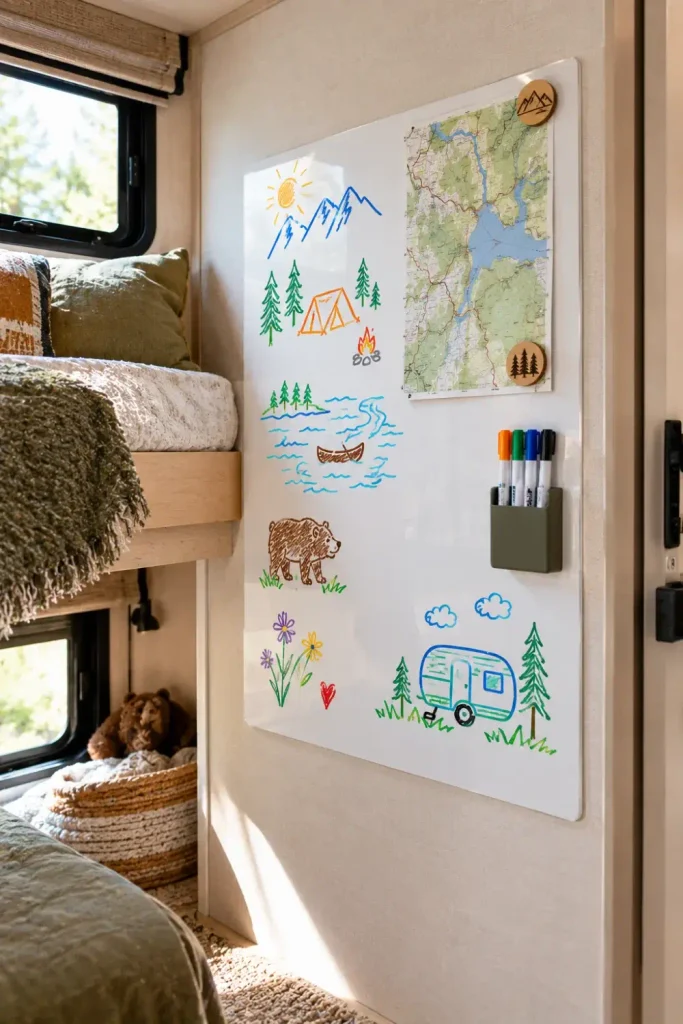
Giving children their own space to personalize helps them feel more at home in the camper. A dedicated area for campsite checklists, drawings, and notes keeps personal clutter off the walls.
Mounting lightweight magnetic dry-erase sheets on the footwall provides an easy creative spot without adding extra weight. It gives kids a dedicated area to track junior ranger badges, display post-hike notes, and keep markers organized.
⚠️ Essential Hardware Warning
Never hang heavy glass marker boards or framed slate signs inside RV bunks. Heavy wall hangings can easily shake loose on bumpy washboard roads and risk injuring sleeping kids.
- Choose peel-and-stick magnetic vinyl panels that lie completely flat against the wall.
- Keep dry-erase markers organized in an adhesive cup attached beside the board.
- Use flat magnetic discs to display postcards, trail maps, and daily campground schedules.
11. Place Breathable Anti-Moisture Mesh Beneath Mattresses to Stop Condensation
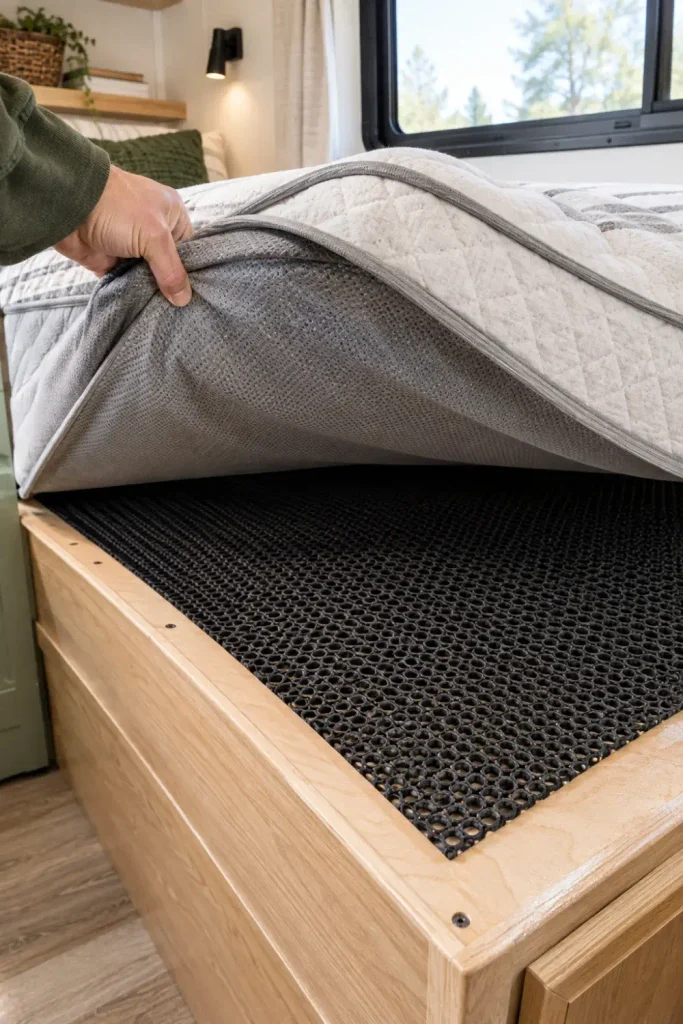
Condensation quickly gathers beneath RV mattresses due to poor airflow over cold subfloor plywood. Body warmth above combined with cool storage compartments below can create damp spots within a few days.
Placing a breathable mesh layer under the mattress allows continuous airflow beneath the bed. This simple step keeps bedding dry and prevents hidden mold and mildew from forming.
Place a 3/4-inch woven polymer underlay directly over the bare plywood frame.
Leave the space under the mattress clear so warmth can circulate naturally.
Do not lay foam directly on painted plywood without airflow beneath it.
Avoid waterproof vinyl sheets that trap condensation under the bedding core.
- Remove the bunk mattress and wipe down the wooden platform with mild vinegar to clear surface dust.
- Trim open-weave marine underlayment using utility shears to match the bunk footprint.
- Set the underlayment flat with its rough airflow side facing up toward the mattress underside.
12. Tuck Foldable Felt Storage Cubes into the Dead Space Behind the Ladder
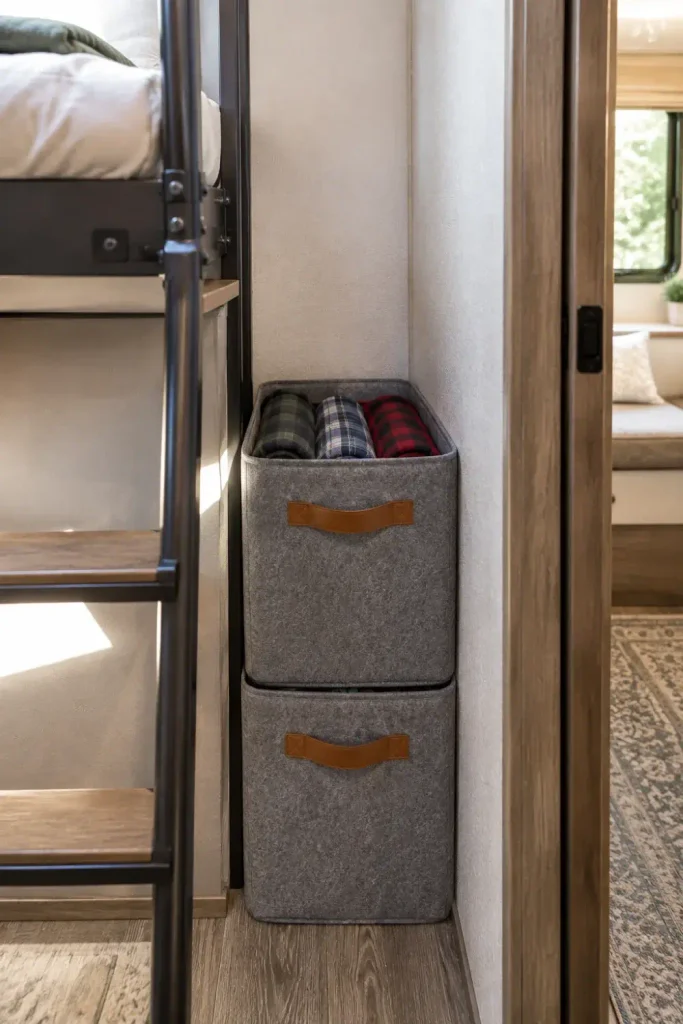
The gap between the bunk ladder and the interior wall often goes unused on family road trips. This open space tends to collect stray shoes, tangled jackets, and fallen stuffed animals.
Collapsible felt storage bins slide neatly into this space, turning clutter into usable storage. Unlike hard plastic bins, flexible felt edges move without scuffing wall panels or rattling loudly while driving.
- ▸Bedtime Apparel: Keeps next-morning socks, flannel camp shirts, and pajamas within easy reach.
- ▸Nighttime Lights: Stores handheld trail lanterns, extra batteries, and spare flashlights.
- ▸Trail Footwear: Holds lightweight camp sandals and slippers up off the main floor walking path.
- Select bins with reinforced handles so younger campers can slide them in and out easily.
- Stick Velcro hook-strips to the bin bottoms to keep them from sliding around on travel days.
- Pick breathable felt materials that dry quickly after damp outdoor outings.
13. Mount a Swiveling Tablet Arm Away from Pillow Range for Rainy Day Movies
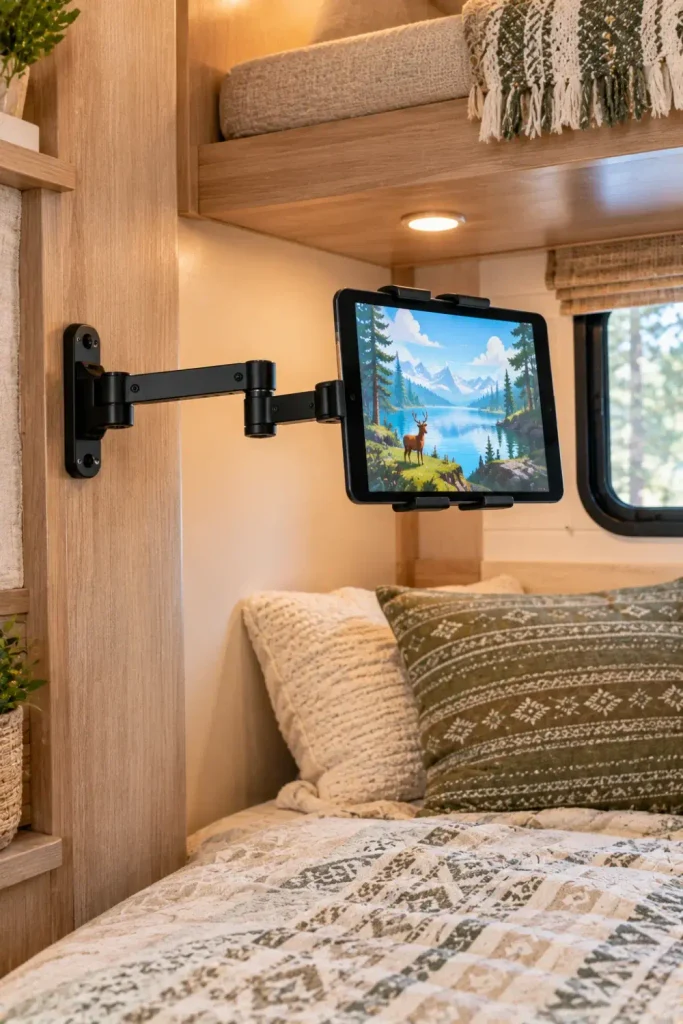
Rainy afternoons inside a camper can test anyone’s patience, especially with energetic kids cooped up inside. Holding tablets in bed often leads to sore wrists, dropped devices, and poor posture.
An adjustable aluminum wall arm mounts the screen securely at eye level near the middle of the bunk. Swiveling the arm against the wall when movie time ends keeps sleeping areas open and protected.
| Spec Metric | Target Dimension | Practical Benefit |
|---|---|---|
| Extension Span | 12 to 14 inches | Keeps the screen at a comfortable viewing distance from pillows |
| Lock Mechanism | Thumb-twist brass friction nuts | Stops the arm from shaking loose on washboard dirt roads |
| Grip Cradle | 4.7 to 11-inch padded clamp | Securely holds devices with thick protective cases attached |
- Anchor mounting screws directly into framing studs or use backing plates behind thin luan panels.
- Position the bracket far enough from the mattress edge so heads cannot bump into it when sitting up.
- Route charging cables along the articulating joints with clips to keep them from catching.
14. Give Each Kid a Focused Clip-On Personal Fan to Beat Stuffy Bunk Airflow
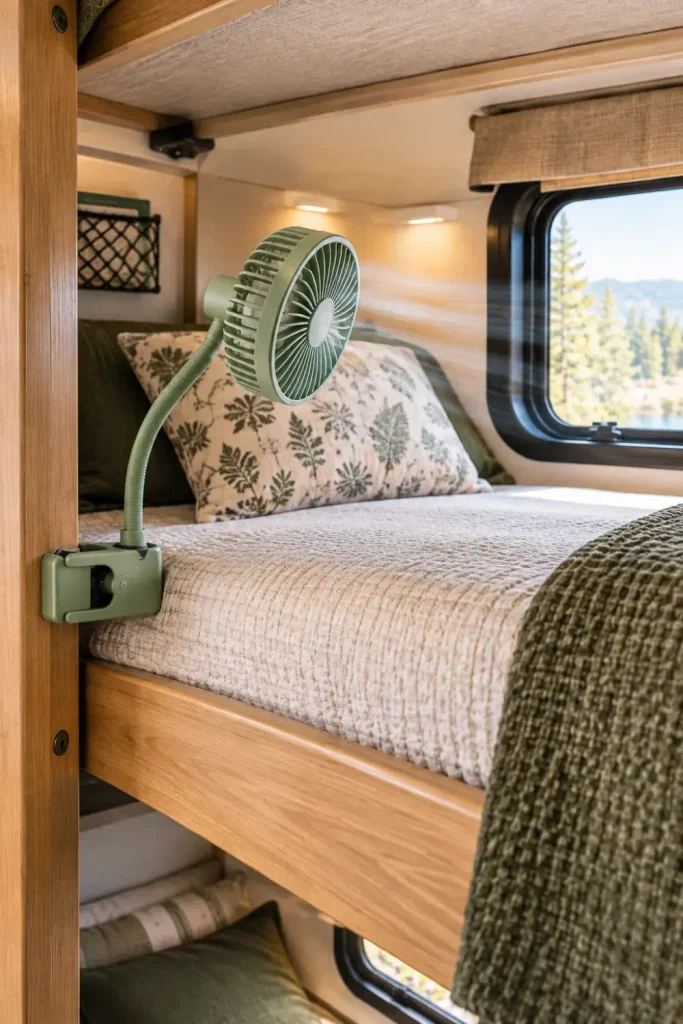
Enclosed RV bunks tend to hold warm, stagnant air, especially when privacy curtains are closed. Standard camper rooftop air vents rarely circulate enough cool air into the far back corners of small bunk spaces.
A small clip-on fan with a flexible neck delivers direct airflow without creating cold drafts across the rest of the camper. Running quiet fans creates a steady, soothing breeze and gentle white noise that helps block outside campground sounds.
- Choose compact fans with soft, covered blades or narrow grill openings to keep curious fingers safe.
- Select models with quiet brushless motors that produce gentle white noise instead of loud motor buzzing.
- Position the clamp along the foot board to circulate air across the body rather than blowing directly into the face.
Nighttime Airflow Checklist
Transforming basic travel trailer bunks into cozy, restful spaces does not require rebuilding your camper from scratch. Simple additions like dense foam mattresses, personal reading lights, and breathable mesh underlayment solve everyday issues with temperature, clutter, and comfort. These practical upgrades turn tight sleeping alcoves into welcoming private retreats that make family camping trips easier and more fun.
Save these practical upgrades to your favorite camper organization board on Pinterest so you have them ready for your next weekend project.

