
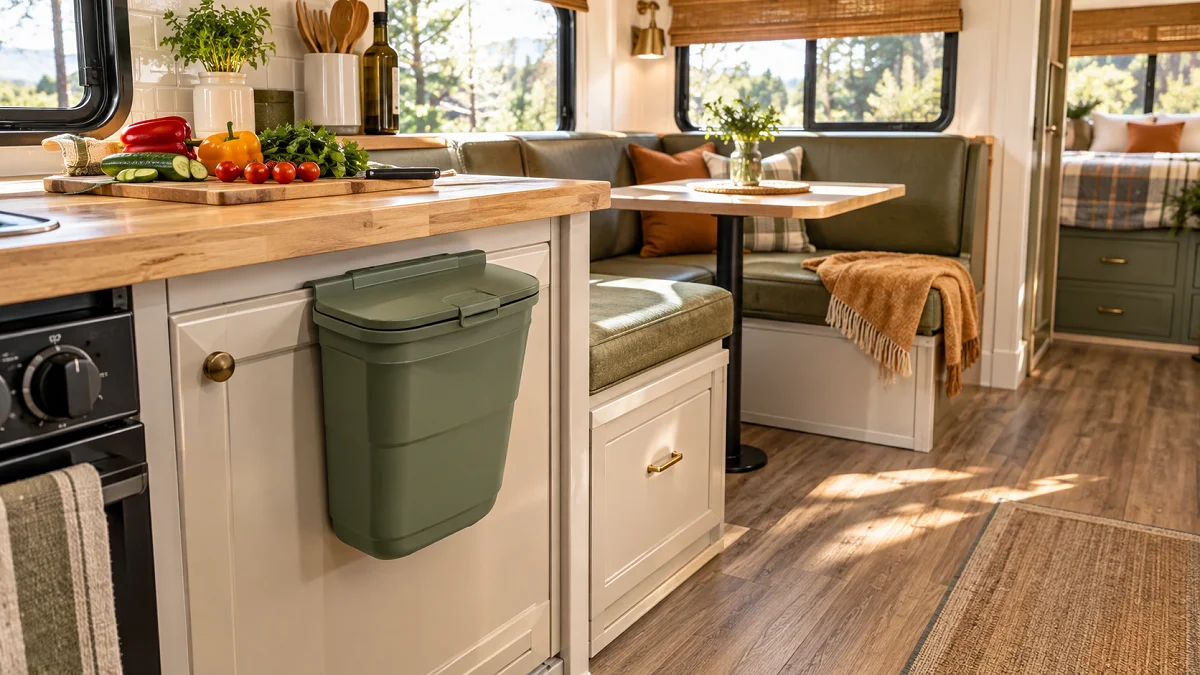
Every square foot inside an camper matters, especially when prep work begins on the galley counter. You chop onions, peel potatoes, and immediately run into the daily rig puzzle: where does the garbage actually go without tripping over a plastic bin in the middle of the hallway?
Most standard factory floor plans leave zero dedicated floor area for waste management. Tying a grocery sack to a cabinet knob works until someone brushes past it, spilling coffee grounds across the vinyl plank flooring.
Finding practical rv trash can ideas comes down to claiming unused vertical planes, interior cabinet voids, and narrow crevices that standard household bins simply cannot fit. With a few intentional hardware choices and smart placements, you can keep smells contained and walk through your camper without kicking a bucket every two steps.
1. Mount a Collapsible Hanging Bin Over the Lower Cabinet Door
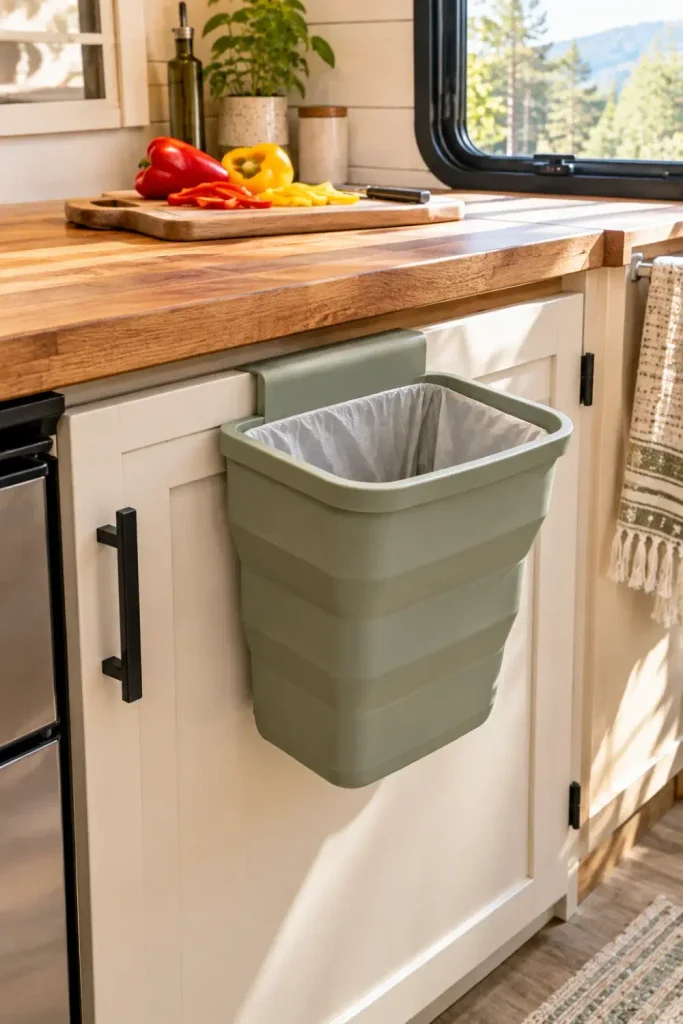
Cooking inside an RV galley means counter space disappears the second a cutting board comes out. A rigid bucket on the floor gets in the way of your feet, while an open plastic bag hung on a handle tears easily and leaks juice.
A silicone-sided collapsible bin clips directly over the top of your lower cabinet door. When you slice vegetables or scrape dinner plates, pop the bin open to its full width and swipe food scraps straight off the counter lip.
- Push the bin flat against the door when meal prep wraps up so the galley walkway stays completely clear.
- Line it with standard 4-gallon compostable bags or reused grocery sacks to save on campsite supply costs.
Grocery bags hanging from stove knobs that swing while cooking, rip open, and spill onion skins onto the galley floor.
A rigid-lipped silicone basket that hangs flush under the counter rim, popping out for prep and folding flat between meals.
2. Slide a Slim 3-Gallon Step Can Beside the Toilet Base
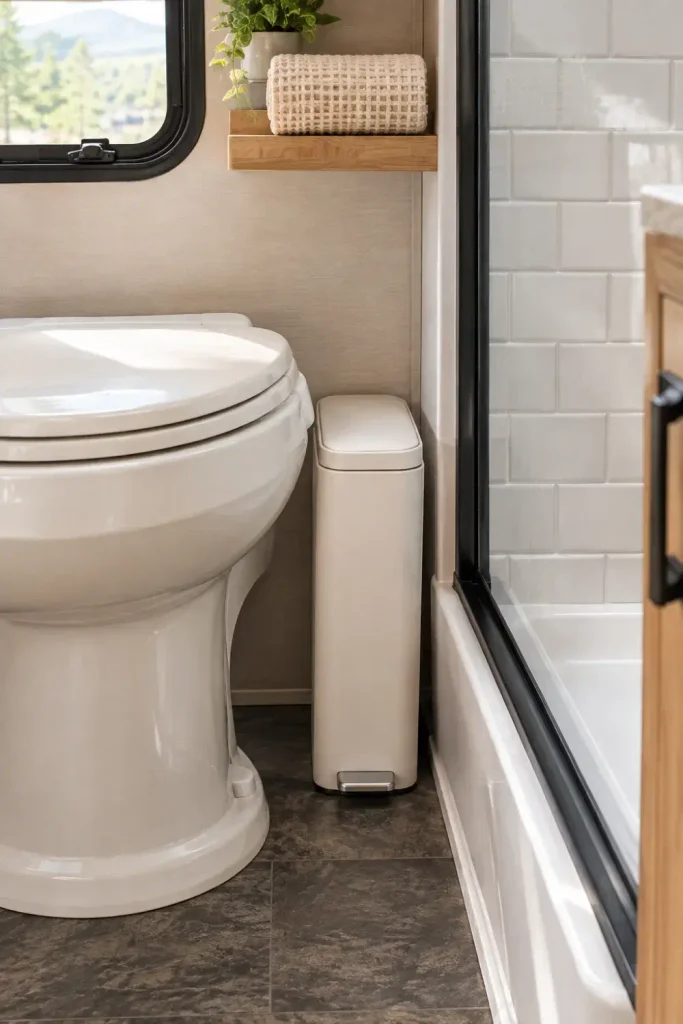
Camper bathrooms are notorious for tight knee clearances and strange wall angles caused by the wheel well or holding tank box. Leaving waste baskets out in the open makes small wet baths feel even tighter.
Tucking a thin, pedal-operated stainless or plastic bin directly between the toilet base and the shower stall wall captures dead space without blocking the door swing.
- Measure the gap between your porcelain base and the outer wall before buying, as many RV toilet alcoves measure under six inches wide.
- Choose a model with an interior removable bucket so you can lift the contents out without dragging the entire shell through the bathroom doorway.
💡 Travel Day Tip
Stretch a wide silicone gear band around the lid and base before hitching up. The step pedal will bounce on rough highway bumps, causing spring-loaded lids to pop open and spill contents if left unlatched.
3. Drop a Countertop Recessed Chute Directly Into the Lower Bin
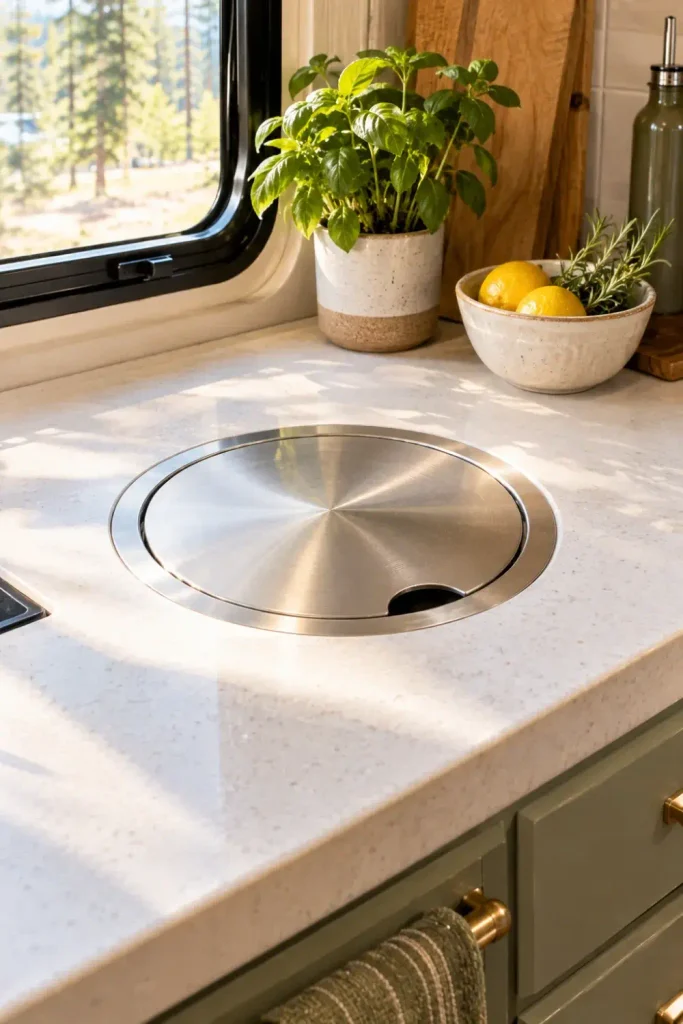
Cutting food scraps directly into a trash can saves prep towels and keeps grease off the main galley floor. High-end camper renovations often mimic yacht galleys by cutting a circular port straight through the solid surface or butcher block countertop.
A stainless steel flush ring sits level with the counter surface, sealed with silicone to keep water from seeping into the cabinetry. Below the hole, a standard tall kitchen bin collects debris inside the lower cabinet without taking up floor space.
- Cover the opening with a matched flush stainless lid fitted with an odor-blocking rubber gasket.
- Position the cut directly above the forward corner of your lower cabinet so you can still reach plumbing valves underneath.
4. Tuck an Expandable Wire-Frame Bag Holder Under the Kitchen Sink
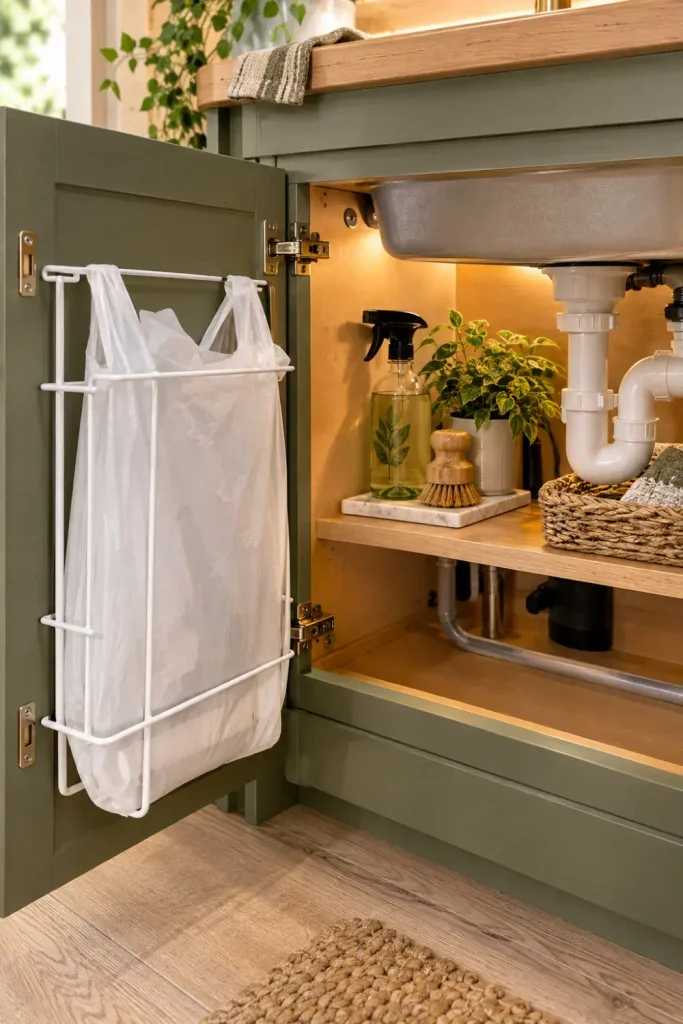
The cabinet beneath an RV kitchen sink is usually a mess of P-traps, water pump lines, and heating duct runs. Solid plastic bins rarely fit around these winding pipes, wasting the open space behind the cabinet face.
A coated wire frame mounts to the cabinet sidewall or the interior door face. It suspends standard grocery bags or 4-gallon liners by their handles, flexing around rigid plumbing curves whenever the door swings shut.
| Feature | Rigid Plastic Floor Bin | Wire-Frame Hanging Holder |
| Plumbing Fit | Collides with P-traps and water filter lines | Flexes easily around tight pipe assemblies |
| Floor Footprint | Takes up entire under-sink cabinet floor | Leaves floor open for jugs and cleaners |
| Travel Security | Slides and tips over around highway corners | Screws directly to door structure or wall |
| Selection Factor | Wire Frame Holder |
|---|---|
| Clearance Advantage | Fills awkward voids without blocking low-point water drain valves. |
| Bag Compatibility | Works with handled grocery sacks, compost sacks, and drawstring liners. |
5. Stick Adhesive Mini Pod Bins to the Bedside Nightstands
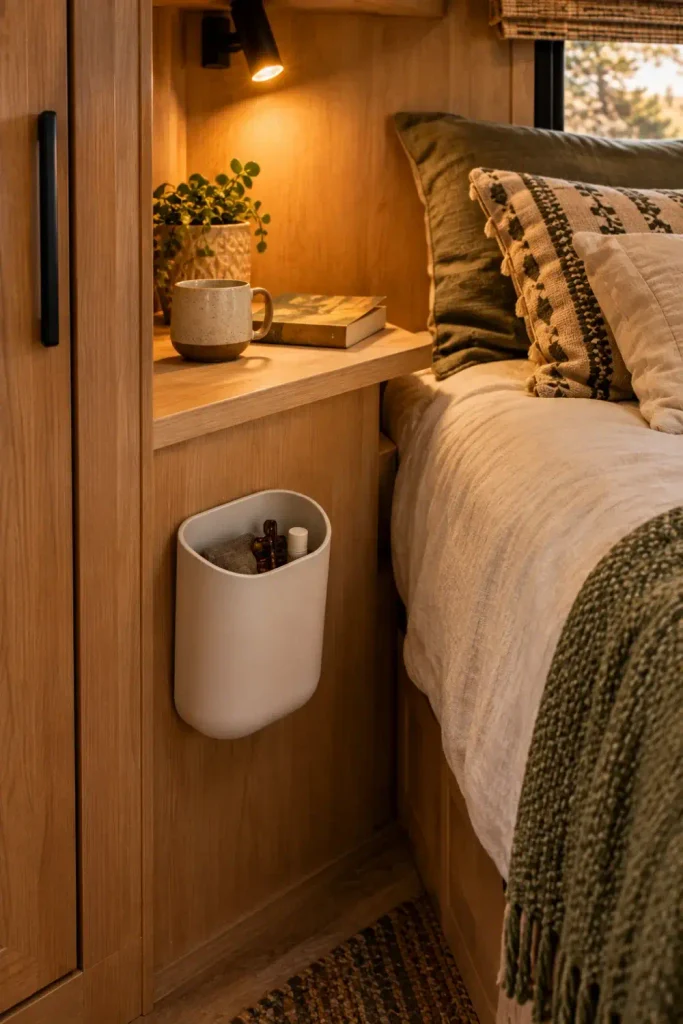
Nightstands in travel trailers and motorhomes are often little more than narrow ledges above a wardrobe closet. Tossing bedtime water wrappers, medicine seals, and tissues onto the counter makes the sleeping space feel untidy by morning.
Small self-adhesive wall pods keep tiny bedside debris tucked out of sight without consuming your phone charging shelf.
Mount them on the inside surface of the bed wardrobe wall or right on the headboard trim. You get a tidy drop zone within arm’s reach that won’t roll around when you adjust your pillows.
6. Hang a Heavy-Duty Canvas Trash Sack on the Exterior Spare Tire
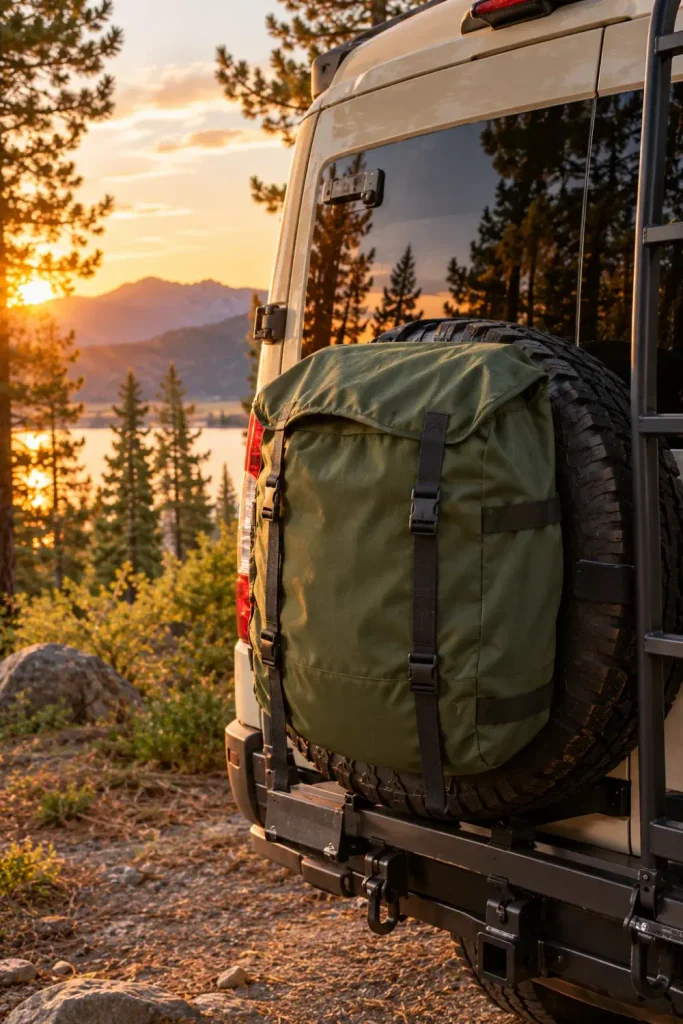
Boondocking on public lands means packing out every scrap of waste you produce. Leaving full garbage sacks inside living quarters invites fruit flies and stale smells, while setting them on camp chairs invites nocturnal scavengers like raccoons and mice.
A rugged, weather-resistant canvas bag cinches firmly over your rig’s exterior rear spare tire. It creates a dedicated out-of-sight containment zone for tied-off bags without burning valuable interior living space.
- Fasten the cross-harness straps across the tire tread so highway vibrations will not shake the sack loose.
- Drop an extra contractor-grade liner inside to prevent any accidental food punctures from staining the heavy canvas.
What to Look for in an Exterior Spare Tire Bag
7. Install Pull-Out Metal Slider Tracks Inside the Tall Pantry Base
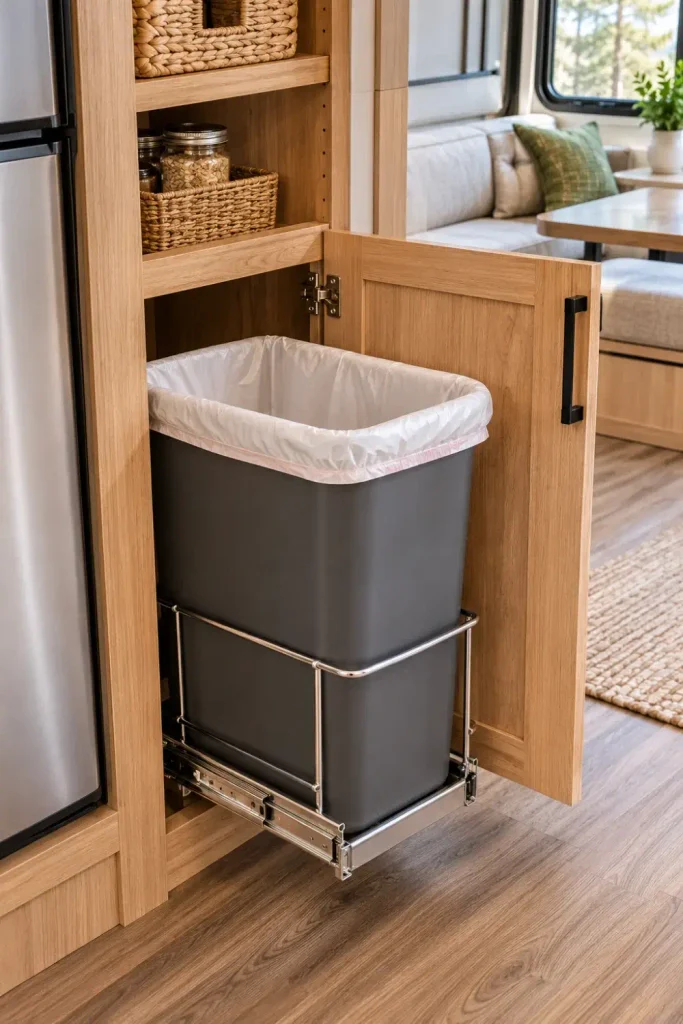
Dedicating a lower pantry cabinet shelf to a hidden waste can is a classic home renovation trick that works wonders in campers. Standard cabinet doors can trap you in the hallway when you try to open them while balancing vegetable peels and dirty paper towels.
Mounting ball-bearing slider hardware to the cabinet bottom turns that dead shelf into a smooth glide-out waste center.
Pulling the handle slides a full 7-gallon trash bucket out past the face frame. When you let go, a soft-close glide pulls the entire assembly back behind the closed door without banging against adjacent veneer panels.
Anchor your slider rails into structural solid wood blocking or cabinet face frames, never straight into thin hollow RV plywood skin.
8. Stash a Collapsible Pop-Up Hamper Bin in the Screen Room or Awning Area
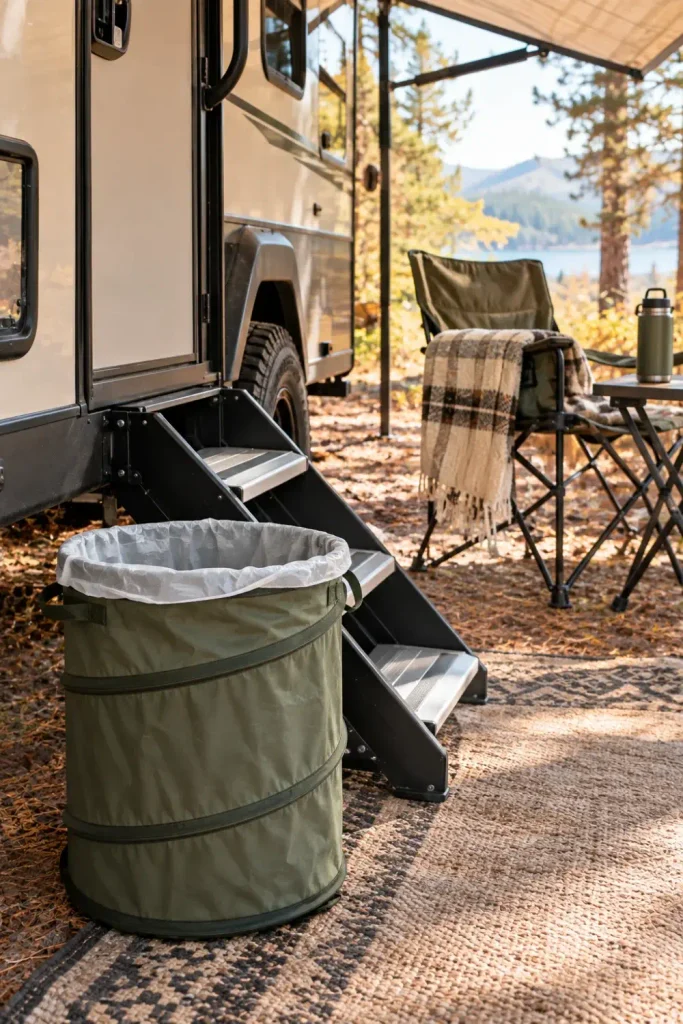
Campsite gatherings around the picnic table quickly generate an assortment of soda cans, plastic silverware, and paper plates. Running in and out of the camper screen door just to toss a single napkin lets flies inside and tracks dirt onto rugs.
A spiral wire spring pop-up hamper sets up in three seconds flat right beside the patio steps.
- Unclip the storage toggles to let the nylon canister spring upright on flat ground.
- Loop a standard 13-gallon drawstring liner over the wire rim and drop a smooth river rock into the bottom to stabilize the frame.
⚠️ Watch Out
Always collapse and stow outdoor pop-up cans inside a locked pass-through storage bay before heading to bed. Leaving unattended food packaging outside invites wandering neighborhood dogs and curious wildlife right up to your steps.
9. Suspend a Slim Mesh Bag on the Passenger Seat Backrest
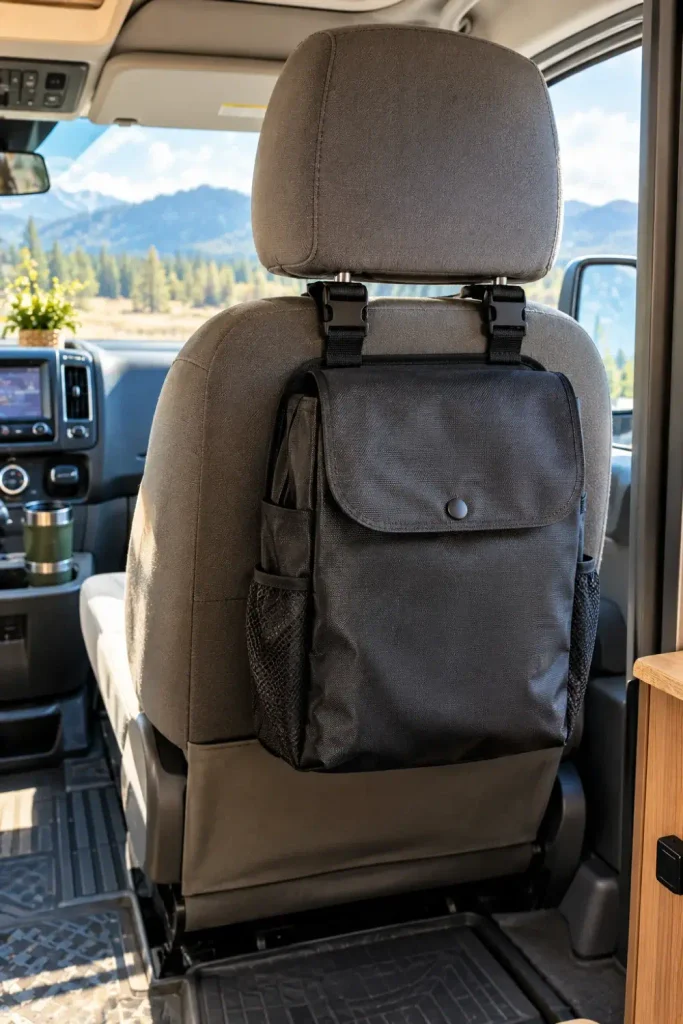
Long driving stretches turn the camper cab into a catchall for snack wrappers, toll receipts, and beverage caps. Tossing road junk onto floor mats creates clutter around the pedals and passenger footwells.
A washable, slim-profile organizer hung from the front passenger headrest posts provides a convenient catch point for ongoing driving waste.
The driver and copilot can discard receipts and drink caps easily without having to unbuckle while driving down the highway.
Use a waterproof, wipe-clean vinyl interior liner.
Empty the bag at every highway fuel stop to avoid smells.
Hanging loose open grocery bags that tear from knee bumps.
Letting half-full soda cans slosh around inside unlined cloth.
10. Build a Flush Tip-Out Bin into the Dinette Bench Seat
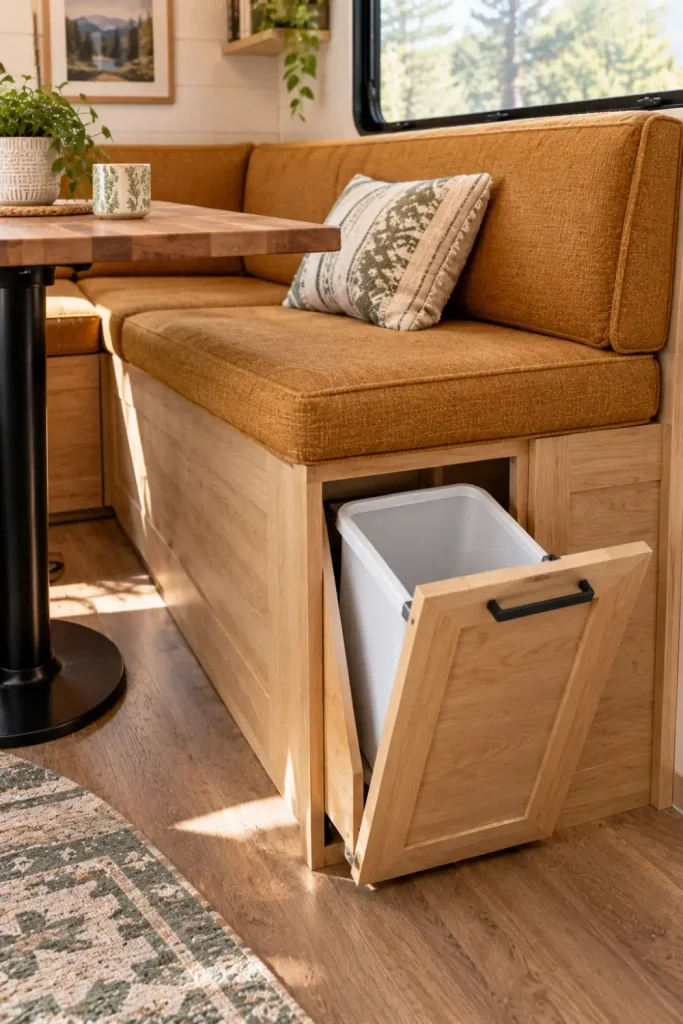
The cavity beneath traditional booth dinette seating often turns into a cavern where gear gets forgotten. Instead of lifting heavy plywood seat bases and cushions, turn the bench end into an accessible tilt-out waste receptacle.
A bottom-hinged panel tilts forward on heavy pivot brackets, holding a plastic waste basket upright against the inner panel frame.
- The entire mechanism remains hidden behind standard cabinetry finish when shut.
- You get a trash receptacle located right at the edge of the dining table without taking an inch of space from the main walkway.
Cut the opening on the aisle face of the dinette bench, saving the cut cutout panel to serve as the tilt-out door front.
Mount bottom-edge pivot hinges along with a braided limiter cable to prevent the door from dropping past a 45-degree angle.
Fasten an internal wire bin bracket to the inside face and add a strong magnetic catch to secure the door during travel.
11. Mount a Wall-Hugging Dual Recycling and Trash Sorter by the Entry Door
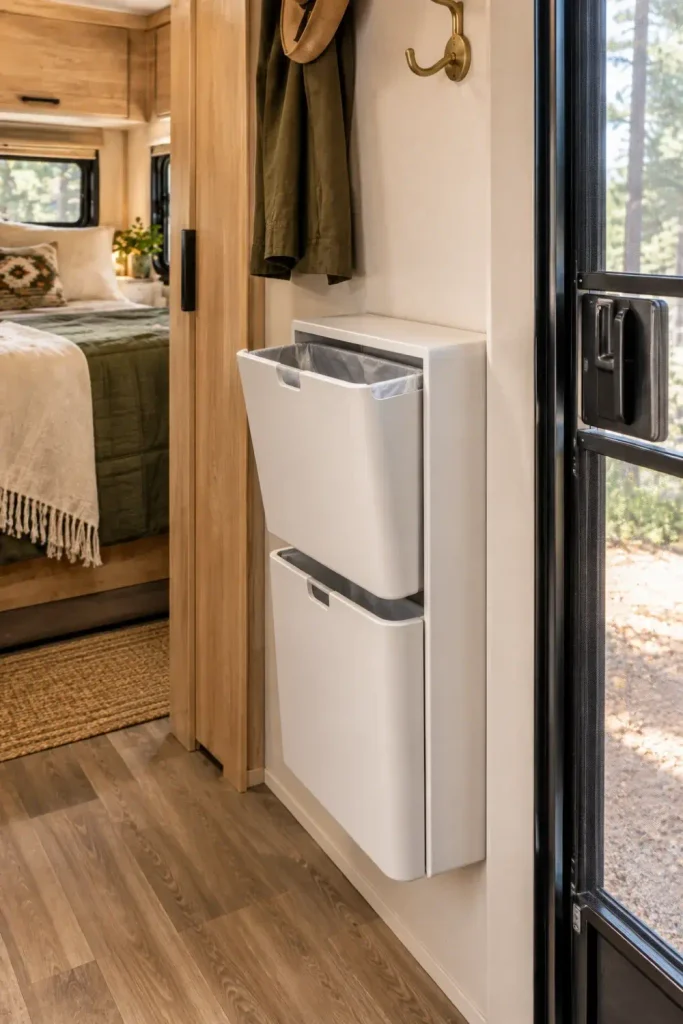
Stepping into an RV with muddy boots and armfuls of groceries requires a clear threshold. When plastic recycling bins sit directly on the floor beside the screen door, people trip over them every time they enter the camper.
A vertically stacked, wall-mounted steel or heavy composite sorter lifts waste collection completely off the floor.
The low-profile compartments tilt open smoothly from the top, allowing you to separate aluminum cans from general waste without sacrificing floor space in your high-traffic entry corridor.
Two separate blue and black plastic buckets crowding the entry landing, blocking the screen door latch and collecting kicked-up dirt.
A vertical dual-bin steel cabinet mounted flat against the entry wall, keeping recyclables sorted while leaving walkways totally open.
12. Use Heavy-Duty Suction Hooks to Hang a Reusable Dry-Bag Can in the Wet Bath
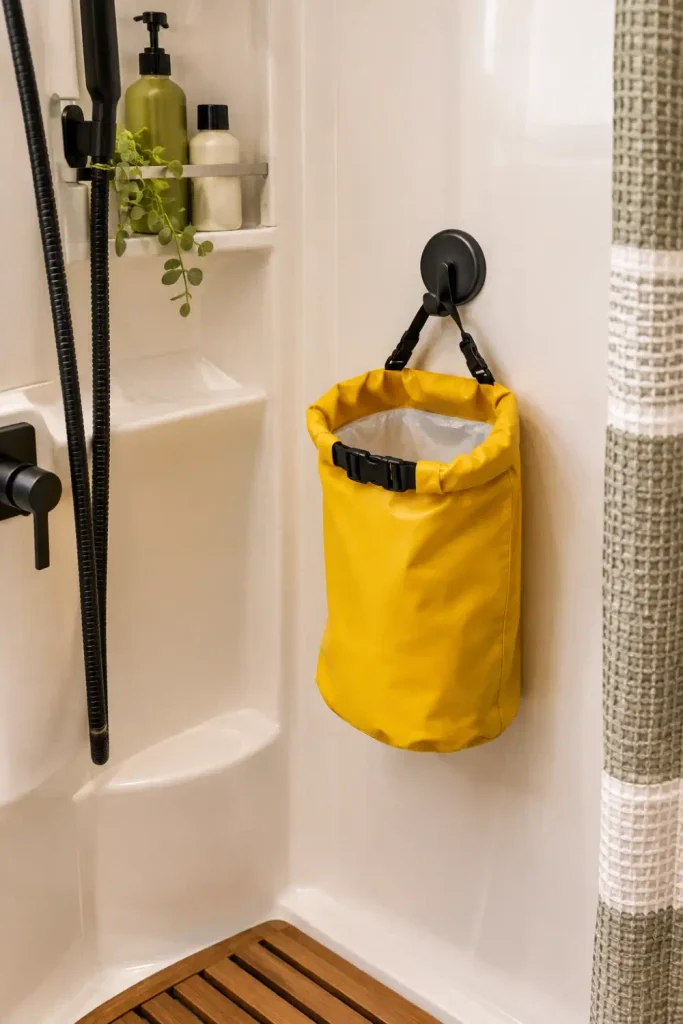
Wet baths save massive amounts of floor plan space in small trailers, but they turn the entire bathroom into an active splash zone whenever the shower runs. Standard paper-lined trash cans end up soaking wet, leaving a soggy mess of ruined tissues at the bottom of the bin.
A roll-top waterproof boating dry bag solves the moisture problem entirely.
Clip the dry bag to an industrial suction hook or adhesive marine mount on the fiberglass shower enclosure. When you take a shower, roll the top down twice and snap the buckle shut to keep your discarded bathroom waste completely dry.
- Unclip the buckle and roll down the opening whenever you need a quick waste basket for cotton swabs or hygiene items.
- Choose a 5-liter or 10-liter dry bag size so it sits comfortably against the wall without crowding your elbows while shampooing.
📌 Good To Know
Wipe down the fiberglass shower wall with rubbing alcohol before setting heavy-duty suction hooks. Soap scum and mineral residue prevent suction cups from forming an airtight seal, leading to surprise drops during hot showers.
13. Slip an Ultra-Thin Rectangle Can Between the Slide-Out Wall and Sofa
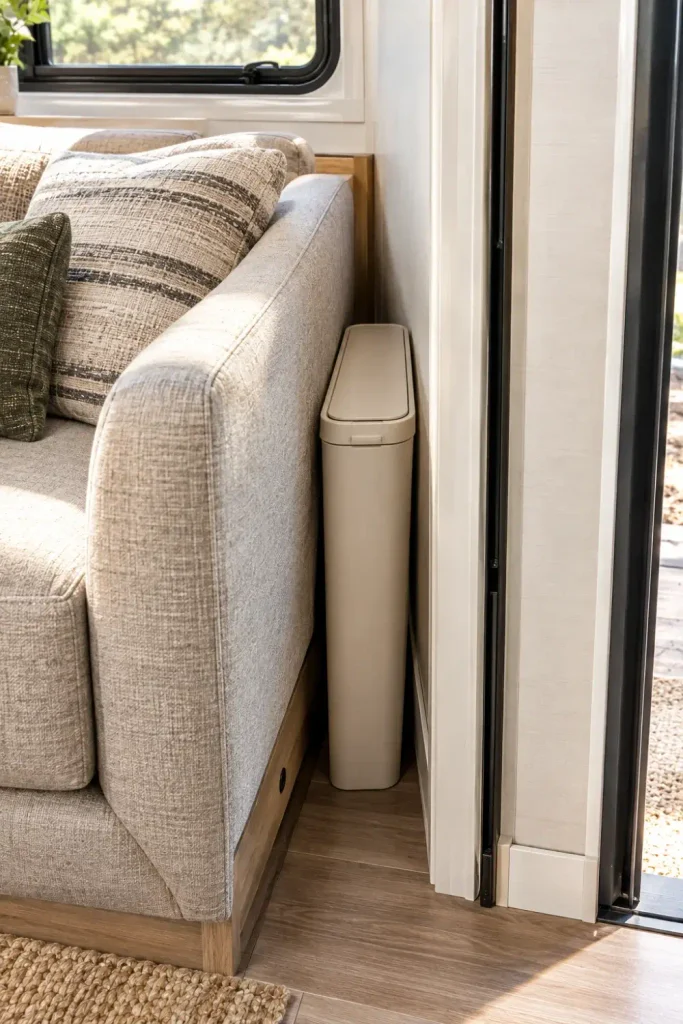
Slide-out rooms create unique interior gaps when extended at the campsite. The awkward gap between the sofa armrest and the slide-out wall trim often sits empty, gathering stray pet fur and dropped charging cables.
An ultra-narrow rectangular bin slides right into this structural void, putting a practical waste basket right beside your main lounge seating.
- Measure the clearance with the slide room fully extended and fully retracted to confirm the spot stays safe during transit.
- Look for an integrated press-top spring lid so pets cannot nose their way into wrappers while you are away from the rig.
14. Strap a Heavy Poly Utility Bin Inside the Exterior Pass-Through Bay
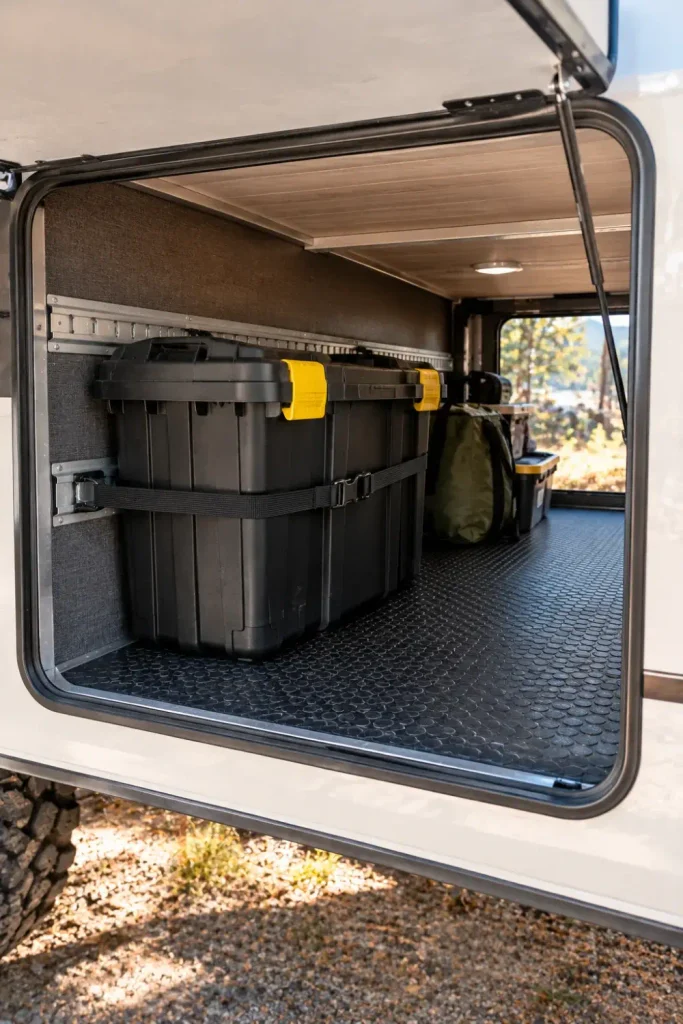
Extended boondocking trips quickly overload your daily interior kitchen bins. Storing multiple tied-off trash sacks in the camper living area ruins indoor air quality, while setting them outside invites wandering campsite animals.
A heavy-duty plastic storage tote secured inside the pass-through storage bay acts as your camper’s private outdoor dumpster.
| Storage Approach | Unsealed Bags in Living Space | Sealed Basement Utility Bin |
| Odor Control | Escapes into upholstery and bedding | Trapped inside sealed gasket tote |
| Critter Protection | High risk if left outside overnight | Impenetrable heavy-gauge poly walls |
| Living Comfort | Takes up bathroom or shower floor space | Stowed completely outside living cabin |
| Storage Factor | Bay Utility Tote |
|---|---|
| Secondary Odor Seal | Gasketed latches keep food smells locked away from sleeping quarters. |
| Transit Security | Bungees to bay tie-down D-rings so it cannot slide across cargo doors. |
15. Anchor Dual 7-Gallon Rectangular Bins Under the Lift-Up Queen Bed
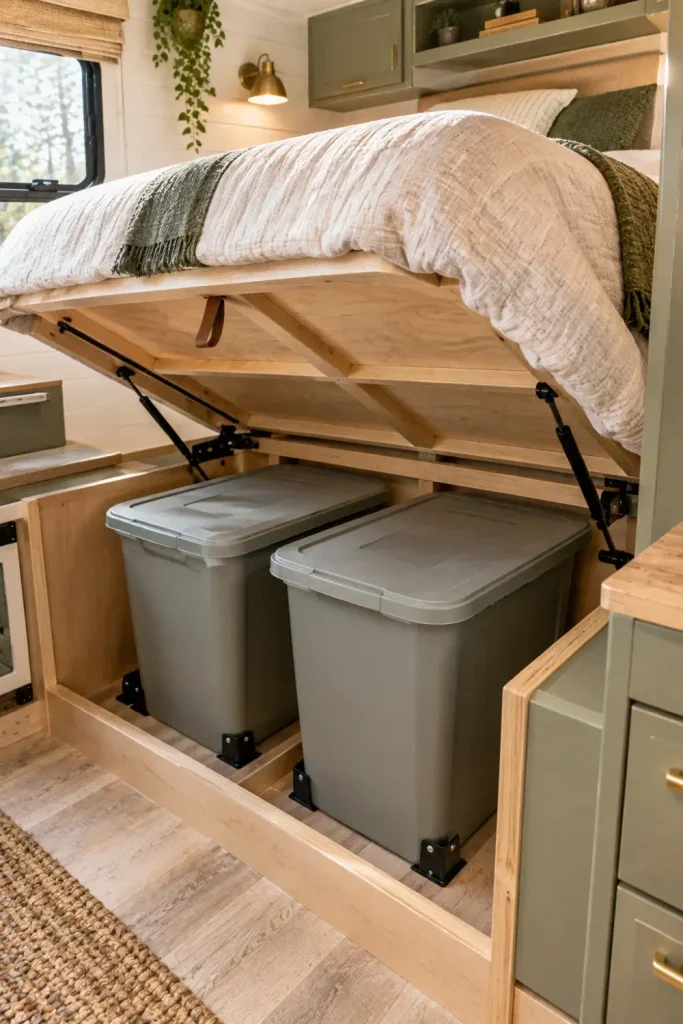
The massive storage cavity under a camper walk-around bed provides plenty of room for oversized gear, but without organization, it quickly turns into a chaotic junk drawer.
Mounting two tall rectangular bins directly behind the lift mechanism creates a clean transition zone for full-sized trash liners before you head into town.
- Fasten lightweight aluminum L-brackets to the under-bed floor decking to form a snug perimeter frame for the bins.
- Drop two standard 7-gallon trash containers into the bracket slots so they stay upright while driving winding mountain switchbacks.
Reserve this under-bed space exclusively for tied-off, clean dry overflow or extra liner storage to keep your master bedroom smelling fresh.
Keeping Your Camper Clean on the Open Road
Managing daily waste in a camper does not require giving up your walkways or settling for ripped plastic grocery bags flapping from your stove knobs. When you match the container shape to the awkward nooks already built into your floor plan, trash stays completely out of the way.
Pick one or two of these practical rv trash can ideas to build into your rig before your next road trip. You will enjoy cleaner counter space, fresher air, and an interior that feels organized from the minute you step inside.
Save this list to your RV organization or camper remodel board on Pinterest so you have these dimensions and storage hacks ready when you prep your rig.

