
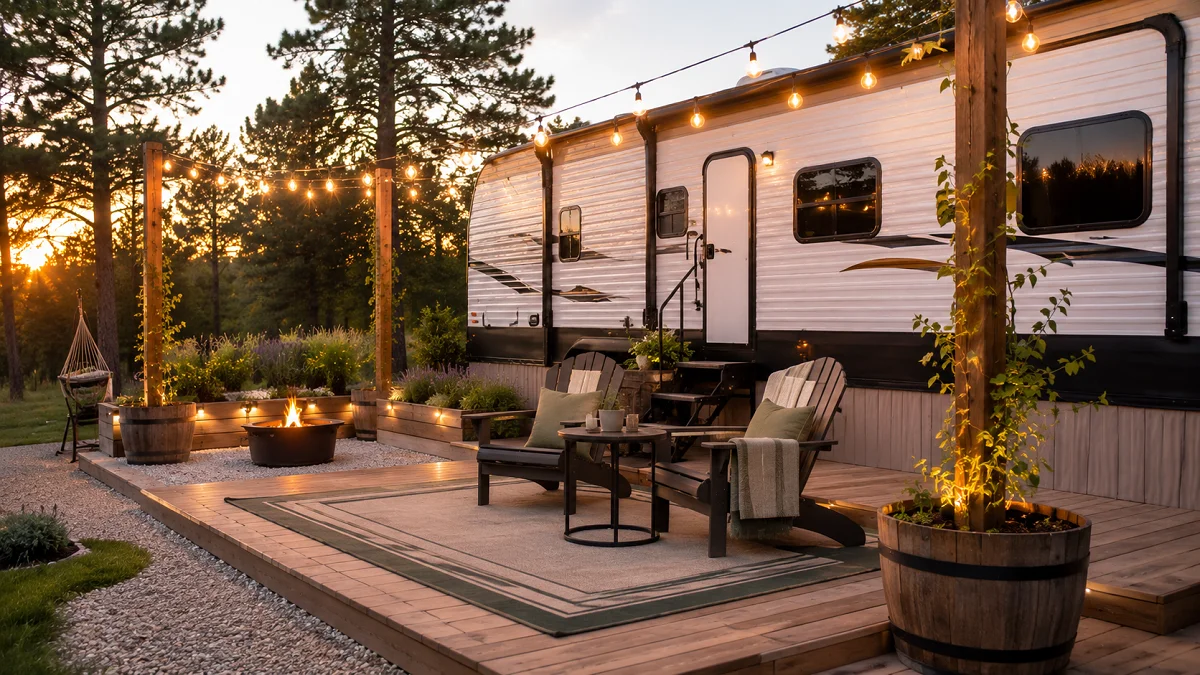
Setting up a seasonal or permanent RV spot comes with a unique set of challenges. Most campground lots start as a plain patch of dirt, crushed gravel, or patchy grass. Without intentional planning, the space around your rig can quickly turn into a cluttered catchall for hoses, plastic bins, and folding chairs.
You do not have to settle for a temporary campsite feel just because your home has wheels. A well-planned site gives you dedicated zones for cooking, lounging, and storing gear without overcrowding your lot.
With a few durable materials and smart layout choices, you can turn your pitch into a grounded, comfortable living area. Here are 20 practical rv permanent site ideas to help you build an outdoor setup that holds up in every season.
1. Build Ground-Level Interlocking Deck Tiles
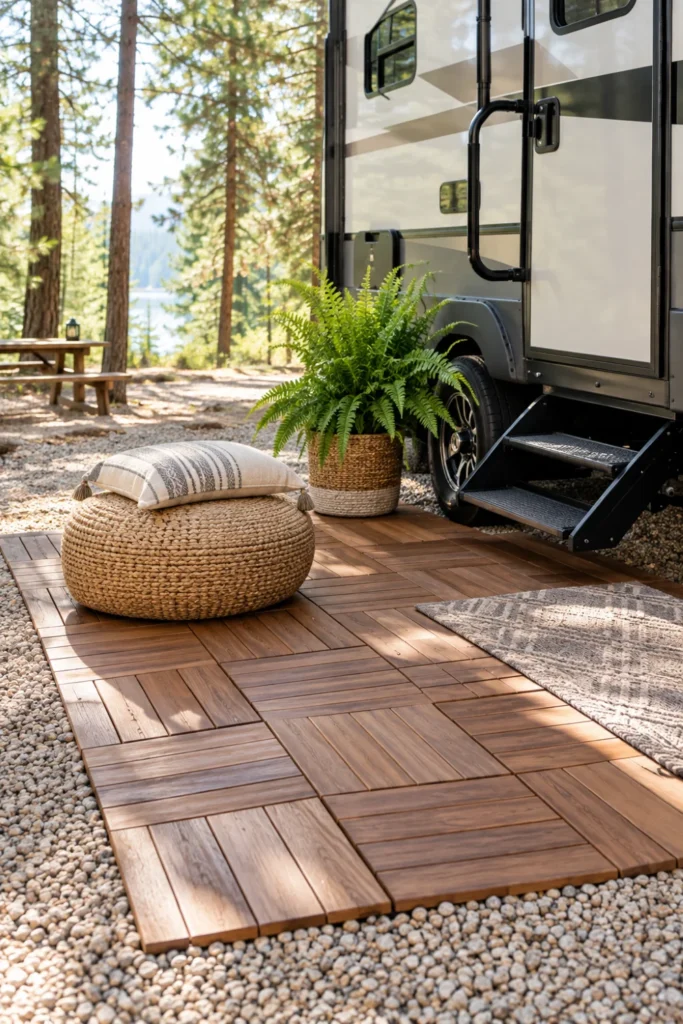
Standard camp mats work fine for a weekend, but permanent setups call for a solid walking surface. Interlocking composite or treated timber deck tiles snap together directly over level crushed stone or sand. They lift your feet off wet soil and stop dirt from getting tracked across your RV flooring.
- Prep the base: Rake away loose organic debris and tamp down a thin layer of paver sand.
- Leave edge gaps: Allow a half-inch buffer around solid borders for natural heat expansion.
- Choose open slats: Open-drainage patterns allow rainwater to pass straight through to the soil.
2. Hang Commercial String Lights on Freestanding Timber Posts
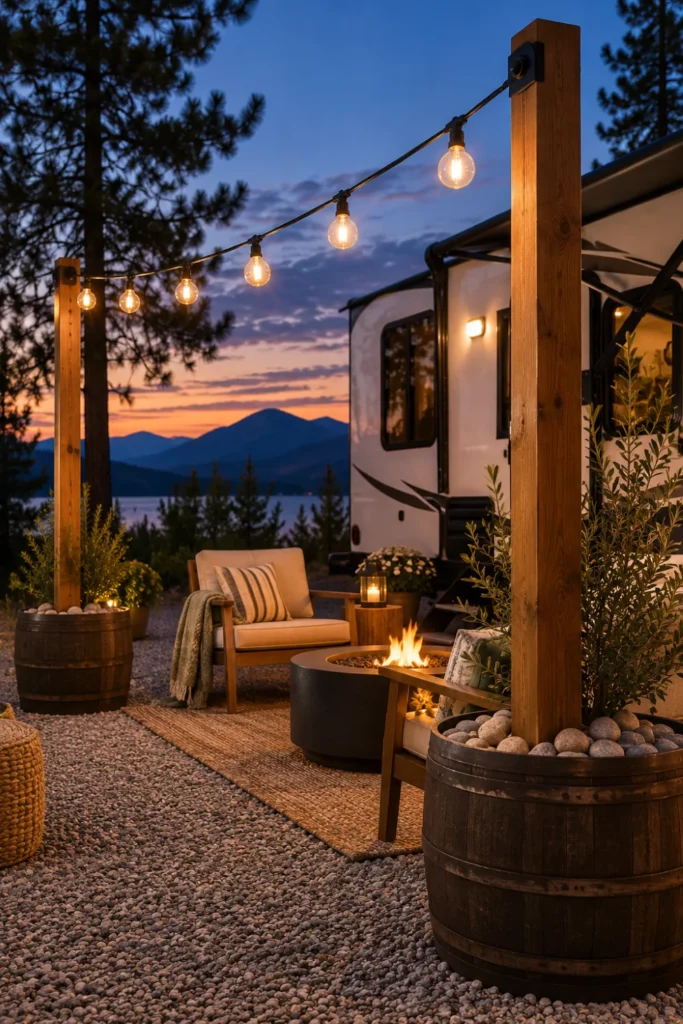
Overhead lighting makes your lot usable well past sundown. Instead of clipping lightweight holiday bulbs to your awning track where wind can rip them down, mount heavy-duty bistro strands on solid posts.
Set two 4×4 cedar posts inside heavy whiskey barrels weighted with drainage rock and pea gravel. This keeps the lighting rigid without digging holes into the park’s soil.
📌 Good To Know
Use shatterproof S14 LED Edison bulbs with black commercial-grade rubber casing. They handle heavy branch strikes and direct summer sun without cracking.
3. Frame the Front Perimeter with Cedar Trough Planters
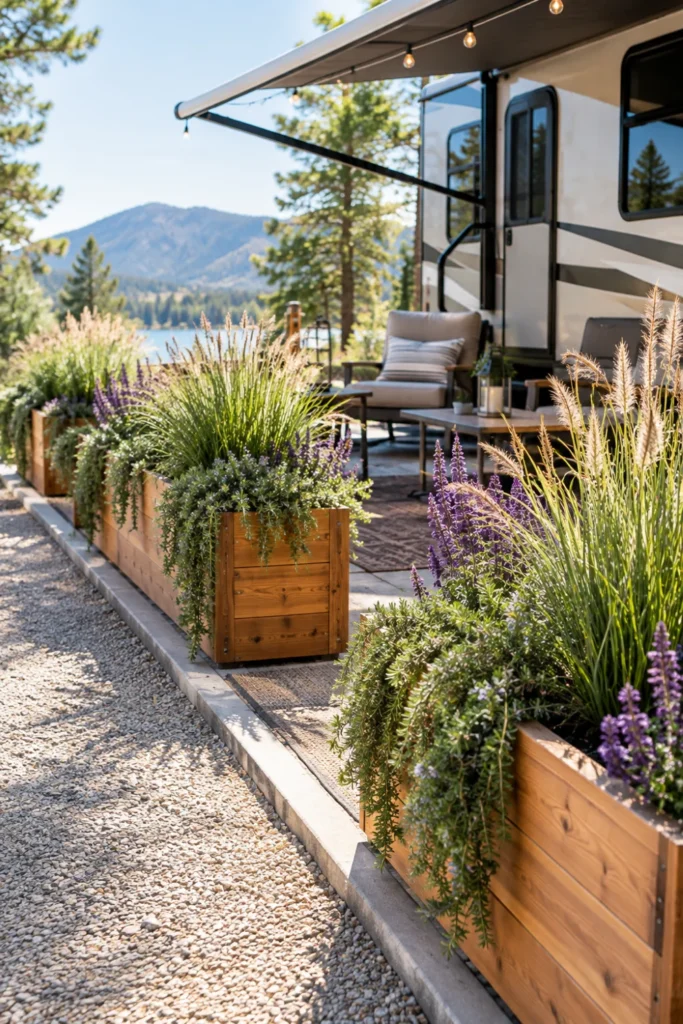
Long trough planters establish a clean boundary between your site and the camp road. They give your lot immediate structure and block wind without making the space feel closed off.
| Planter Placement | Best Plant Choice | Practical Benefit |
| Entry steps | Sweet mint or lemongrass | Naturally deters flies near doors |
| Road perimeter | Dwarf feather reed grass | Soft privacy screen that moves in breeze |
| Cooking corner | Rosemary and thyme | Fresh kitchen herbs on demand |
Fill the bottom third of deep containers with empty plastic bottles before adding potting mix. This keeps the planters lightweight enough to slide if you need utility access.
4. Anchor an Oversized Woven Polypropylene Patio Rug
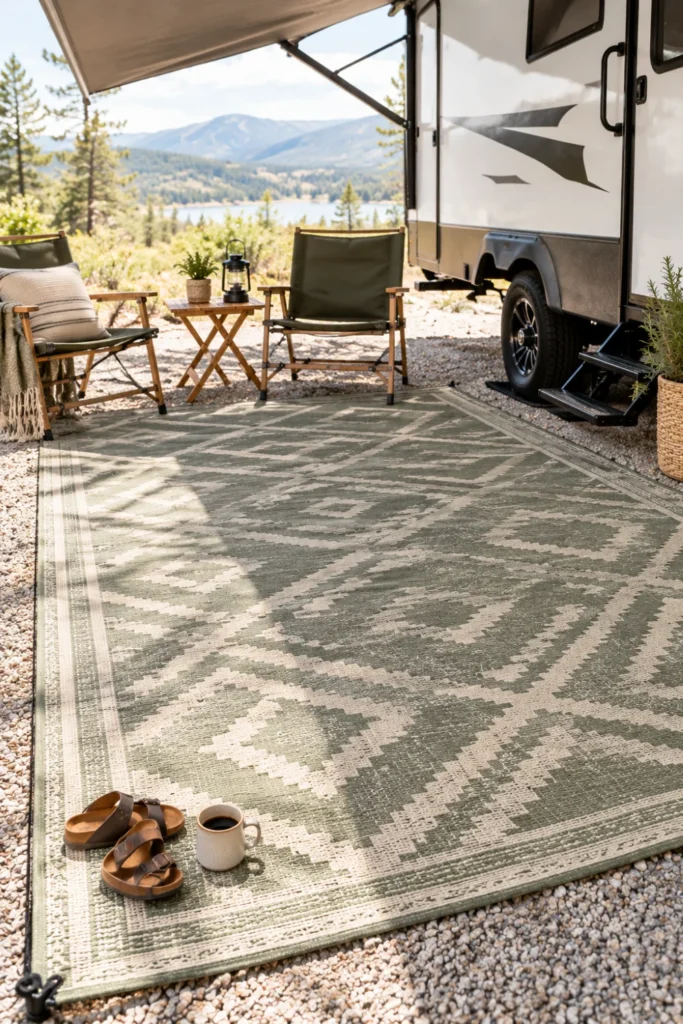
Cheap outdoor carpet holds moisture and damages grass underneath. Reversible woven polypropylene rugs let dirt and water filter straight through to the ground below while keeping your feet clean.
- Lay down the rug flat on dry ground and pull all corners taut.
- Secure each grommet corner with flat-head spiral screw stakes.
- Keep the rug edges clear of direct wheel paths so tires never roll over the binding.
| Feature | Woven Polypropylene | Turf-Backed Mat |
|---|---|---|
| Drying Speed | Dries in direct breeze | Traps water underneath |
| Mildew Risk | Zero rot retention | High in damp climates |
5. Swap Folding Chairs for Heavyweight All-Weather Adirondacks
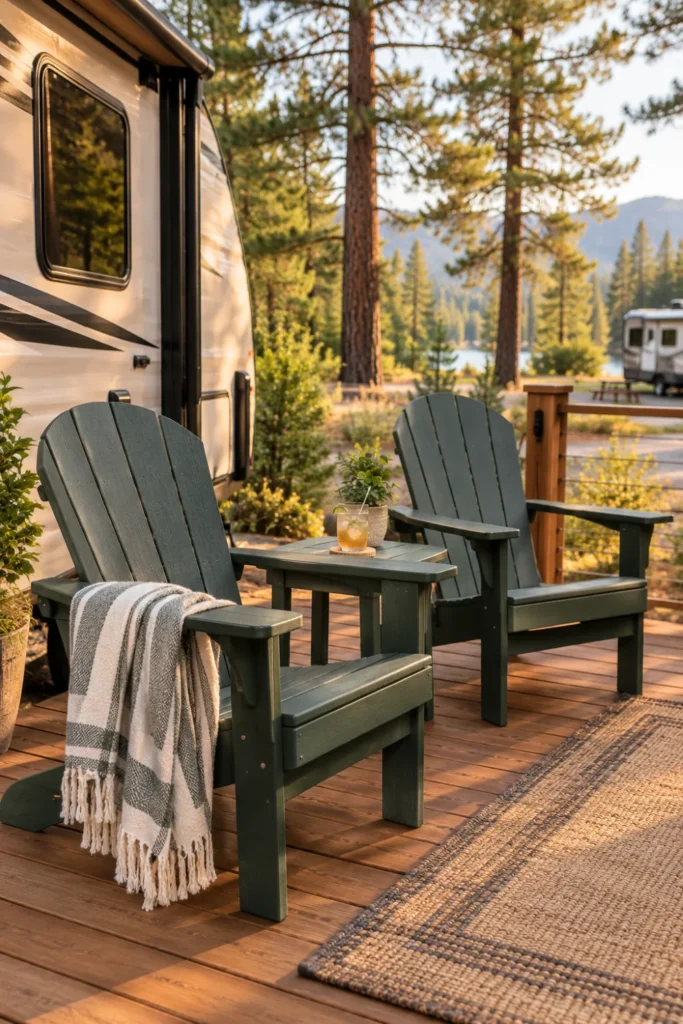
Collapsible camp chairs blow over in standard storms and wear out quickly under daily UV exposure. Solid recycled polywood chairs stay firmly planted on your deck or patio pad through heavy gusts.
- They provide solid lumbar support for extended reading or conversation.
- They wipe clean with a damp towel and mild soap after heavy dust storms.
- They never need to be collapsed and stowed in your under-bed compartments every night.
Nylon folding chairs that blow across the yard in high winds and collect puddle water.
Heavy polywood lounge chairs that stay anchored through storms and support everyday outdoor living.
6. Build a Freestanding Privacy Trellis Screen
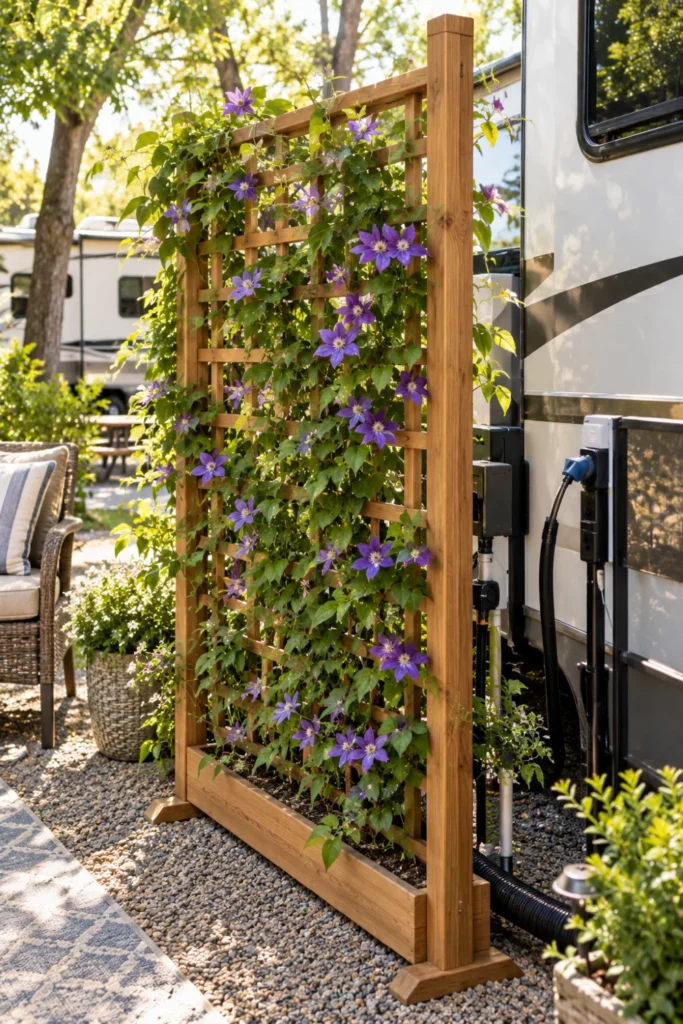
Campground lots often place hookup posts and neighboring slide-outs close together. A freestanding lattice panel blocks the view of service connections and gives your lounge area a quiet, residential feel.
Trellis Build Checklist
Set the wood uprights inside slotted planter boxes rather than sinking posts into the earth. Plant fast-growing annual vines like black-eyed Susan or sweet pea to fill out the grid.
7. Install an Outdoor Potting Bench as a Prep Kitchen
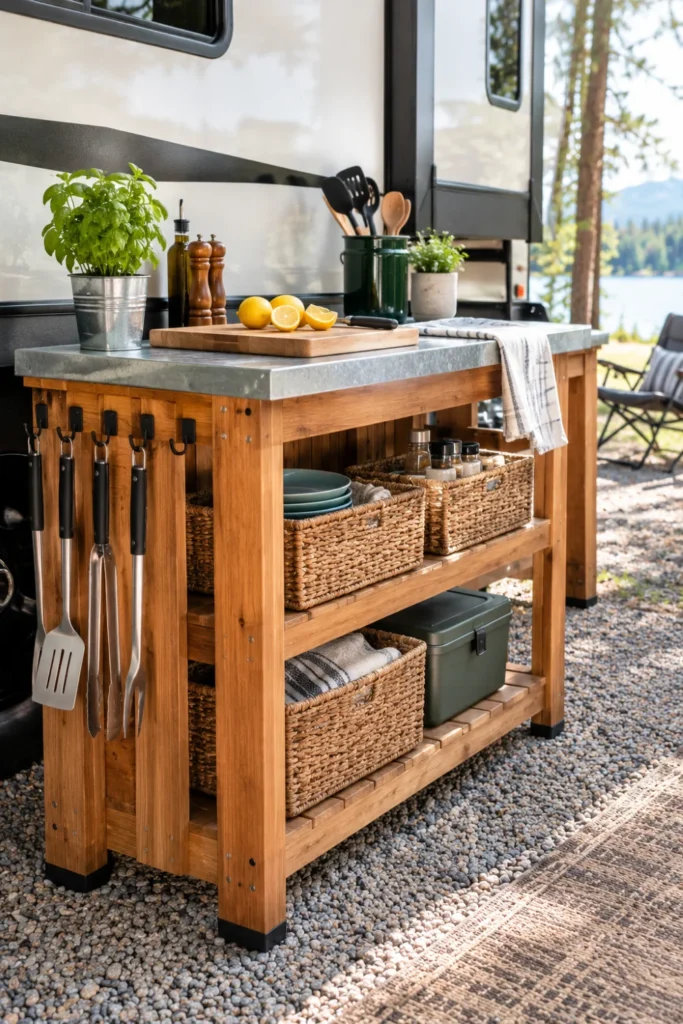
Cooking inside an RV heats up the cabin rapidly during warm months. Setting up an exterior cedar potting bench creates a functional prep kitchen for chopping, staging grill trays, and storing outdoor dishware.
- Select benches with a galvanized metal top for easy food-safe cleaning.
- Use S-hooks on the upper rack to hang tongs, spatulas, and cast iron pans.
- Keep small appliances like induction burners sheltered under the upper shelf.
Place your prep bench near exterior GFCI power outlets for easy griddle hookups.
Store tools inside lidded bins to keep bugs away from clean cookware.
Leaving raw wood surfaces unsealed against morning dew and grease splatter.
Placing prep stations directly next to black tank relief vents.
8. Build a Defined Pea Gravel and Paver Fire Pit Zone
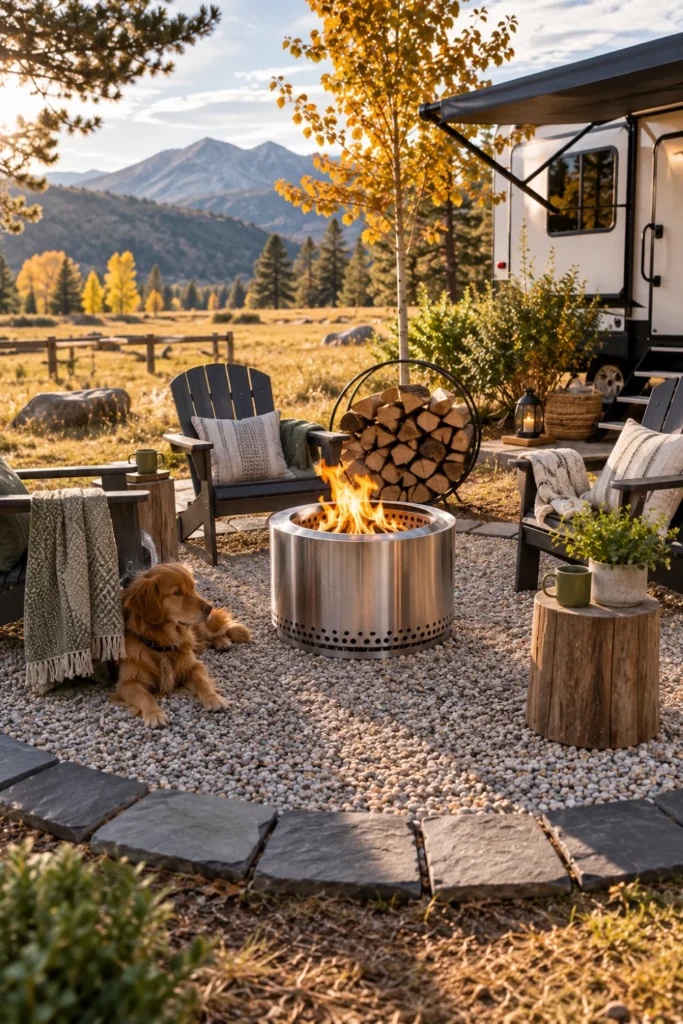
Sitting around the campfire is better when you are not balancing your chair on uneven turf or muddy grass. Creating a defined, non-combustible gravel pad organizes the yard and keeps your seating steady.
Mark an 8-foot circle and dig down two inches to clear out topsoil and roots.
Lay heavy woven weed fabric and pin it with six-inch landscape staples.
Fill the base with two inches of river pea gravel and set large stepping pavers flush.
Smokeless metal fire pits like Solo Stoves work best for permanent sites. They burn hot with almost no stray sparks, keeping your awning fabric and neighbor sites clean.
9. Add Heavy Mesh Drop-Down Awning Sun Shades
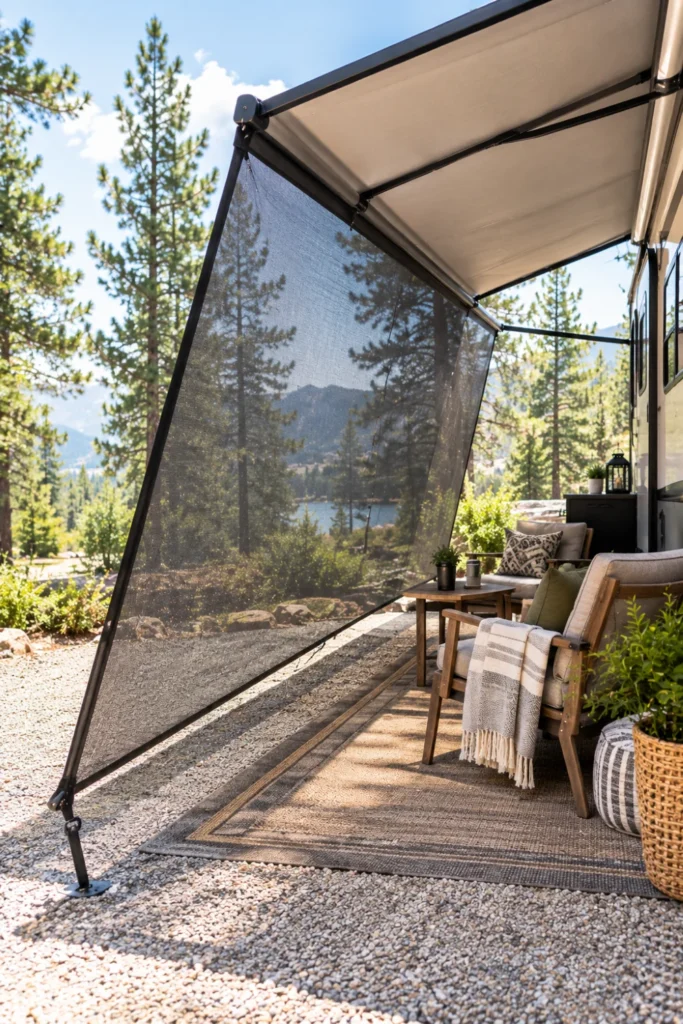
Late afternoon sun can turn an RV patio into a hot zone that overworks your air conditioners. A drop-down mesh shade panel zips into the standard roller slot on your main awning to block direct solar heat.
Choose a 90% UV-blocking open weave mesh. It drops patio temperatures significantly while letting cooling breezes pass through without lifting the awning arms.
Use heavy bungee ties with spiral ground anchors to keep the shade from flapping in light breezes. Always unclip the bottom stakes if severe weather warnings arise.
10. Line Main Walkways with Low-Voltage Solar Marker Stakes
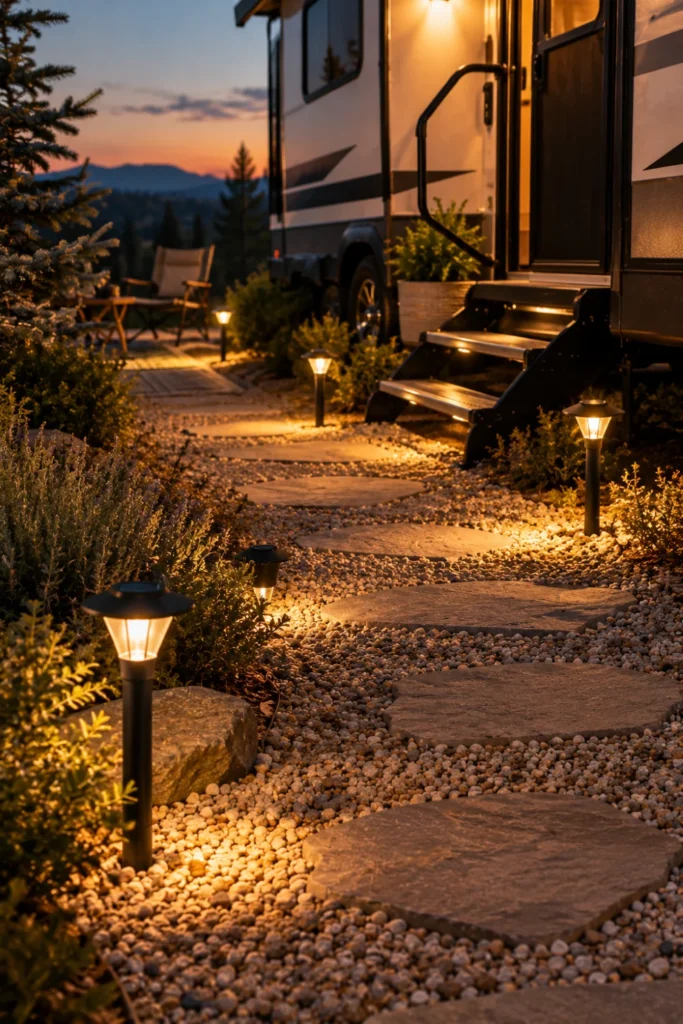
Campgrounds get pitch black at night, making raised steps, hose bibs, and stabilizer jacks tripping hazards. Solar pathway lights give your site safe walking paths without needing extra extension cords.
- Position lights along gravel steps, power pedestal corners, and water connection posts.
- Choose warm 2700K LED options over harsh blue-white lights to preserve night vision.
- Angling the top solar panel south ensures a full battery charge even on partly cloudy afternoons.
💡 Quick Tip
Look for landscape lights with a 15 to 30 lumen rating. This gives you clear ground visibility without blinding you or your campsite neighbors.
11. Enclose the Undercarriage with Rigid Custom Skirting
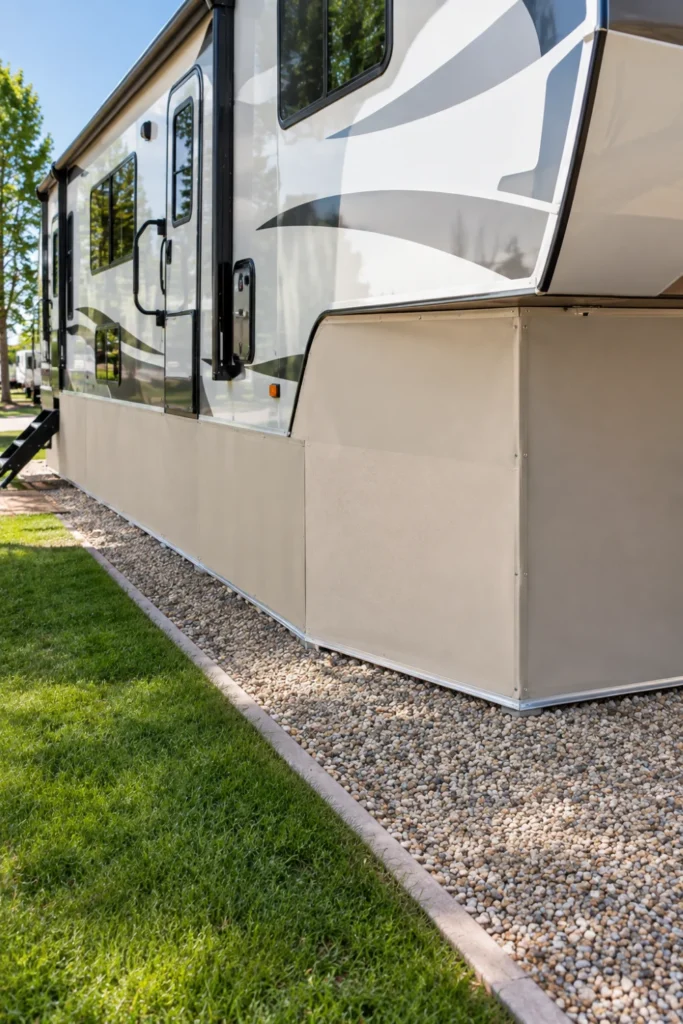
Leaving the space beneath your trailer open exposes sewer lines, wiring, and floor insulation to freezing winds and summer heat. Installing clean vinyl skirting creates an immediate clean-lined appearance while lowering your heating and cooling bills.
Exposed plumbing hoses, wind blowing heat from floors, and visible utility clutter.
Thermal stability, protected water lines, and a grounded foundation look that conceals storage items.
Use channel-track mounting systems fastened under the lower molding. Channel tracks hold the heavy vinyl flush against the frame without drilling holes in your exterior sidewalls.
12. Build an Exterior Grill Station with a Heavy Utility Cart
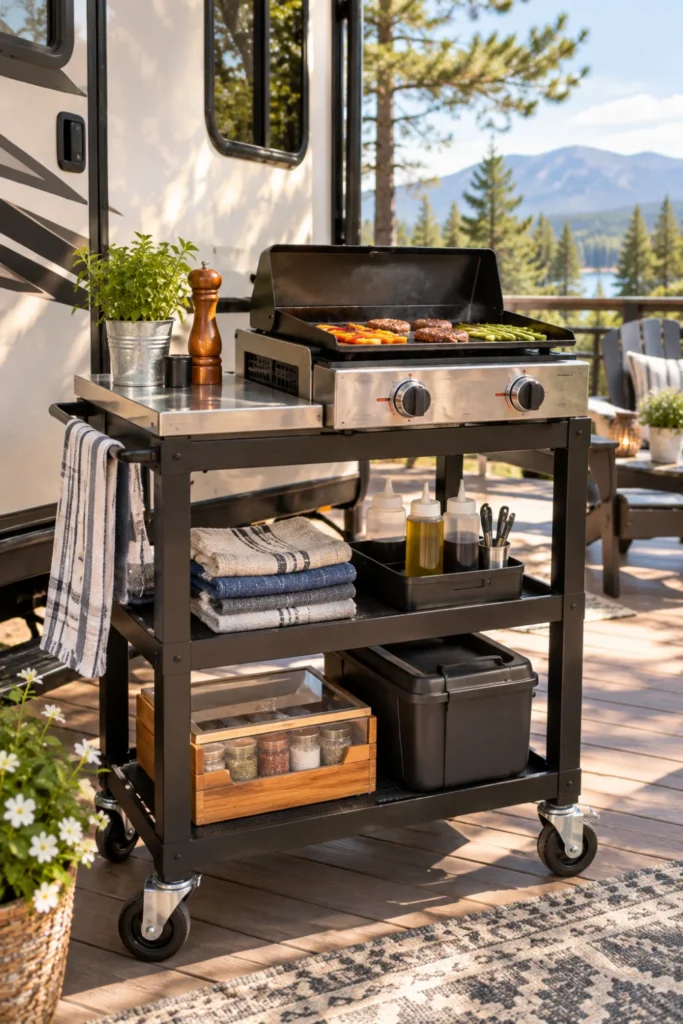
A dedicated outdoor cooking cart keeps smoke, cooking oil, and food odors out of your small RV interior. Rolling stainless or powder-coated carts give you practical counter space right beside your barbecue.
Grill Station Setup Checklist
Keep your grill cart positioned at least three feet away from RV slide-outs and vinyl windows to prevent heat warping and residue buildup on the walls.
13. Place Dual-Purpose Storage Deck Boxes for Patio Seating
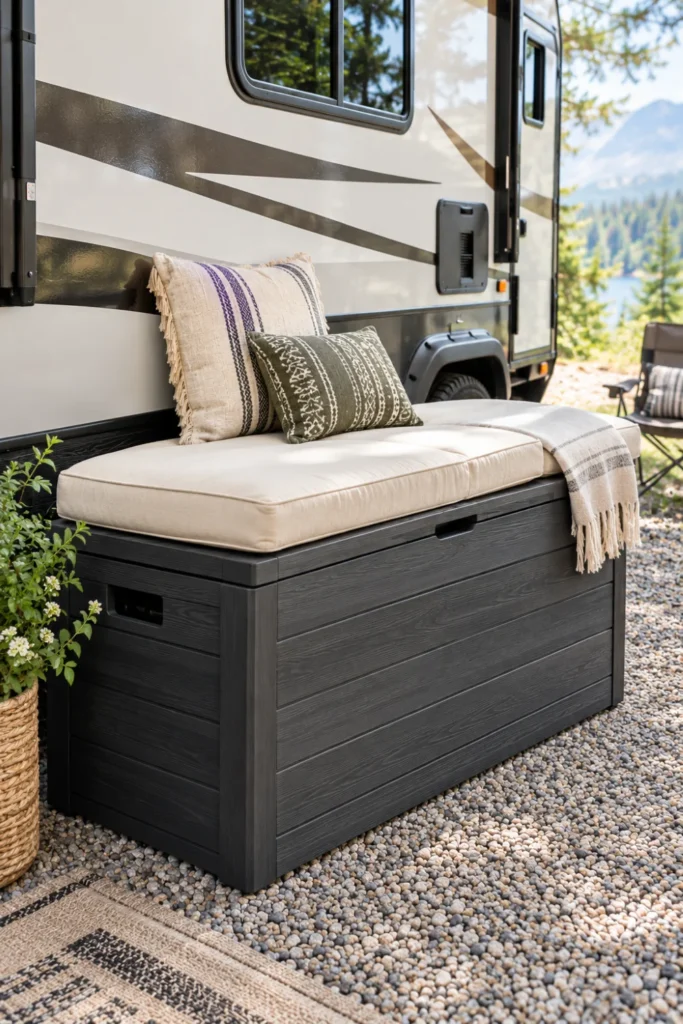
Storage space is always at a premium on long-term sites. Heavy-duty resin deck boxes offer a double win: they protect bulky tools and camp gear while serving as extra bench seating when guests visit.
- Capacity: 100 to 150 gallons fits hoses, cords, folding tables, and cushions.
- Seating: Flat-top reinforced lids can easily hold up to 500 pounds.
- Security: Molded padlock loops keep equipment secure when you are away from the park.
14. Erect a Free-Standing Hardtop Metal Gazebo
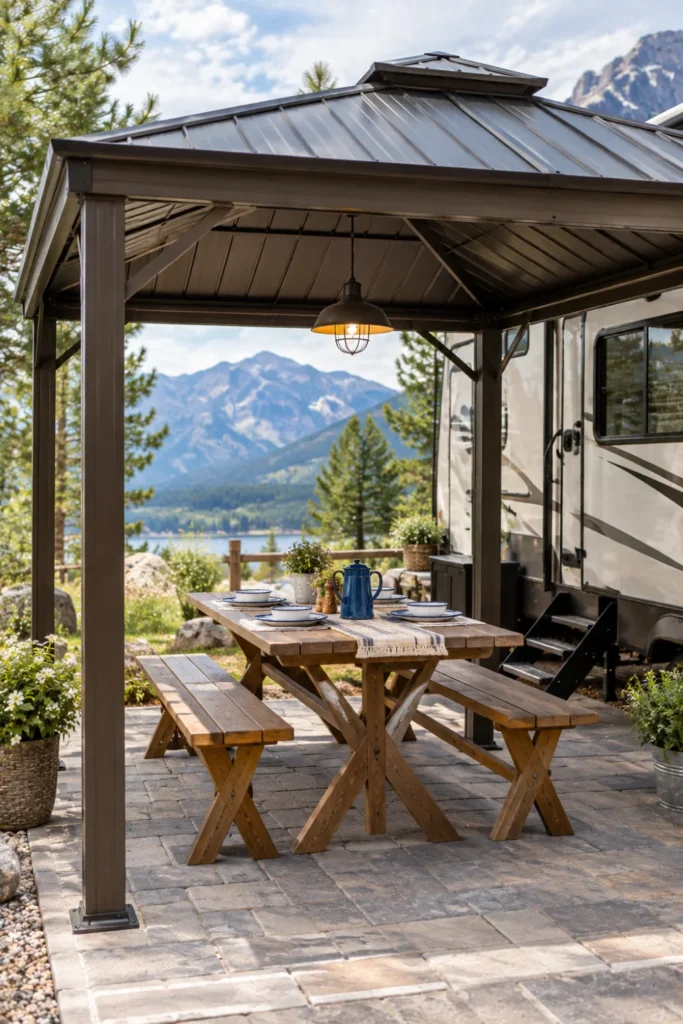
Fabric pop-up canopies will inevitably bend and pool water during torrential downpours. A hardtop galvanized steel or polycarbonate roof gazebo creates an all-weather outdoor living and dining room.
| Gazebo Feature | Hardtop Metal Shelter | Soft Pop-Up Canopy |
| High Wind Handling | Solid stability up to 50 mph | Must be taken down in 20 mph wind |
| Snow Load Rating | Supports winter snow buildup | Collapses under minor snow weight |
| All-Season Longevity | Stays up year-round | Fabric degrades after one summer |
Anchor gazebo footplates directly to concrete pavers or heavy timber footers set level with the soil. Adding mosquito netting curtains lets you enjoy summer evenings without bug bites.
⚠️ Watch Out
Always verify your RV park’s specific height limits and footprint boundaries before purchasing a hardtop structure to ensure park compliance.
15. Mount a Vertical Hanging Herb Garden
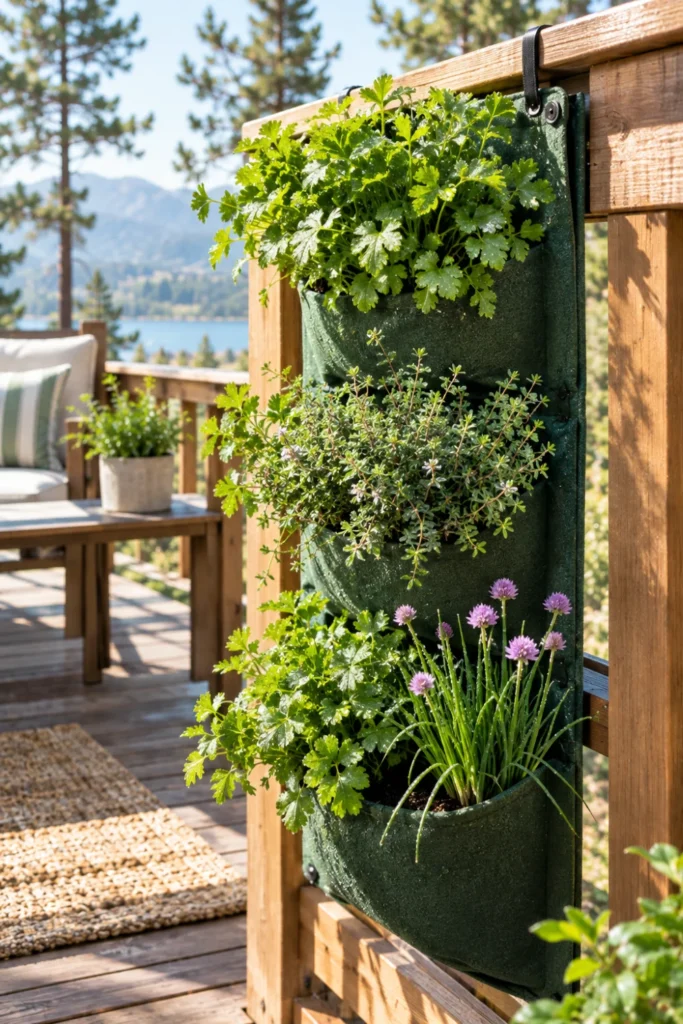
When ground space is limited by slide-outs and vehicle parking, grow upward. Vertical wall pockets and rail planters let you cultivate fresh plants without consuming patio square footage.
Hang felt wall planters from freestanding trellis posts or deck railing systems. This keeps moist soil and dripping irrigation water away from the RV’s painted metal siding.
16. Build a Low-Rise Timber Step Landing with Wide Treads
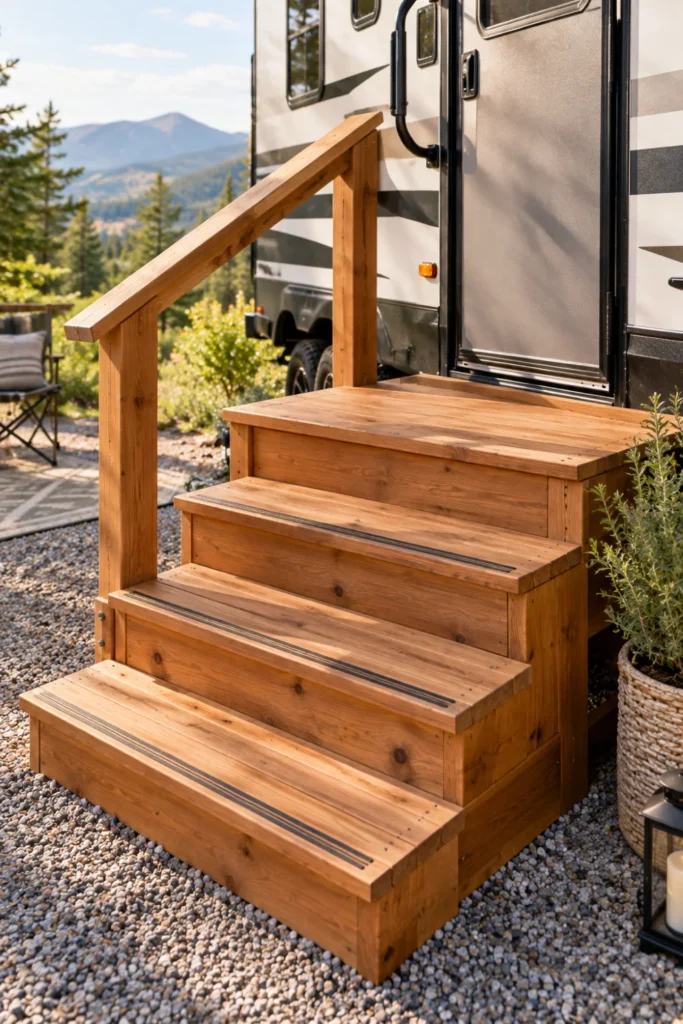
Factory fold-out RV steps are narrow, steep, and prone to flexing under heavy foot traffic. A solid ground-supported wood landing gives you a firm, comfortable step up into your rig.
- Measure the exact drop height from your RV doorsill to the level ground below.
- Build a rigid box-frame base using pressure-treated 2×6 timber joists.
- Fasten slip-resistant composite decking boards with heavy-duty exterior wood screws.
Safety Step Priorities
17. Hang a Pull-Down Outdoor Projector Screen for Movie Nights
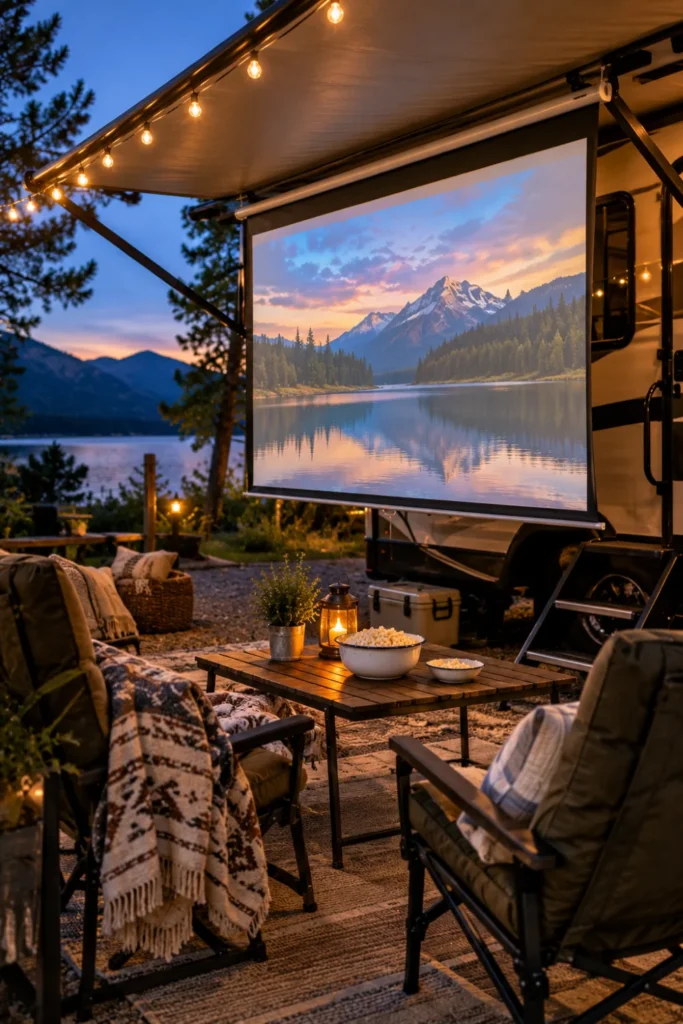
Long evenings on a permanent site are made for outdoor entertainment. Setting up a pull-down projector screen gives you cinema-style entertainment right under your patio awning.
- Select a high-contrast matte white screen with black backing to block ambient light.
- Mount the screen casing to heavy eye-hooks suspended from your awning structure.
- Pair a compact LED mini projector with a wireless Bluetooth speaker positioned near the seating area.
💡 Quick Tip
Use small bungee cords with carabiners on the lower screen bar to keep the fabric flat and prevent flapping in evening breezes.
18. Tuck Low-Voltage LED Strip Lighting Beneath the RV Skirting
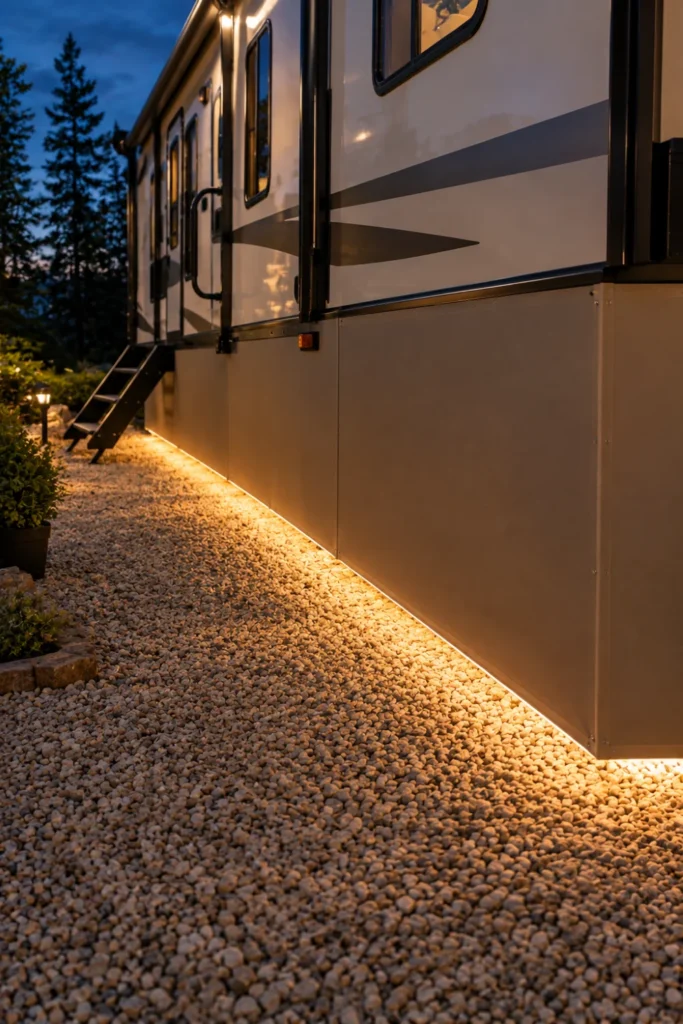
Under-glow ground wash lighting adds a finished look to stationary setups while keeping unwanted pests away from your rig’s undercarriage at night.
Choose IP67 waterproof amber or warm-white LED tape. Amber lighting provides clear visibility across your site without attracting night-flying bugs.
Mount silicone-sheathed LED strips directly to the inner lip of your lower perimeter framing. This conceals the light source and provides a soft, glare-free wash over the gravel.
19. Set Up a Self-Watering Raised Bed for Salad Greens
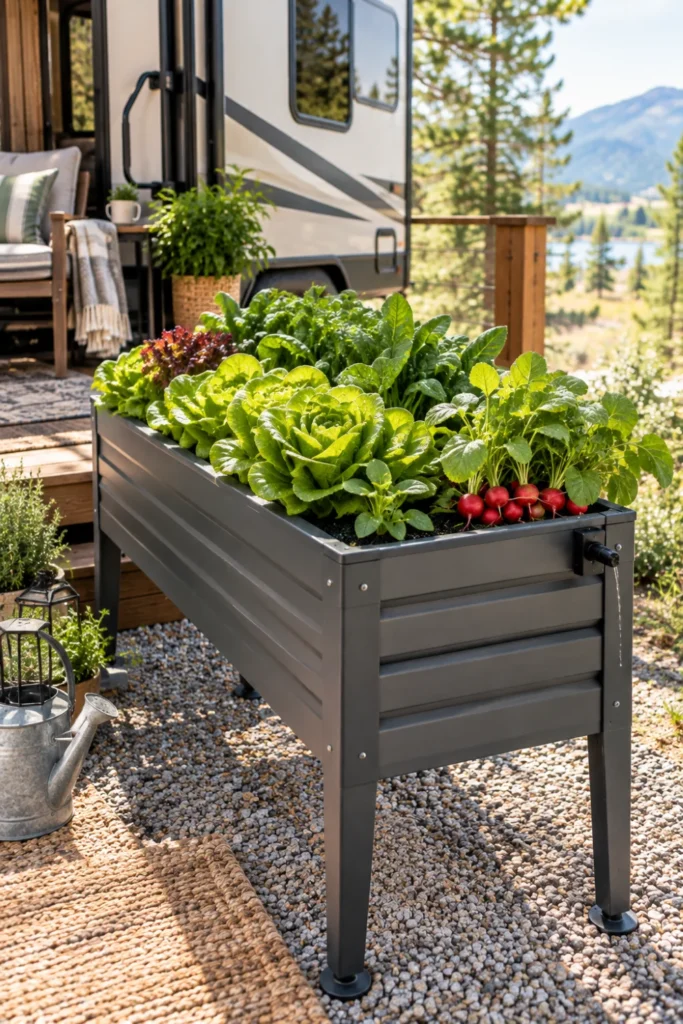
Growing your own greens is a rewarding way to make a long-term RV pitch feel like home. Elevated sub-irrigated planter boxes keep soil moist during hot summer stretches with minimal daily watering.
- Height: 30-inch raised beds keep plants out of reach of crawling pests.
- Reservoir: A built-in water basin delivers moisture straight to plant roots from below.
- Soil mix: Combine 50% high-grade potting soil with 50% coarse perlite and compost.
| Crop Choice | Sun Requirements | Harvest Window |
|---|---|---|
| Butterhead Lettuce | Partial shade under awning | 30 to 40 days |
| Cherry Tomatoes | Full daily sun exposure | 60 to 75 days |
20. Lay Natural Stone Stepping Slices Through Traffic Paths
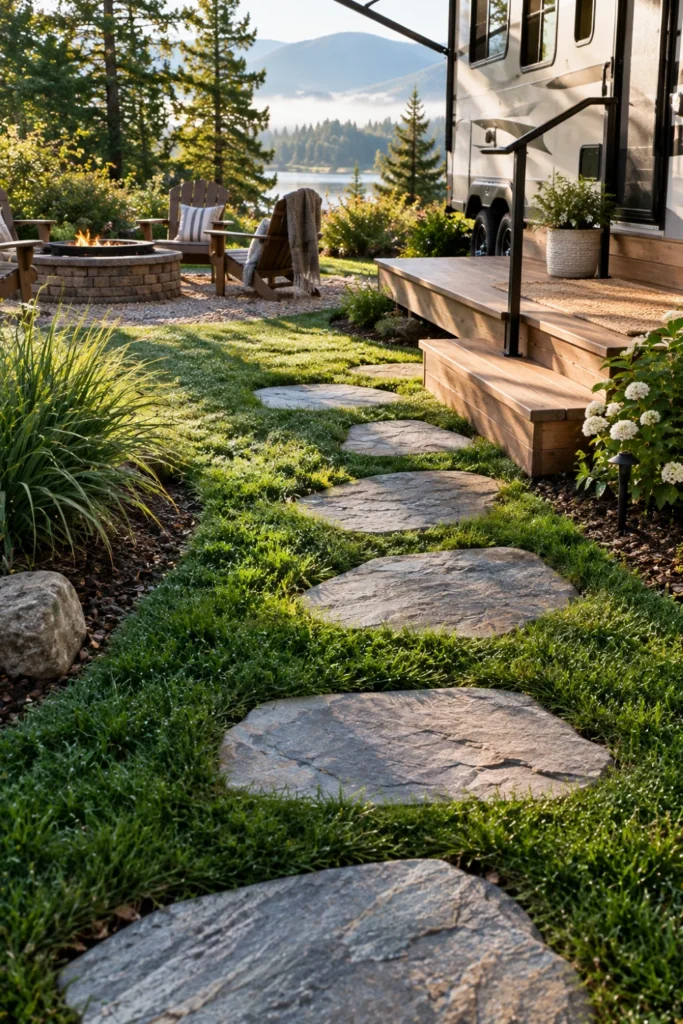
High-traffic paths between your RV steps, the outdoor dining area, and the utility hookups quickly turn into muddy ruts during rainy stretches. Sinking flat bluestone or flagstone stepping stones creates a clean, dedicated walkway.
Set each stone flat into a packed sand base so the tops sit flush with surrounding gravel.
Space stones roughly 24 inches on center to match natural walking strides.
Dropping stones directly on top of un-dug grass where they rock and create trip hazards.
Using slick, polished tile that gets slippery when wet.
Setting up a long-term RV pitch is all about building durable zones that make everyday outdoor living comfortable and organized. When you invest in sturdy all-weather furniture, defined gravel walkways, and protective skirting, your site stops feeling like a temporary stopover and starts feeling like a permanent retreat.
Take on these upgrades one weekend at a time to tailor your lot to how you like to live outside. Save this list for the next time you want to upgrade your campsite layout.

