
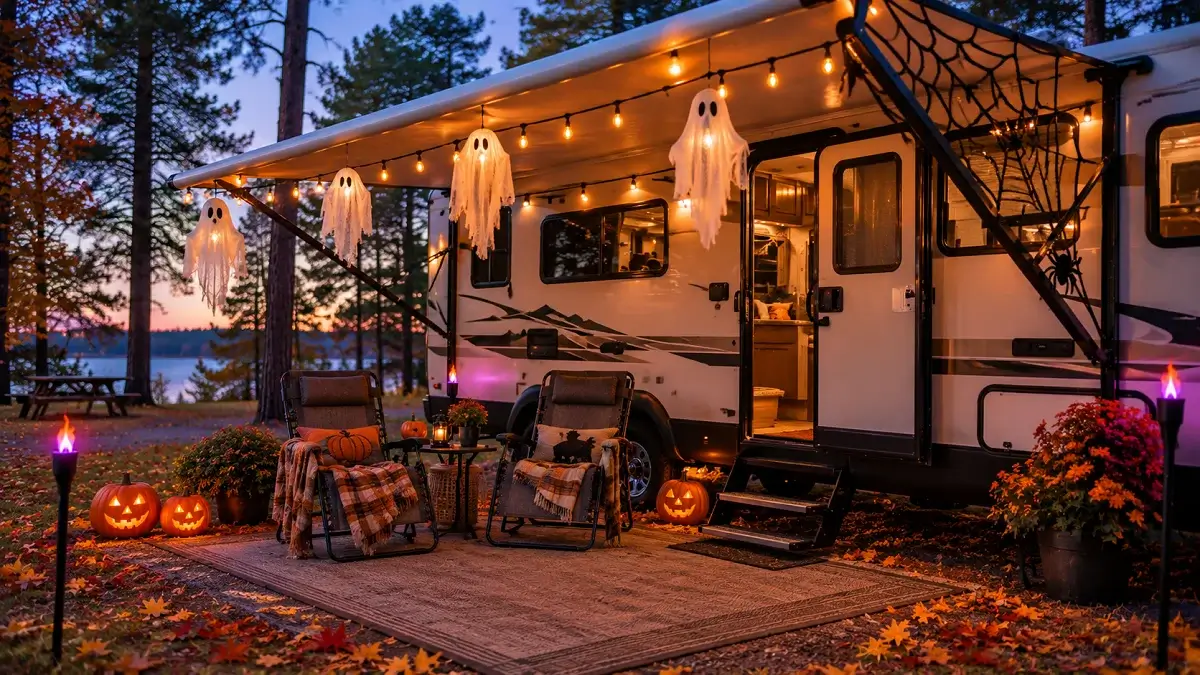
Setting up camp during spooky season brings a special kind of thrill. Campgrounds fill with crisp air, roasting marshmallows, and neighboring rigs competing for the most creative setup on the loop. Yet turning an exterior patio into a seasonal showcase comes with real logistical headaches that sticks-and-bricks decorators never face.
Standard home decorations simply do not survive life on the road. Flimsy store-bought paper crafts shred in a ten-mile-per-hour gust, heavy ceramic props crowd your precious cargo weight, and complex displays make sudden storm teardowns an absolute nightmare. When you are parked in an open campsite, wind shear and rapid weather shifts are part of daily life.
Crafting standout rv halloween awning decor is about choosing smart, lightweight accessories that pack flat, hold fast in a breeze, and detach in sixty seconds flat. Here are twelve field-tested, road-ready setups that turn your camper awning into the star of the campground without risking your hardware.
1. Clip Floating Cheesecloth Ghosts to the Roller Tube Groove
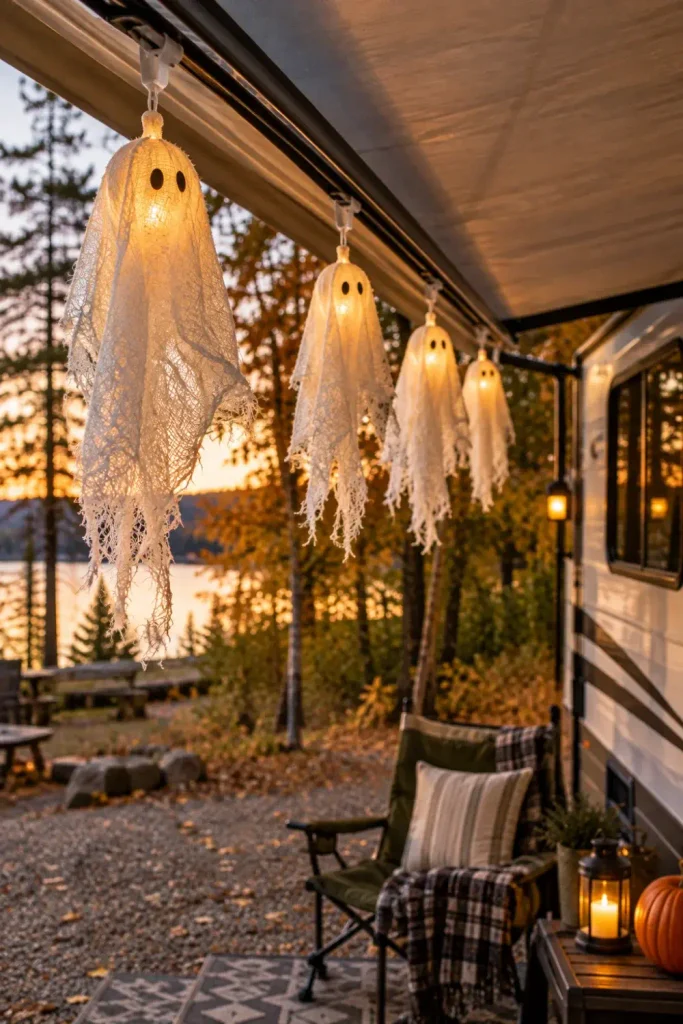
Slide lightweight plastic awning utility hooks directly into the empty accessory channel on your awning roller bar. These small round tabs slide smoothly down the aluminum track without tearing the fabric or scratching the metal barrel.
Tie unbleached cheesecloth loosely around hollow four-inch foam balls, shredding the bottom hems with fabric scissors for a ragged, floating fringe. Secure each ghost head to a track hook with a short piece of clear fishing line so they dance gently in the breeze.
- Hang each ghost at least twelve inches away from the RV sidewall to prevent fabric rub marks.
- Insert small warm-white battery tea lights into the base of each foam head for a soft evening glow.
- Keep the line lengths staggered between eight and eighteen inches to create an organic, floating drift.
2. Hang Amber Edison Bulbs with Plastic Awning Track Sliders
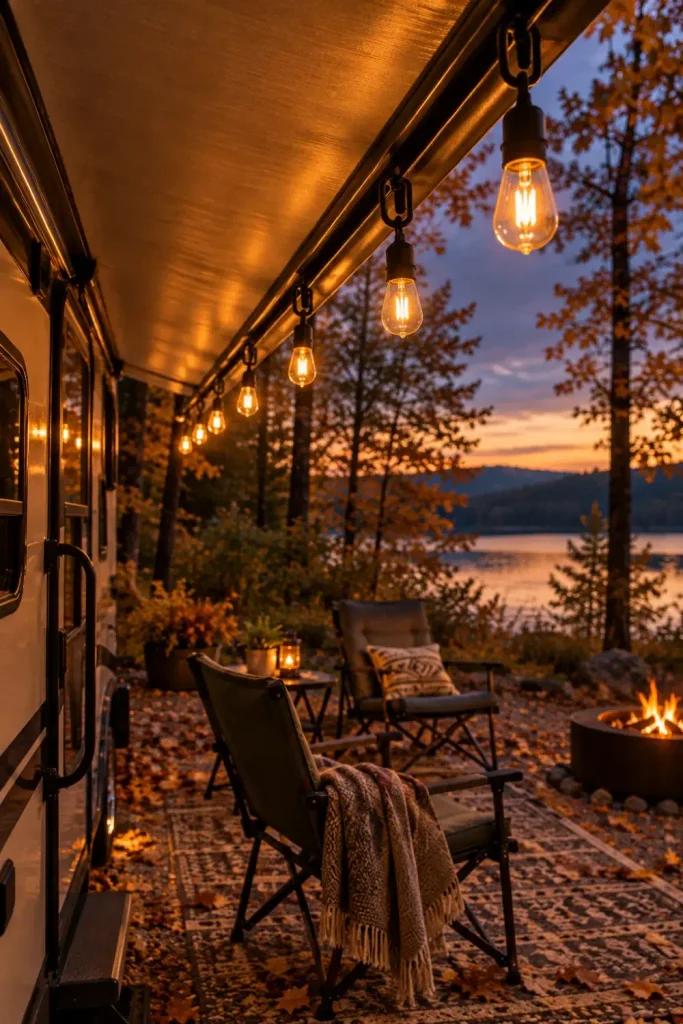
Standard clear camper porch bulbs can feel harsh and sterile against autumn decor. Swapping them for shatterproof, amber-tinted LED Edison globes instantly creates a warm, eerie glow across your entire outdoor living area.
Avoid metal S-hooks that bounce around in transit and rub through your awning’s vinyl valance. Plastic sliders with built-in swivel carabiners keep the string light wire tensioned evenly while eliminating metal-on-fabric friction points.
💡 Quick Tip
Always pick shatterproof polycarbonate LED bulbs over glass. If unexpected wind slams the awning arm against the rig, plastic bulbs bounce harmlessly instead of raining sharp shards onto your outdoor patio rug.
3. Secure Weatherproof Burlap Jack-o’-Lanterns to Ground Anchor Straps
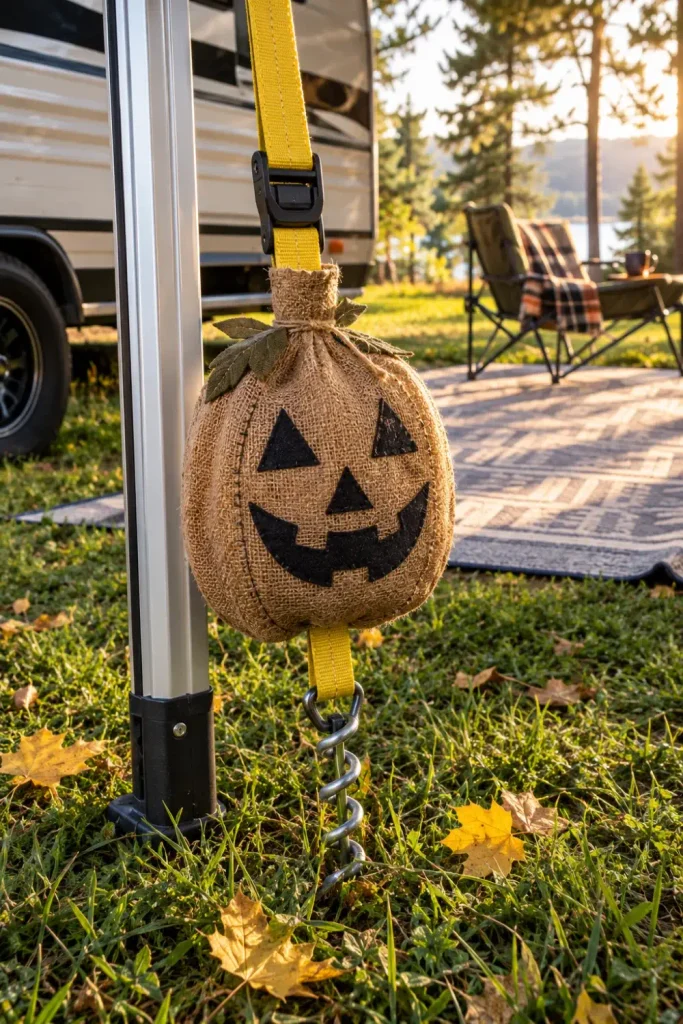
If you tie your awning roller down with screw-in spiral earth anchors to protect against sudden gusts, those bare webbing straps look functional but industrial. Turning structural safety points into decorative assets makes the campsite feel intentional.
Slide hollow burlap or weather-treated fabric pumpkin sleeves right over the ratchet straps. The hollow base lets you anchor the fabric directly against the ground pegs, keeping the heavy tie-downs fully functional while hiding the bright yellow hardware.
4. Drape Heavy-Gauge Black Spiderweb Rope Along the Support Arms
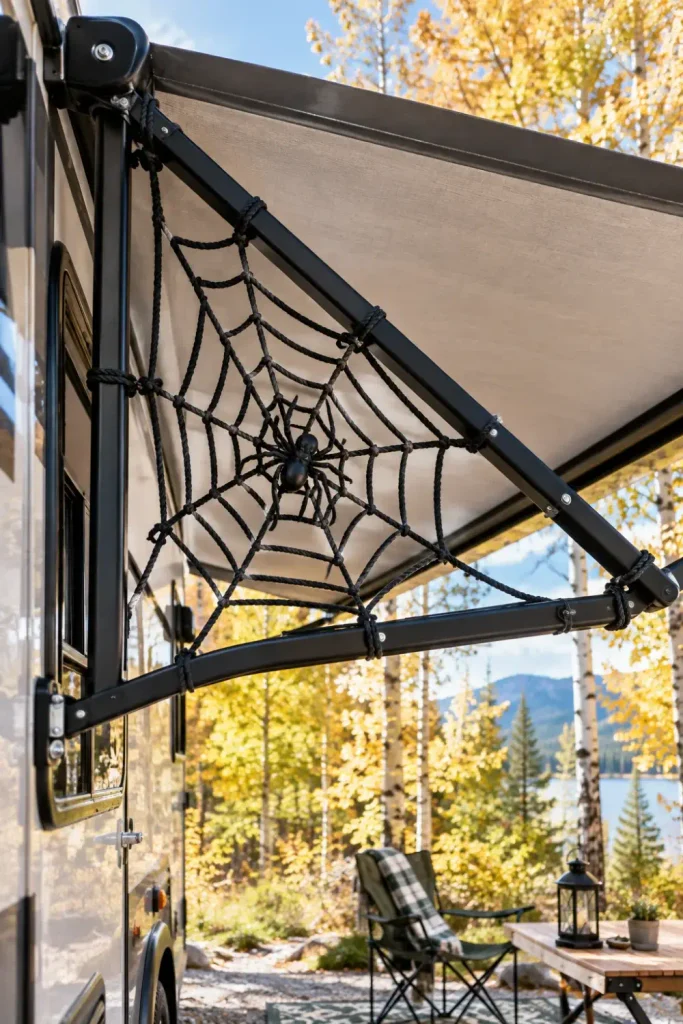
Skip the messy, sticky synthetic spiderweb batting sold in discount stores. That stuff clings permanently to textured RV fiberglass, tears into ragged scraps in the rain, and poses a genuine tangling hazard to local birds and campground wildlife.
Instead, invest in a thick, braided nautical rope web that hooks directly to your metal awning support arms. You can secure the outer corners using reusable rubber-coated gear ties that grip firmly without scratching powder-coated aluminum paint.
- Braided black paracord or thick polyester rope weathers rain without holding water weight.
- Soft rubber gear ties protect the finish on telescoping awning struts.
- Quick-release carabiners let you unhook the entire web in under twenty seconds if weather rolls in.
Web Installation Essentials
5. Frame the Front Edge with Waterproof Purple LED Rope Lights
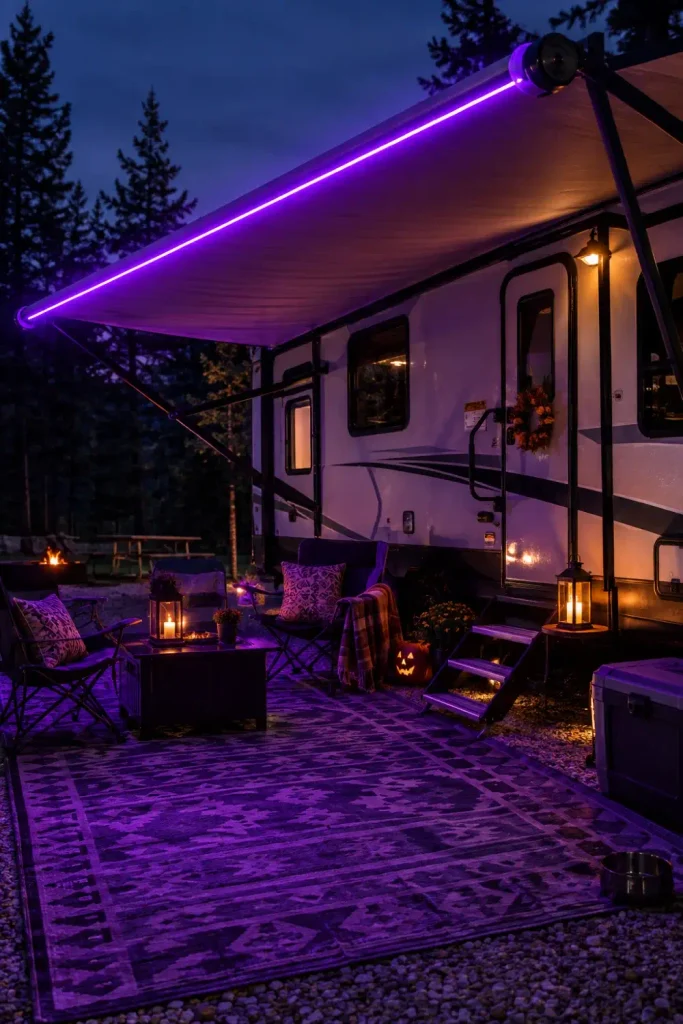
Thin micro-wire fairy lights look delicate, but they knot instantly and snap when subjected to typical awning flutter. Heavy-duty outdoor silicone rope tubing delivers a cleaner, more vibrant border along your front fabric edge.
Run the rope light straight through the built-in channel beneath the roller bar, or use smooth slide-in clips spaced every two feet. Purple LED lighting casts deep, dramatic shadows across the patio area while remaining soft enough to preserve your night vision around camp.
Wires tangle into birds’ nests during teardown, snap under wind stress, and short out when damp.
Waterproof, rolls cleanly into a storage bucket, resists wind whip, and casts saturated color.
6. Suspend Lightweight Witch Hats with Clear Monofilament Line
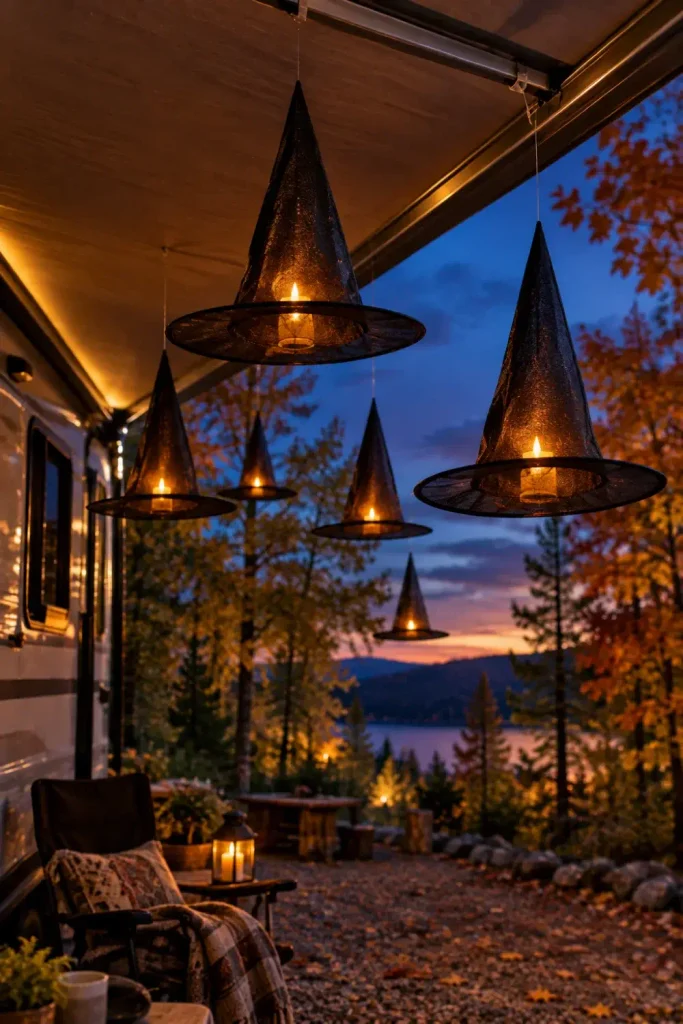
Floating witch hats are a staple for home porches, and they work even better beneath a camper canopy. Because camper awnings sit lower than home ceilings, the hats hang right at eye level as trick-or-treaters walk past.
Pick simple nylon or polyester costume hats that flatten completely into a pancake shape for travel. Poke a tiny pinhole through the peak of the cone, knot a strand of eight-pound monofilament through the top, and clip it directly to the utility track.
Thread 12 inches of fishing line through the inner cone point using a tapestry needle.
Drop an ultralight LED glow stick or coin-battery tea light into the cone for an internal glow.
Snap the top loop into your awning track hooks, staggering elevations by three to four inches.
7. Clamp Solar-Powered Flickering Flame Torches to the Vertical Legs
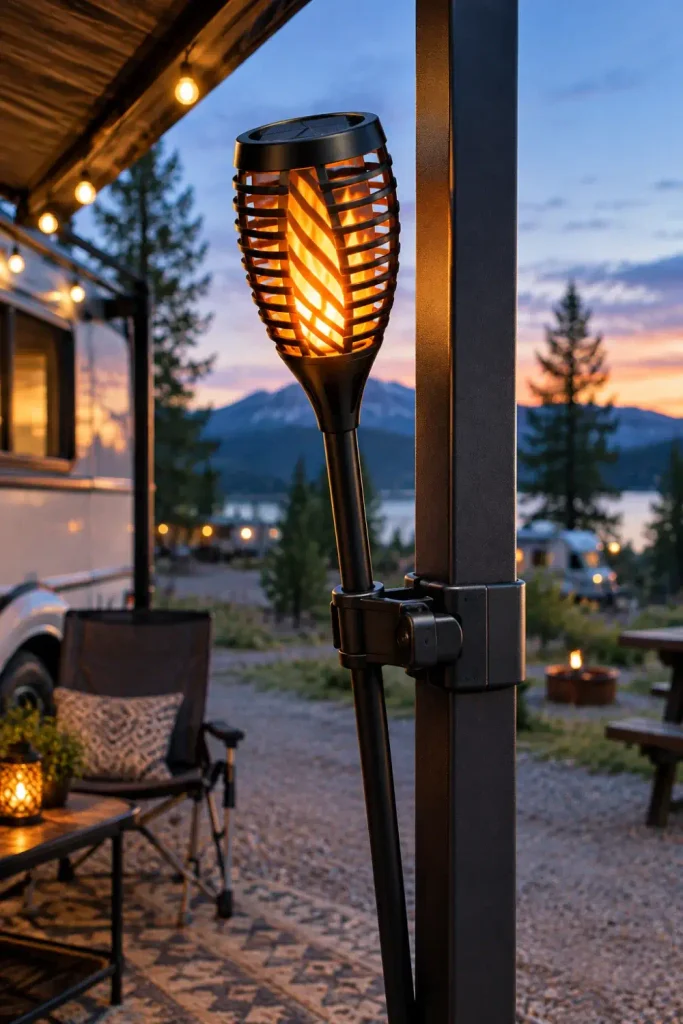
Traditional ground-stake solar torches often tip over in muddy campground turf or trip kids walking around the campsite boundary at dusk. Mounting them directly to your awning struts keeps your walkways clear while highlighting the camper structure.
Use rubber-padded bicycle handlebar mounts or camera pole clamps to grip the vertical awning legs. These clamps lock firmly onto round or square aluminum tubing without marring the finish or requiring permanent screw holes.
Use rubber-padded quick clamps that release with a single lever turn.
Angle the solar mini-panels outward toward daytime sunlight for reliable evening charges.
Do not use single-use plastic zip ties that you have to cut off with a knife near vinyl.
Never attach torches with bare metal hose clamps that strip awning paint.
8. Weave Faux Autumn Eucalyptus and Mini Pumpkins Through the Valance
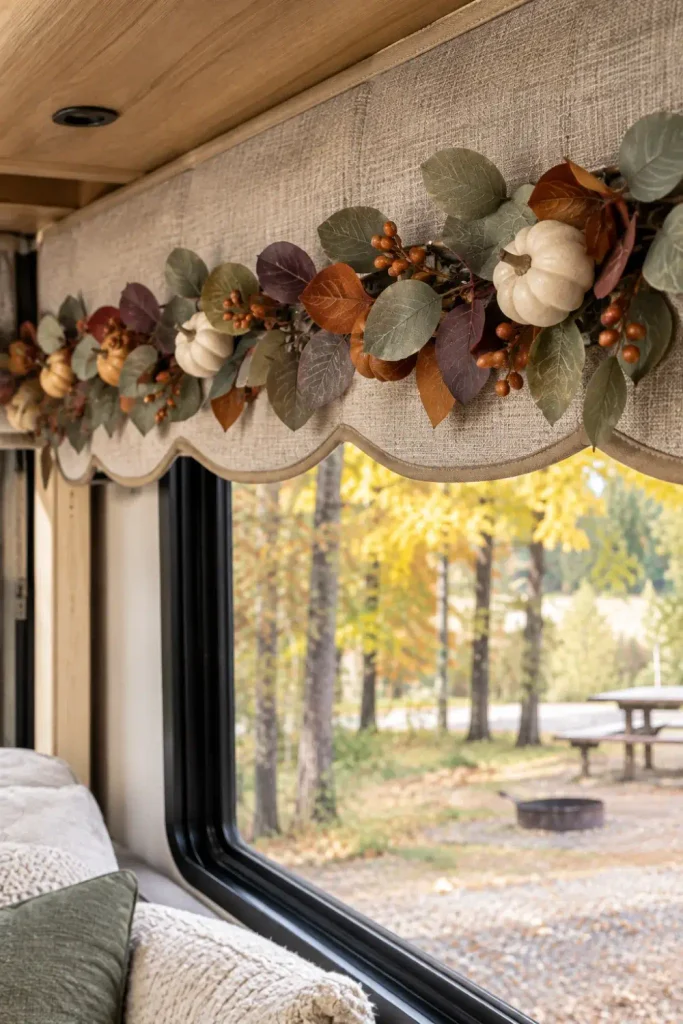
For a sophisticated, moody harvest look that feels high-end, weave artificial dark eucalyptus garlands along the fabric fringe. The muted rust, plum, and olive tones blend naturally with rustic campsite surroundings.
Avoid real plant clippings or heavy natural gourds here. Moisture on live greenery will mildew your awning roll, and fresh pumpkins add unnecessary weight to the extended mechanical arms.
📌 Good To Know
Attach garland using broad, smooth silicone clips rather than metal clothespins. Smooth clips hold tight without leaving permanent indents or pinch tears along the fabric valance edge.
9. Mount a Glow-in-the-Dark Silhouette Sign on the Center Rafter
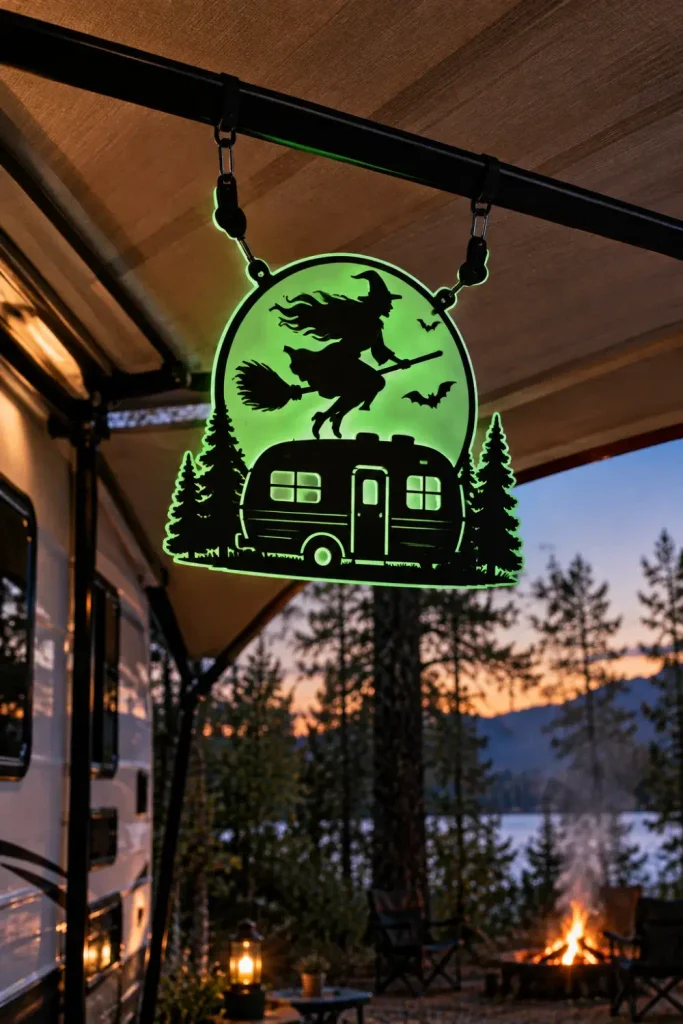
Long awnings often have an adjustable center tension rafter to shed rainwater. This horizontal bar is an ideal structural anchor point for a bold, camp-themed silhouette cutout.
Cut lightweight corrugated plastic sheets into haunted camper shapes or classic witch silhouettes, coating the edges with glow-in-the-dark outdoor acrylic paint. Suspended in the center, it catches your campfire backlight without putting any pulling torque on the fabric corners.
Never mount anything heavy or rigid to the center of your roller bar. Hang signs strictly from reinforced center rafters to avoid permanently bowing your awning roller tube.
10. Run a Cascading Bat Garland Along the Underside Seam
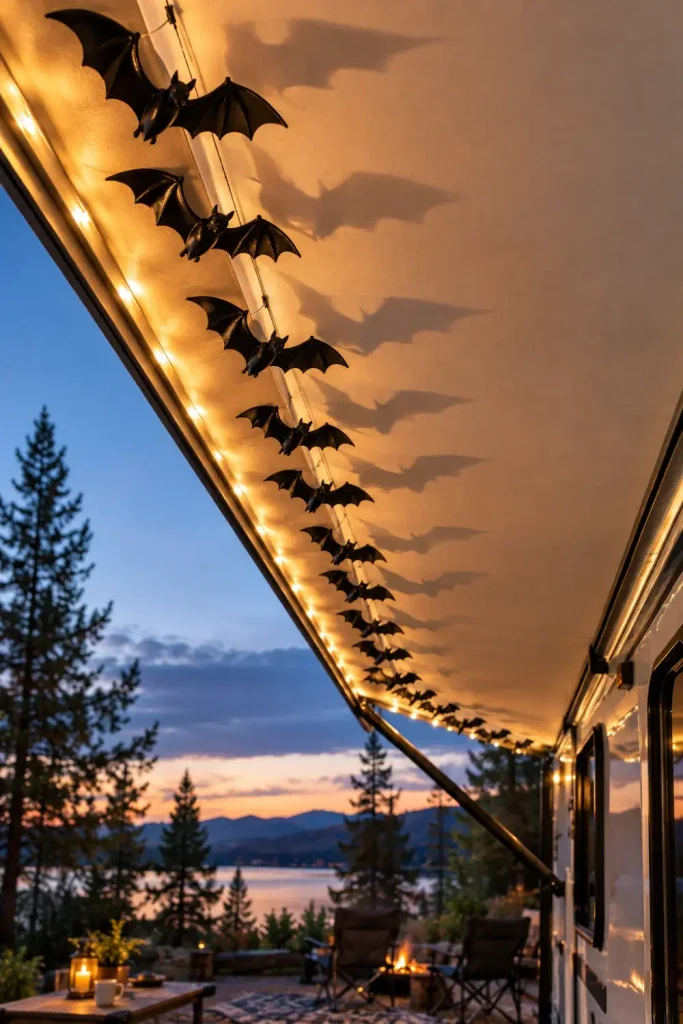
Flat waterproof polypropylene plastic bats make a dramatic statement when spaced out in a climbing, swooping flight pattern across the canopy underside. Their three-dimensional wings bend upward along scored lines, catching shadows and soft breezes.
Use removable hook-and-loop fabric dots placed directly on the underside vinyl seams where the material is doubled and reinforced. When it is time to travel, the bats peel right off, and the flat plastic shapes slip neatly into a slim craft folder.
- Wipe down the underside seam with a damp microfiber cloth to remove dust and road grit.
- Affix outdoor-rated removable adhesive dots to the reinforced seam lines.
- Angle the bat wings out at 45 degrees so they catch low-angle patio light.
⚠️ Watch Out
Remove every bat before rolling your awning closed. Leaving plastic decor stuck to the fabric when retracting the canopy creates pressure creases that can stretch and damage the waterproof vinyl coating over time.
11. Weight the Corner Ties with Stacked Foam Craft Pumpkins
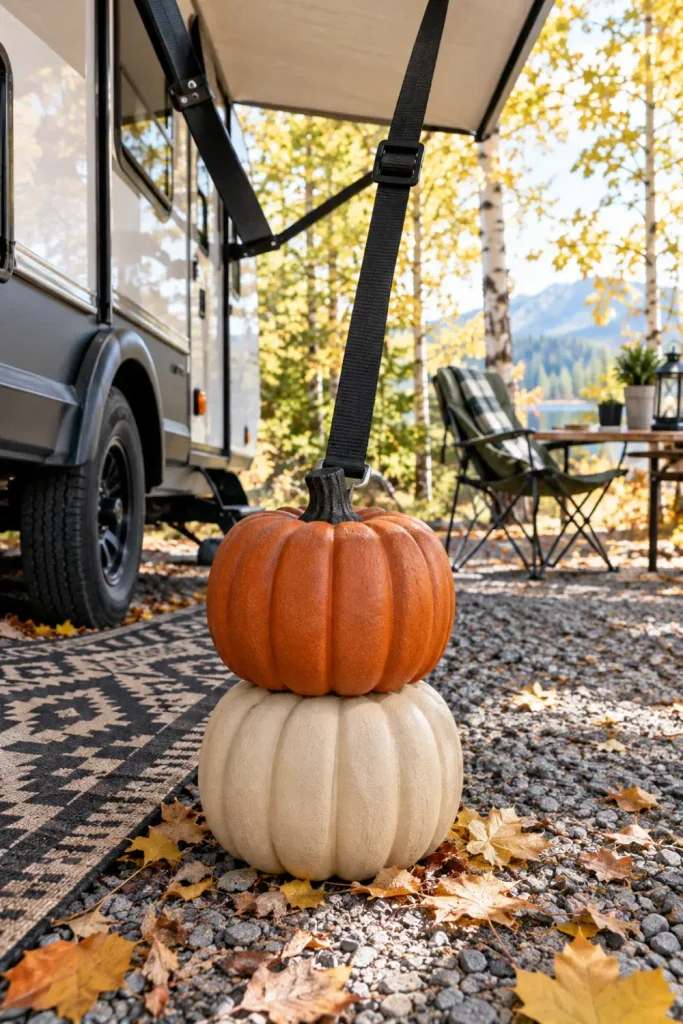
Campers frequently use water jugs or weights at the base of their awning leg anchors to prevent uplift during gusty weather. Plain orange plastic buckets look clumsy, but painted high-density craft foam pumpkins disguise this vital ballast seamlessly.
Carve a narrow vertical channel straight through the core of two stacked foam pumpkins. Slide them directly over your anchor guy-lines, letting them sit atop your anchor stakes or flat weights on the patio rug.
12. Add an Under-Awning Fog Machine Rig with Low-Lying Ground Ducting
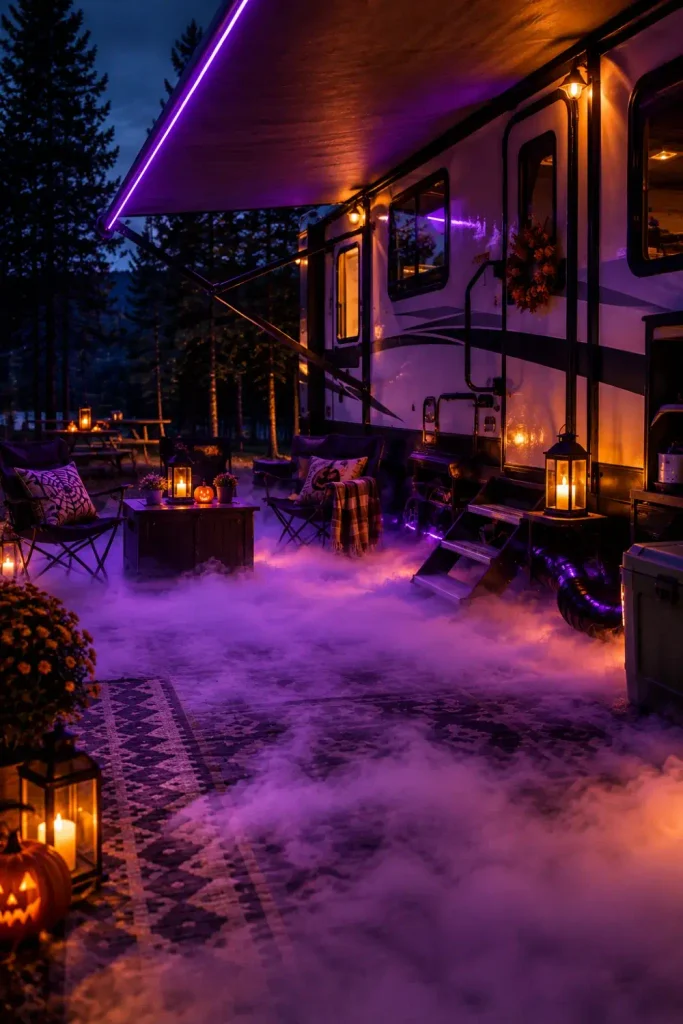
Ground fog drifting across your outdoor camper patio creates an unforgettable atmosphere on Halloween night. The trick to keeping fog low beneath an open canopy is cooling the smoke before it disperses into the air.
Run flexible corrugated plastic drain pipe along the bottom edge of your camper frame, feeding the nozzle of a small 400-watt fog machine into one end. Packing the first two feet of pipe with regular ice cubes chills the fog, causing it to roll across your patio rug rather than rising up into the awning fabric.
Low-Lying Fog Checklist
Setting up seasonal camp displays should be fun rather than a stressful storage headache. With smart planning, durable materials, and quick-release attachment points, you can build memorable rv halloween awning decor that packs down fast when travel day arrives.
Save this list to your favorite Pinterest camping board so you have these road-ready decor tricks handy for your next autumn getaway!

