
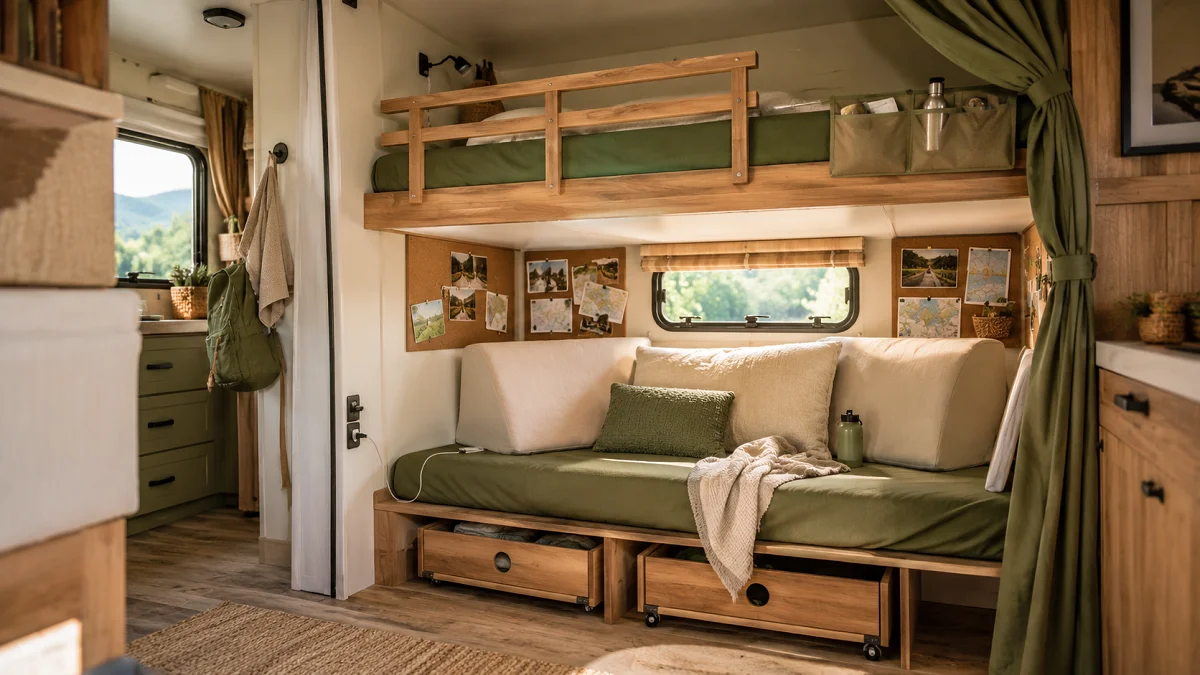
Standard RV bunkhouses often feel like dark, cramped caves where clutter piles up within hours. Between tangled bedding, bulky factory ladders blocking the walkway, and loose gear sliding across the floor on travel days, keeping this small zone functional takes deliberate planning.
With a few smart adjustments, you can turn tight camper sleeping quarters into organized, comfortable retreats for kids or guests. Making practical use of vertical wall space and choosing the right storage pieces keeps the entire area open and tidy.
Here are 15 actionable rv bunk room ideas to help you maximize comfort, storage, and floor space on your next road trip.
1. Mount Canvas Bedside Organizers Along the Wall Rails
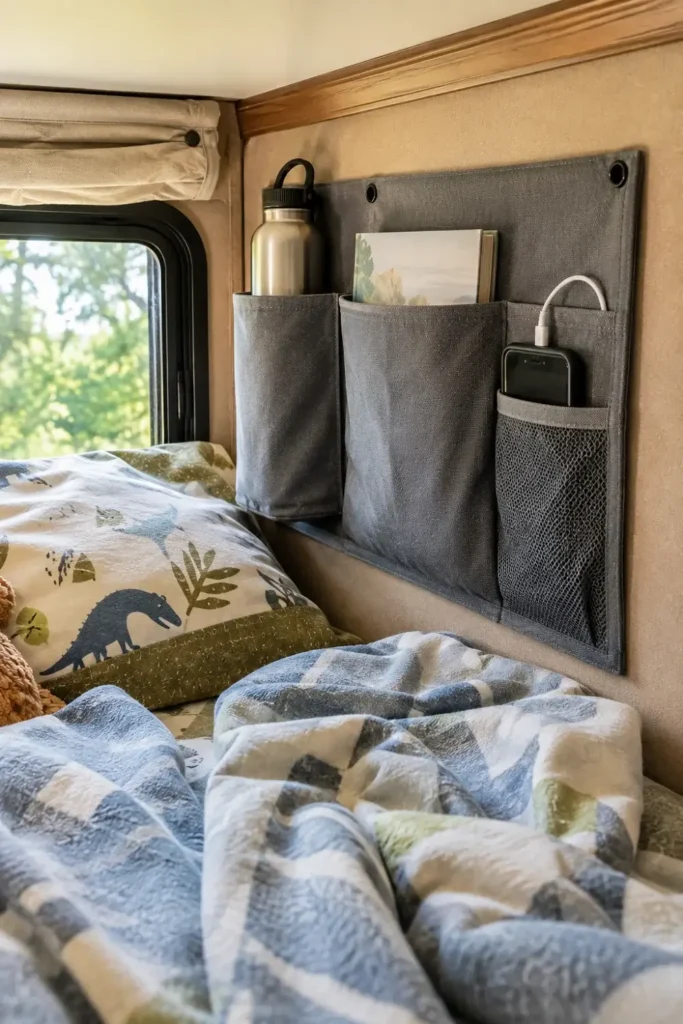
Standard camper bunks lack nightstands, meaning flashlights, phones, and water bottles often end up buried in blankets or dropped onto the floor. Hanging heavy-duty canvas caddies directly over the bed frame or screwing them into side trim creates instant, zero-footprint storage.
- Pick multi-pocket organizers with reinforced stitching to handle heavy water bottles.
- Secure the top flap behind the mattress or use heavy-duty adhesive strips on flat wall panels.
- Assign dedicated slots for glasses, charging cords, books, and small flashlights.
💡 Quick Tip
Use hook-and-loop strips along the bottom edge of canvas organizers to prevent them from swinging and banging against the wall while driving.
2. Swap Bulky Factory Ladders for Wall-Mounted Pipe Rungs
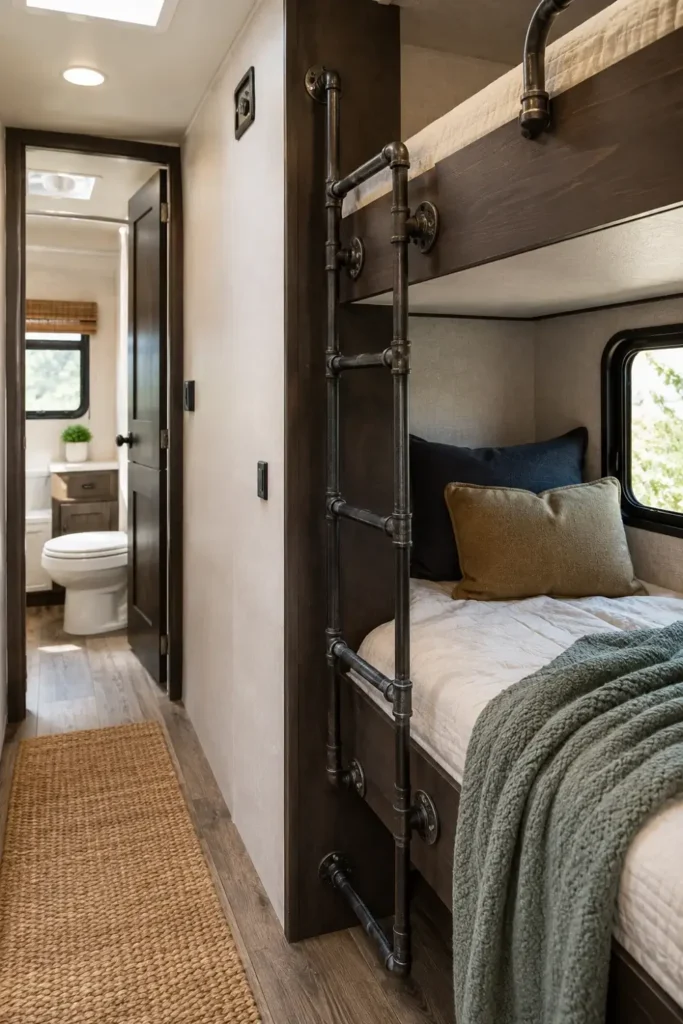
Factory-installed angled ladders eat up valuable walkway floor space and often block access to under-bed cabinets. Building a vertical pipe ladder flush against the bunk frame opens the floor while giving kids sturdy footing.
- Cut half-inch industrial black pipe or galvanized steel tubing to your desired rung width.
- Secure mounting flanges directly into the solid vertical corner framing of the bunk structure.
- Wrap each horizontal bar with textured grip tape to prevent slipping with wet socks.
Angled wooden ladder permanently blocking floor pathways and under-bunk drawers.
Zero-clearance flush metal rungs mounted directly to vertical studs, freeing floor space.
3. Hang Tension Rod Blackout Curtains for Instant Privacy Pods
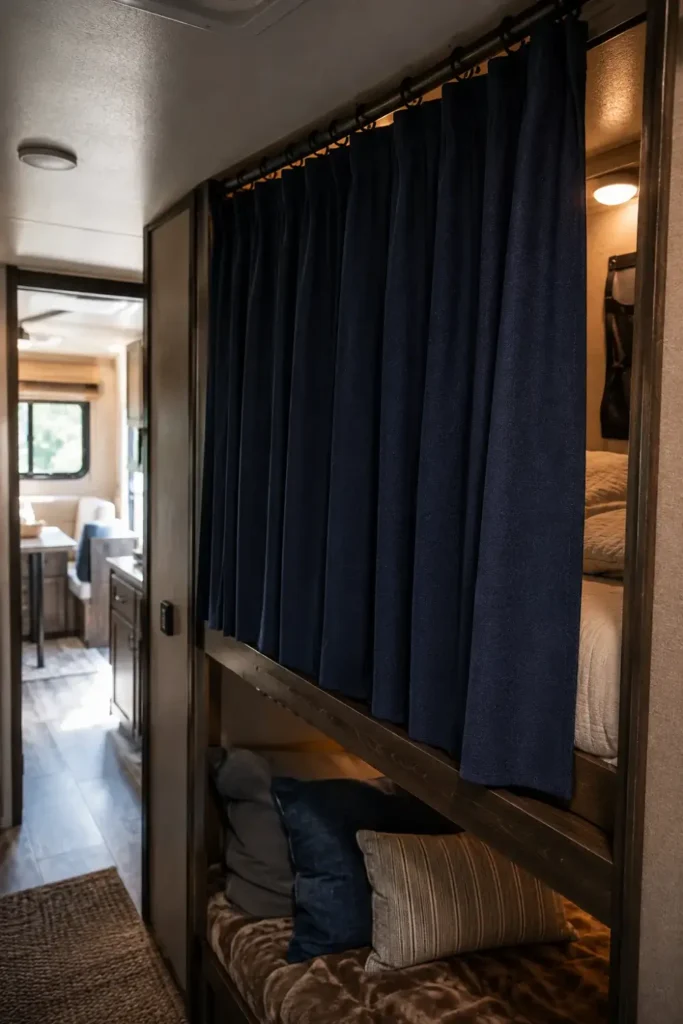
Shared bunk rooms can make early bedtimes tricky when lights are still on in the main living area. Adding individual curtains turns each bunk into an isolated sleeping nook.
- Spring-loaded heavy tension rods fit snugly between interior camper walls without drilling holes.
- Thermal blackout fabric panels block both ambient interior light and drafty window air.
- Sew small magnetic buttons into the curtain seams to keep panels clipped shut securely.
What to grab first
4. Install Low-Voltage Reading Sconces with Built-In USB Ports
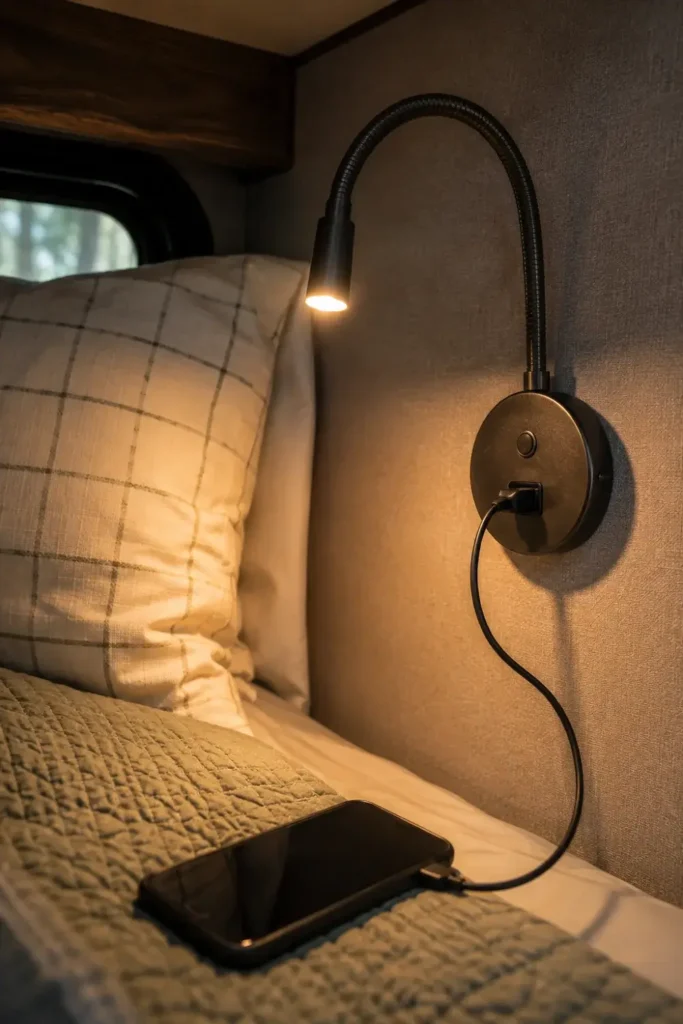
Camper ceiling lights are often harsh and controlled by a single wall switch. Replacing them or adding individual 12-volt reading lights gives each sleeper personal control over their space.
| Sconce Feature | Benefit for Bunk Rooms | Recommendation |
| Directional Gooseneck | Focuses light only on the page | 3W warm LED head |
| Integrated USB Port | Eliminates long cords across beds | 5V / 2.1A charging outlet |
| Dimming Touch Sensor | Prevents blinding midnight wakeups | Soft-touch stepless dimmer |
5. Convert the Bottom Bunk into a Daytime Play or Lounge Nook
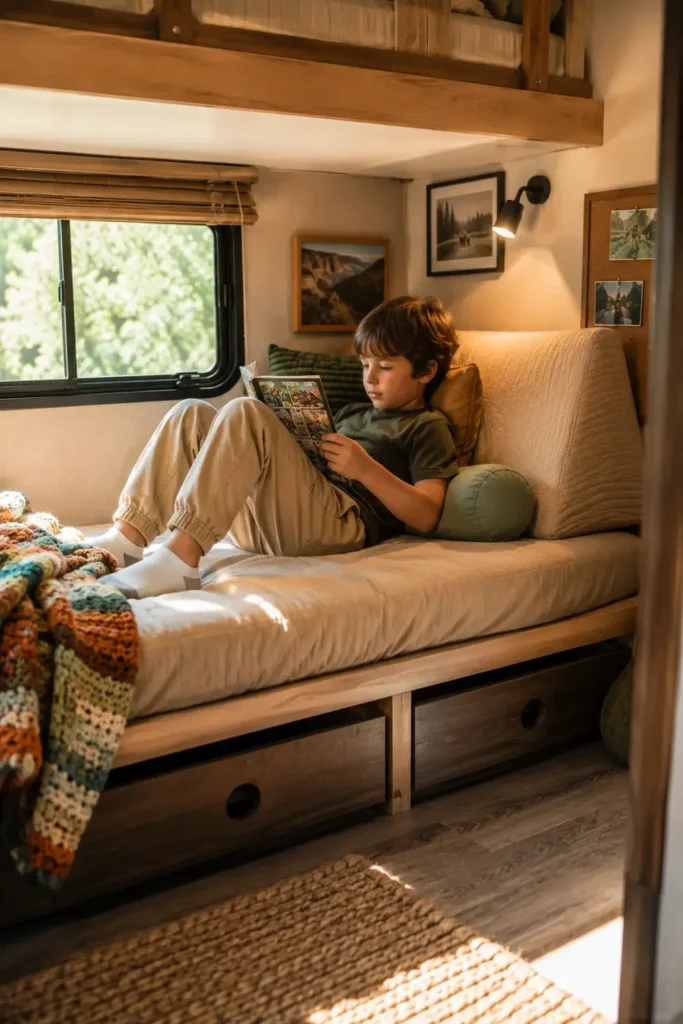
Bottom bunks often collect duffel bags and stray gear when not in use. Setting the bottom mattress up as a daybed or play bench gives kids their own dedicated daytime hangout.
- Line the long back wall with firm wedge pillows or bolster cushions to create couch-style back support.
- Add a fitted, washable canvas slipcover over the mattress to protect against spilled snacks and dirt.
- Slide a folding activity tray underneath to quickly set up a coloring and game desk.
| Daytime Lounge Setup | Nighttime Sleeping Setup |
|---|---|
| Bolster cushions line the wall for sofa seating. | Cushions stack at the foot of the bed or in the closet. |
| Heavy canvas topper protects bottom sheet. | Canvas layer unzips to reveal standard sleeping sheets. |
6. Line Metal Walls with Peel-and-Stick Cork Board for Personal Pins
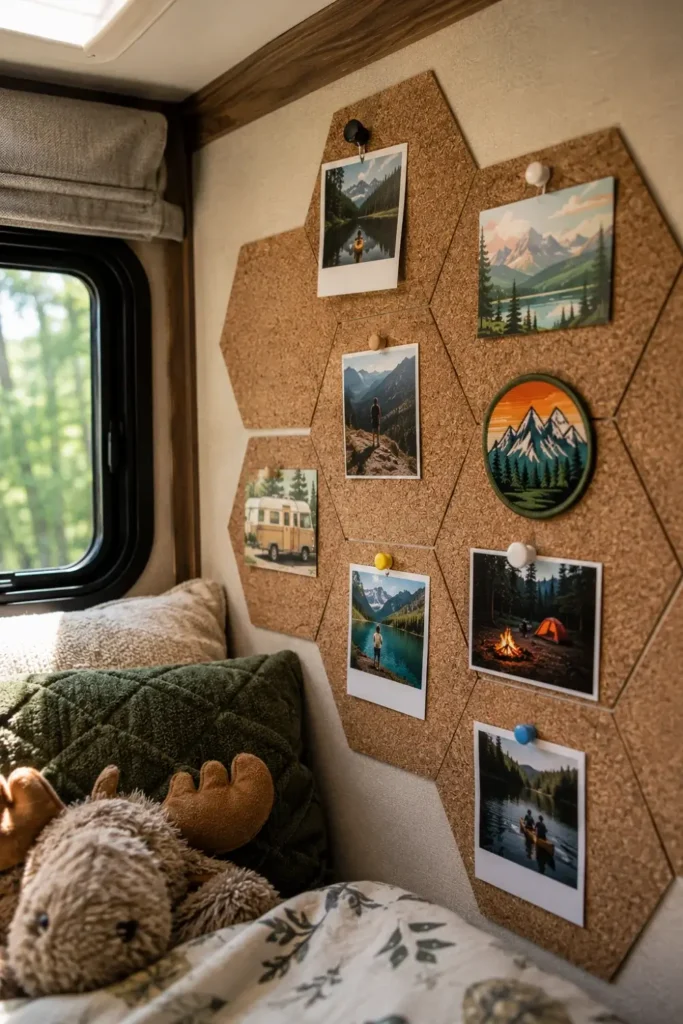
Giving kids a spot to pin postcards, campsite maps, and photos makes the bunk feel personalized without putting permanent screw holes into thin RV wall paneling.
- Use high-density self-adhesive cork tiles rated for temperature shifts.
- Wipe the wall down with isopropyl alcohol before applying tiles to ensure strong adhesion.
- Provide wooden pushpins or magnetic clips rather than sharp metal tacks that could fall into bedding.
7. Use Fold-Flat Storage Bins Fitted Beneath the Lower Mattress Frame
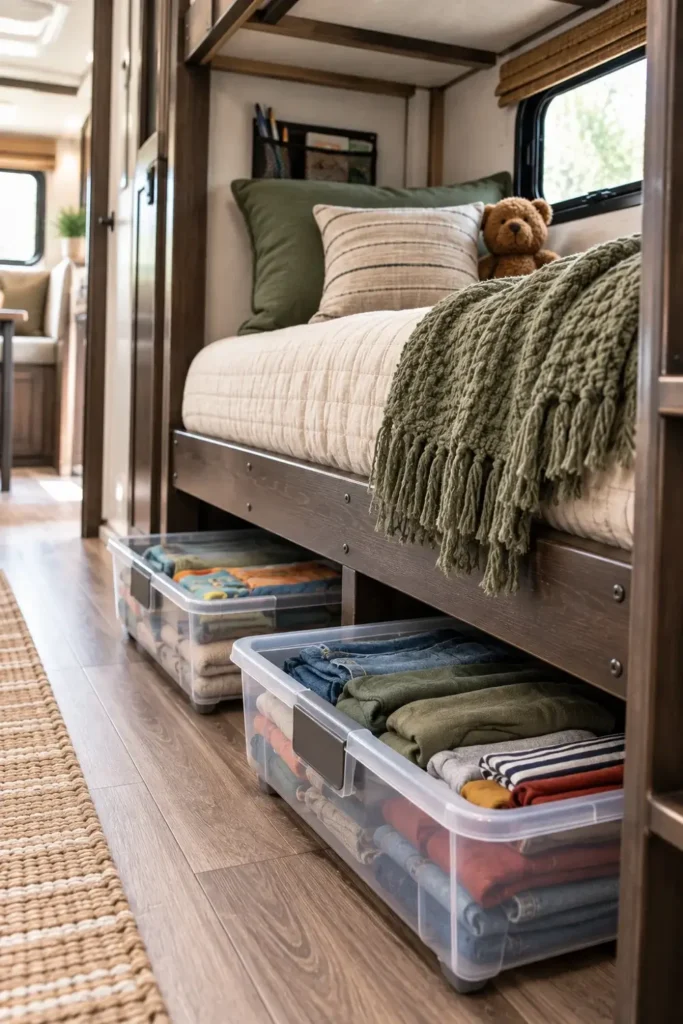
The dead space under the bottom bunk platform is prime real estate for clothes, shoes, and extra bedding. Fabric fold-flat containers protect items from dust while sliding out smoothly across camper linoleum.
- Choose bins with clear front windows so you can see contents without pulling them out.
- Measure the vertical clearance from the floor to the bottom bunk lip before buying.
- Label each bin with child names or category tags like “Rain Gear” or “Swimsuits”.
HTML
⚠️ Watch Out
Check for heating ducts, fresh water tanks, or slide-out motor wiring under the lower bunk frame before choosing deep storage containers.
8. Add Removable Wooden Safety Rails with Foam Padded Edges
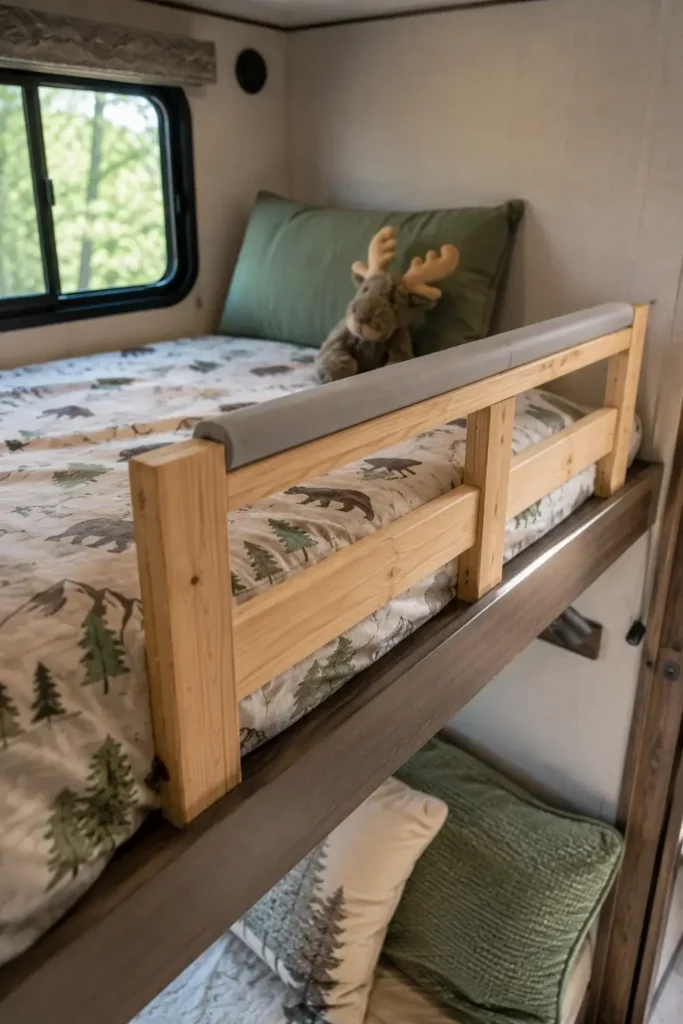
Upper RV bunks often come with narrow lips or no safety guards at all. A custom slide-in safety rail keeps younger children secure without creating a permanent barrier that makes changing sheets difficult.
- Build an L-shaped rail frame using lightweight pine boards that slide directly beneath the mattress.
- The mattress weight anchors the lower base plate firmly in place without wall screws.
- Wrap the upper wooden rail with dense foam pipe insulation and a washable fabric sleeve.
Use under-mattress slide-in brackets for easy removal on sheet-washing days.
Pad all upper corners with rounded foam to prevent bumps.
Do not rely on loose tension-mounted mesh nets on upper bunks.
Avoid driving heavy screws into thin decorative wall panels.
9. Layer Breathable Bamboo Sheets with Zippered Bedding Sleeves
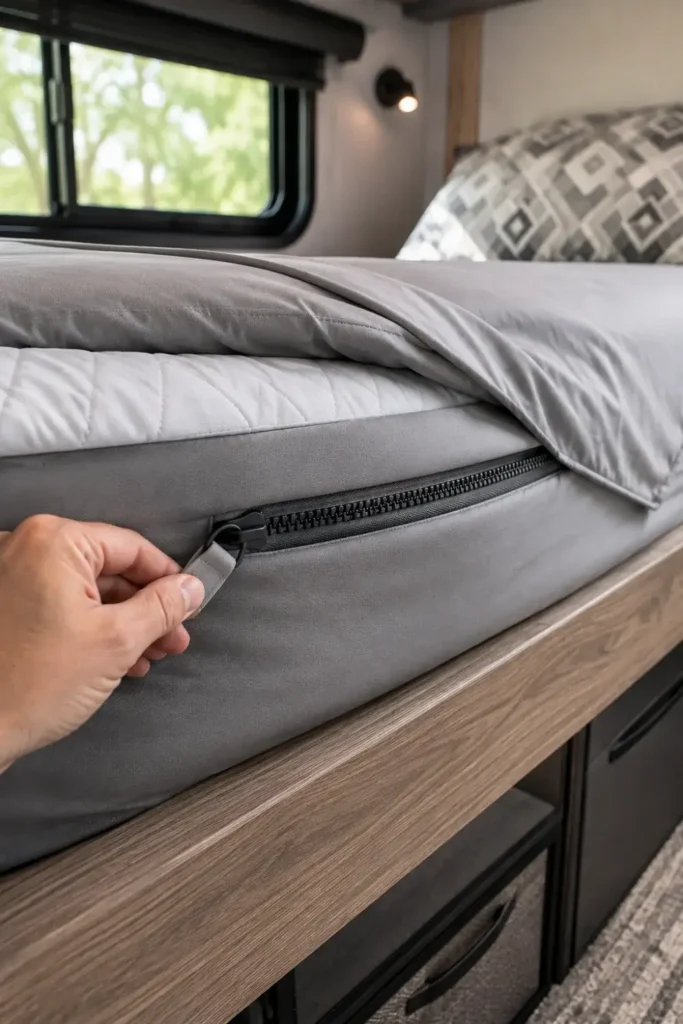
Tucking standard fitted sheets into tight RV bunk corners against three solid walls is frustrating. All-in-one zippered bedding systems or elastic-banded bamboo sheets solve this instantly.
- Breathable bamboo fibers stay cool in humid summer camping weather.
- Zippered bedding units combine the fitted sheet and comforter into one single zip-up piece.
- Making the bed in the morning takes seconds by simply pulling the side zipper forward.
Fit the deep-pocket base sheet over the thin RV mattress once at the start of your trip.
Zip the attached top comforter directly to the base sheet along both side tracks.
Tuck the pillow in and leave the bedding zipped flat for travel days.
10. Tuck Corner Wire Baskets Above Pillows for Nighttime Gear
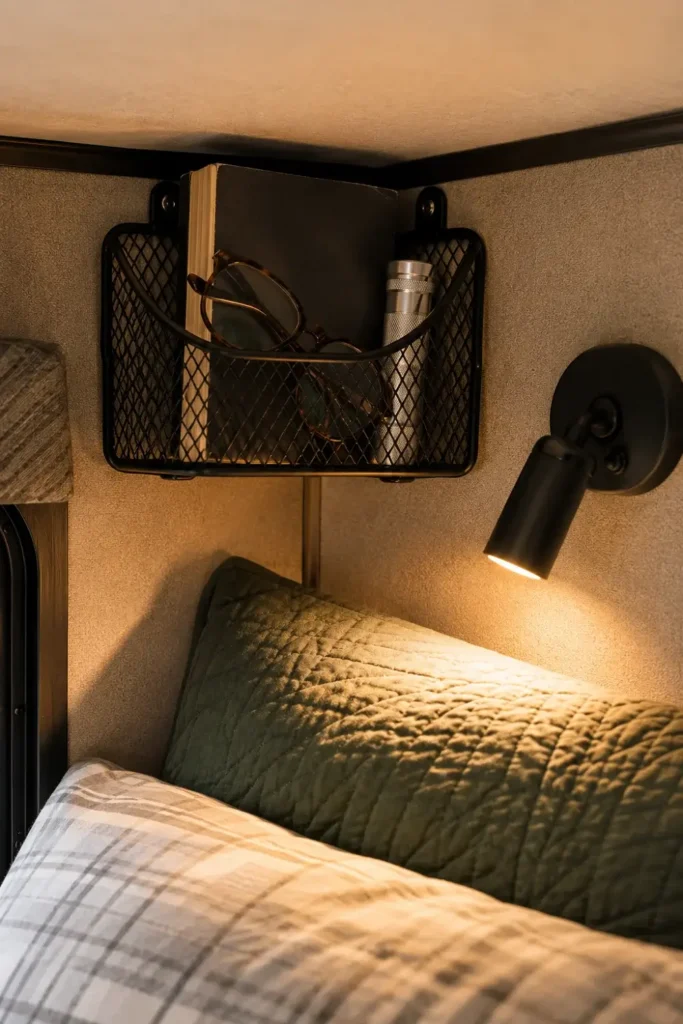
The corner triangle where the ceiling meets the rear bunk wall is almost never utilized. Mounting small, open-front wire baskets provides a secure spot for essentials without bumping shoulders during sleep.
- Position baskets at least 10 inches above the mattress surface to maintain headroom.
- Use rubber-coated wire baskets to prevent clinking sounds while driving down the highway.
- Secure with drywall anchors and short screws into corner reinforcement cleats.
11. Mount Battery Puck Tap Lights Under the Upper Bunk Platform
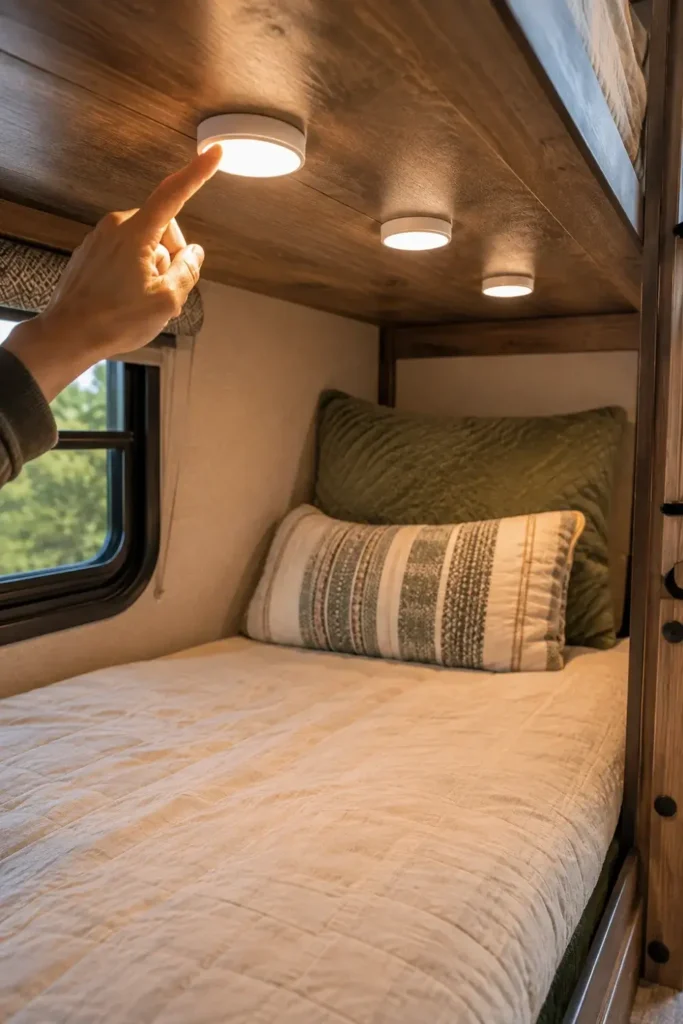
The lower bunk can feel dim and shadowy even in broad daylight because the top bunk platform blocks the overhead RV lighting. Installing stick-on battery puck lights brightens the lower space without running new electrical wiring.
- Choose tap lights with remote controls and built-in auto-off timers.
- Use warm white (2700K) LED bulbs instead of harsh cool-toned blue LEDs.
- Mount lights using removable interlocking adhesive strips for easy battery swaps.
Lower Bunk Lighting Checklist
12. Install Soft Webbing Cargo Nets Across Open Shelving Cubbies
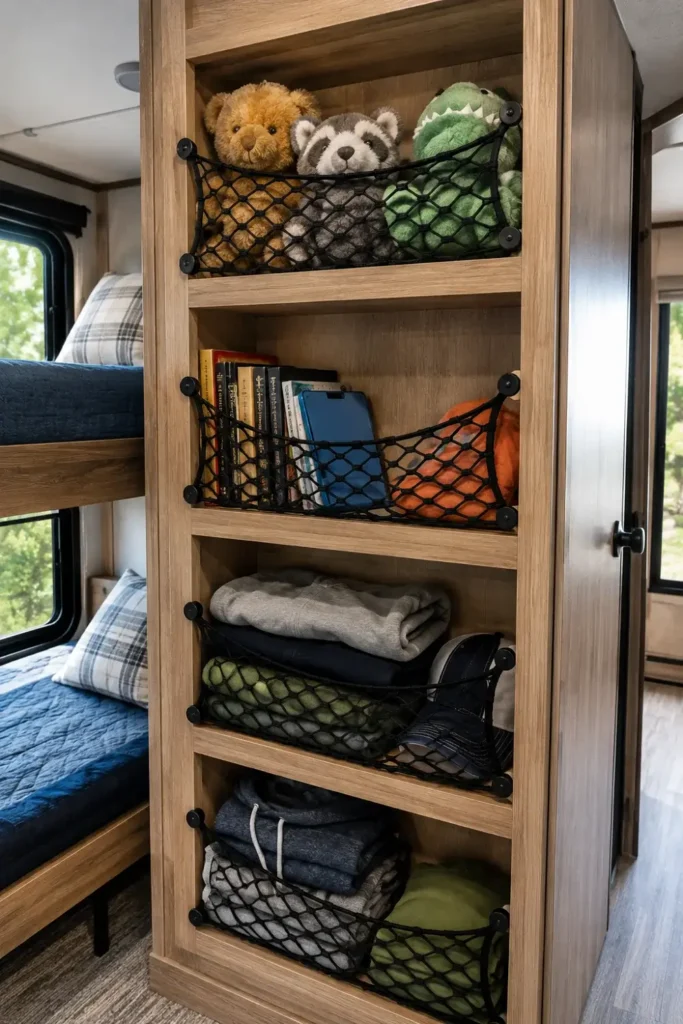
Open shelving cubbies in RV bunkhouses quickly drop their contents onto sleeping children the moment you hit a bumpy highway. Elastic cargo netting keeps toys, folded shirts, and books contained while remaining flexible.
| Net Material | Elasticity | Best Suited For |
| Bungee Webbing | High stretch | Bulky soft items, stuffed animals, extra blankets |
| Woven Nylon Strap | Rigid / low stretch | Heavy books, storage bins, board games |
| Mesh Envelope Net | Medium stretch | Shoes, electronics, rolled apparel |
Always secure open cubby openings before pulling out of the campsite—elastic cargo nets prevent mid-transit spills.
13. Brighten Dark Bunk Walls with Removable Scenic Wallpaper Decals
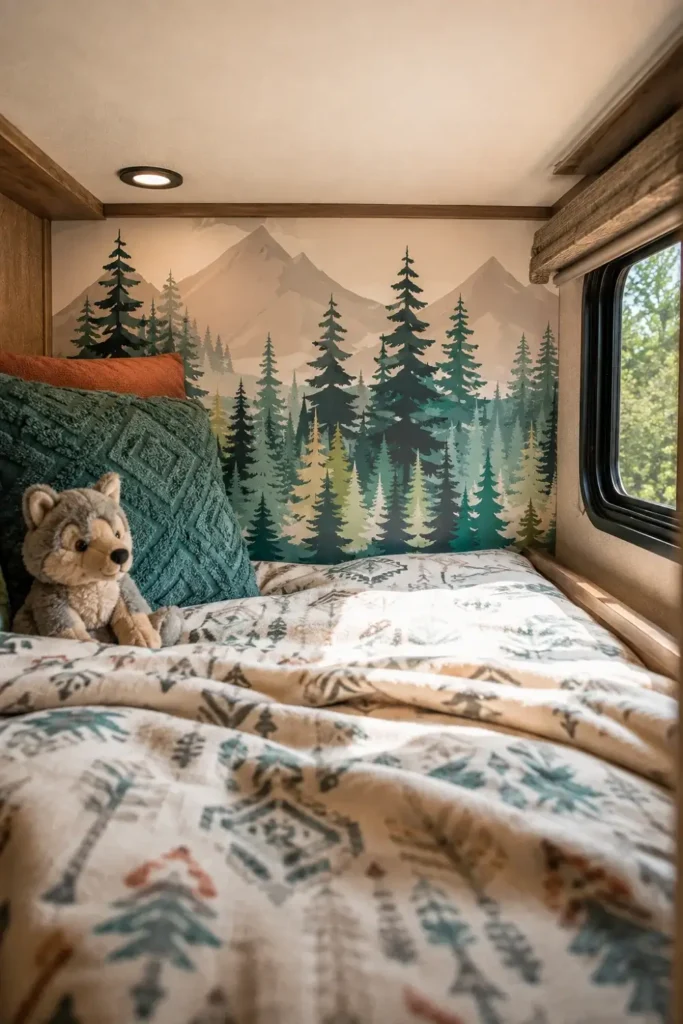
Most factory camper bunks feature drab brown or grey faux-wood paneling. Applying lightweight, peel-and-stick peelable wallpaper instantly opens up the tight enclosure and adds visual interest.
- Choose water-resistant vinyl wallpaper that wipes clean easily with a damp rag.
- Use light outdoor-themed patterns like trees, mountain silhouettes, or stars to create depth.
- Smooth wallpaper from the center outward using a felt squeegee to prevent air bubbles.
Dark, uniform brown paneling that absorbs light and makes the bunk feel confined.
Bright, outdoor-themed peel-and-stick prints that reflect ambient light and add charm.
14. Add Heavy-Duty Coat Hooks Near the Bunk Entry for Hoodies and Towels
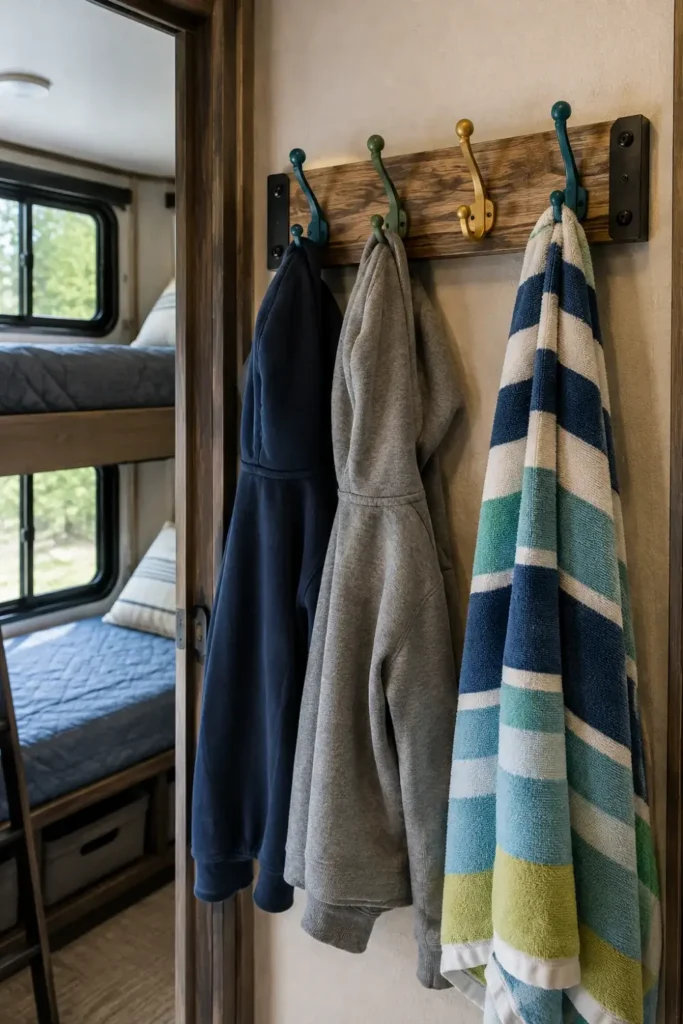
Damp bath towels and rain jackets end up tossed onto bunks when there is no dedicated hanging spot nearby. Placing coat hooks right at the entrance frame keeps wet fabric off clean bedding.
- Mount triple-hook racks into the solid door frame or edge studs for maximum holding strength.
- Assign one color-coded hook to each bunk sleeper for simple organization.
- Use folding hook bars that snap flat against the wall when nothing is hanging on them.
📌 Good To Know
Locate vertical solid wood framing around the bunkhouse doorway rather than mounting hooks into hollow wall panels.
15. Slide Low-Profile Rolling Drawers Across the Bunkhouse Floor Track
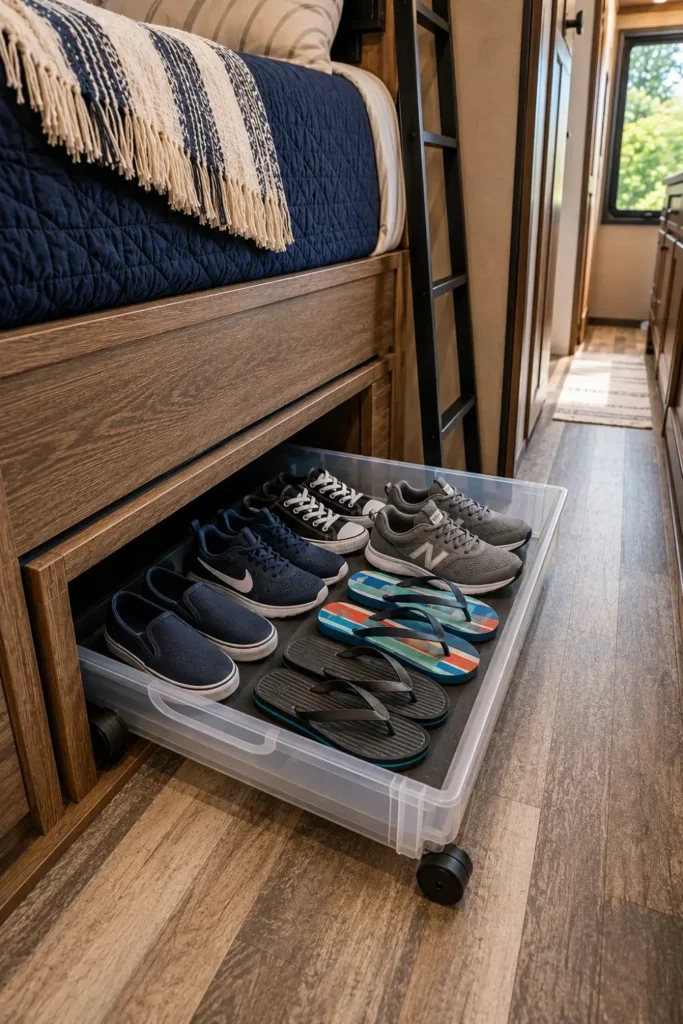
When under-bunk cavities are open to the floor, adding shallow caster-wheeled drawers allows easy access to deep storage without getting down on your hands and knees.
- Measure the exact clearance between the camper floor and the bottom edge of the bunk face frame.
- Select durable wooden or clear acrylic rolling bins with multidirectional rubber caster wheels.
- Use internal dividers to organize shoes, board games, or seasonal camping equipment.
Upgrading a small camper sleeping nook does not require a complete interior overhaul. By adding vertical storage, dedicated reading lights, and smart safety additions, you can make the entire space comfortable, organized, and functional for every road trip.
Save this list to your RV Pinterest boards so you have these practical rv bunk room ideas ready for your next camper upgrade.

