
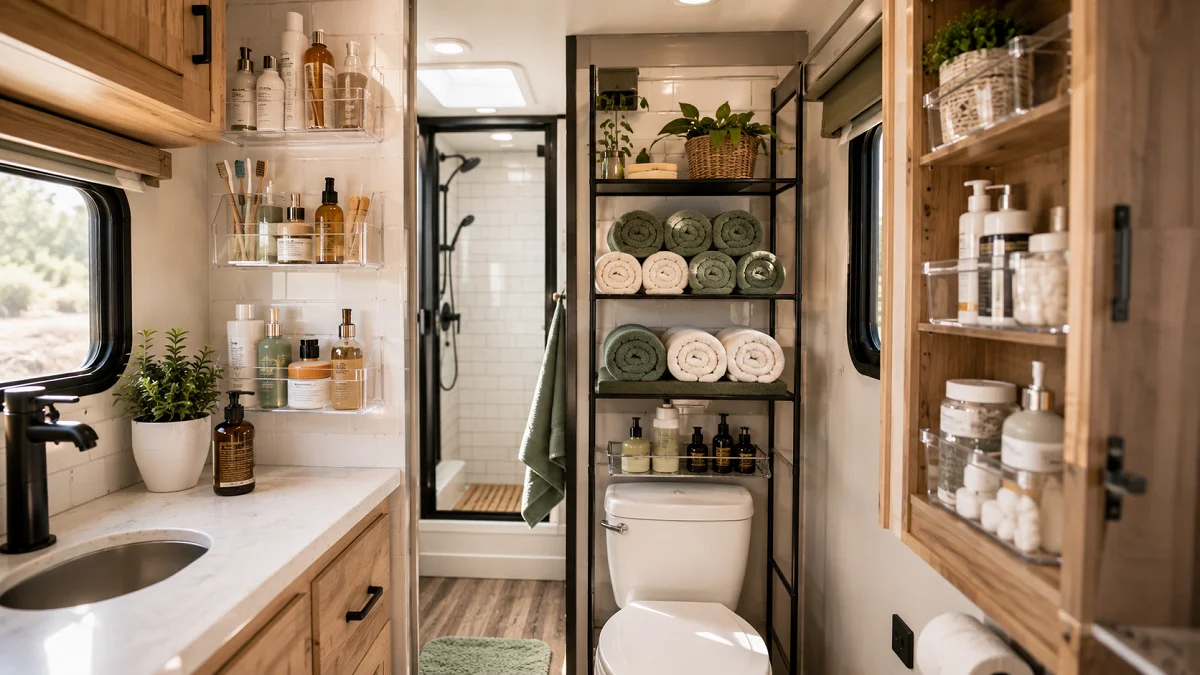
Most RV bathrooms feel cramped after unpacking just a few basic toiletries. Between shallow medicine cabinets, awkward plumbing pipes under the sink, and zero usable counter space, items end up scattered across the floor the second you drive down a bumpy road.
Traditional home organizing tricks usually fail inside a moving rig. Heavy glass jars break, rigid bins slide around, and drilling holes into hollow camper walls can cause permanent damage.
Getting your camper bathroom functional comes down to using vertical surfaces, securing loose items before travel days, and finding lightweight gear that handles high humidity. These practical rv bathroom storage ideas will help you clear off small sinks, tame cluttered cabinets, and keep everything in place whether you are parked at a campsite or rolling down the highway.
1. Mount Self-Adhesive Wire Baskets Inside the Medicine Cabinet Door
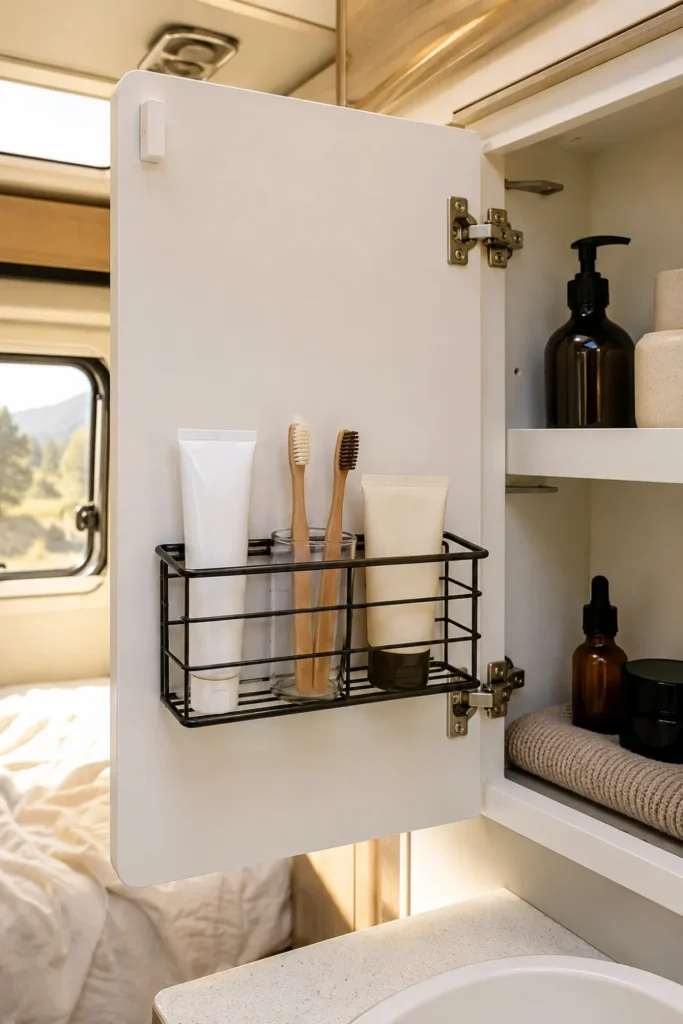
Shallow medicine cabinets waste several inches of usable depth right behind the door. Adding slim, lightweight wire caddies turns that empty air into a designated spot for tubes, toothbrushes, and small daily essentials.
Because camper walls and cabinet doors flex during transit, standard suction cups will drop within a few miles. High-bond adhesive strips hold firm against road vibration without splitting thin hollow-core wood doors.
- Measure door clearance so the basket does not hit the internal shelves when closed.
- Clean the cabinet surface with rubbing alcohol before applying adhesive strips.
- Store lightweight daily items like toothpaste, dental floss, and lip balms here.
💡 Road-Ready Tip
Wipe the inside of the door with isopropyl alcohol and let the adhesive strips cure for a full 24 hours before loading up heavy bottles.
2. Install Deep Wall-Mounted Acrylic Pocket Shelves by the Sink
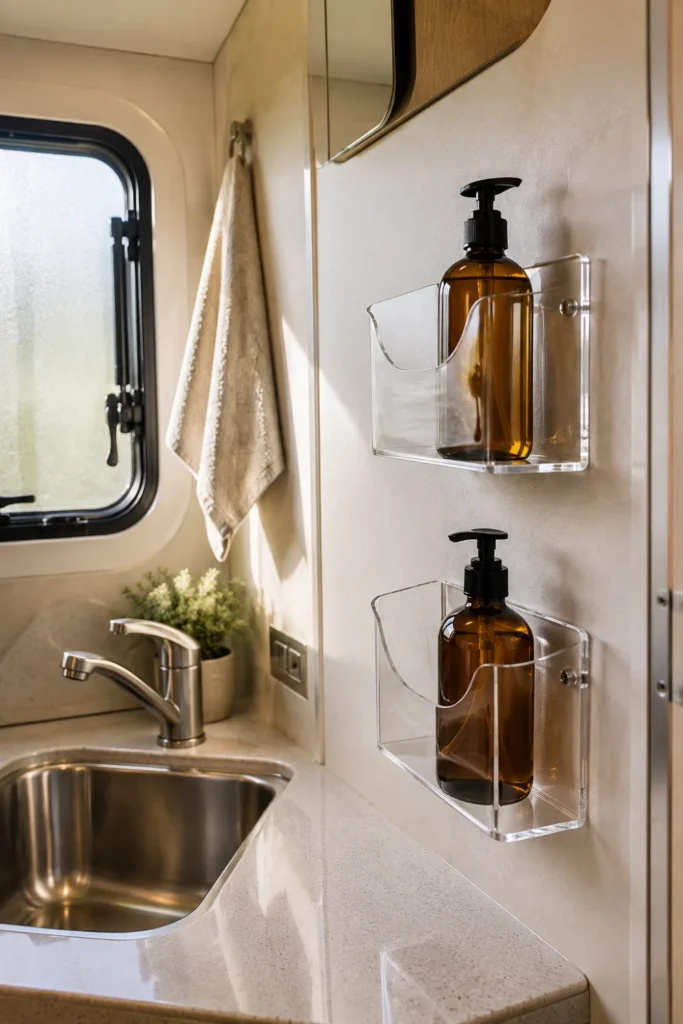
Countertops in camper bathrooms are often barely larger than the sink basin itself. Wall pockets give you a secure spot for hand soap, lotion, and face wash without taking up valuable sink rim space.
Pick clear acrylic bins with tall front lips. The high front edge prevents tall bottles from tipping over and crashing into the basin while you are driving down rough highways.
Bottles crowding the small sink rim, sliding around, and falling into the toilet bowl on travel days.
Clear counters with soap and lotions locked safely into deep wall pockets beside the faucet.
- Pick clear acrylic holders with at least three inches of pocket depth.
- Position them away from shower splash zones to keep bottles dry.
- Fasten with heavy-duty mounting tape rather than short screws.
3. Hang a Multi-Pocket Mesh Organizer Across the Shower Curtain Rod
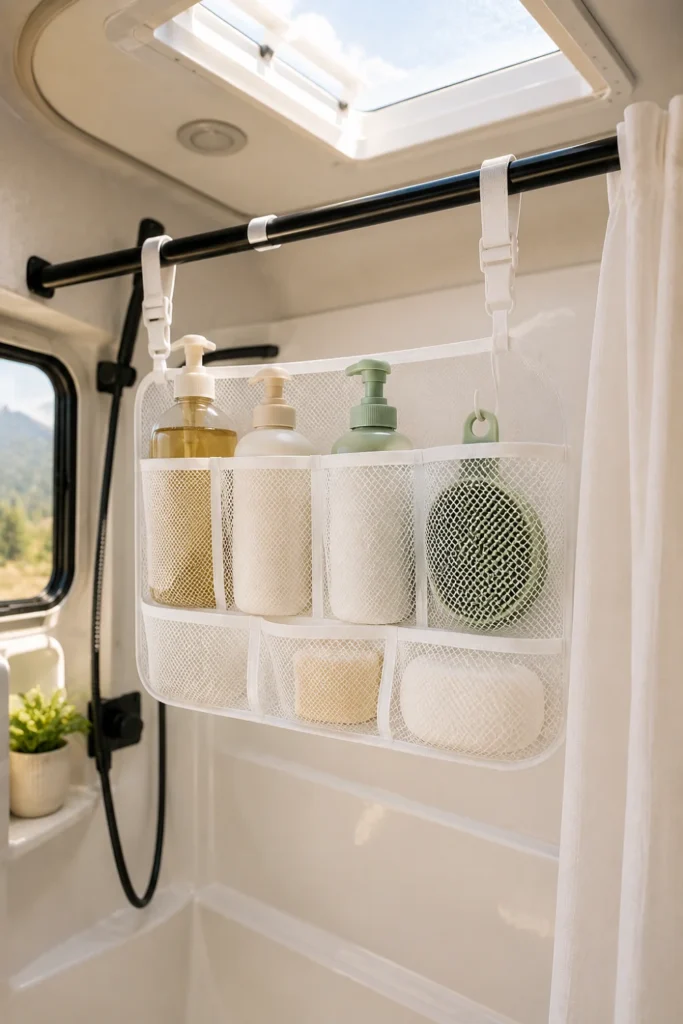
Small RV shower stalls rarely have built-in ledges for shampoo, conditioner, and body wash. A quick-drying mesh organizer hangs directly on your shower curtain rings, creating immediate multi-tiered cubbies out of thin air.
Mesh fabric lets water drain instantly and dries fast, which stops mildew growth in humid camper bathrooms. Keep heavier bulk shampoo bottles lower down to prevent strain on the curtain track.
Shower Essentials to Consolidate
- Choose organizers with rust-proof metal grommets.
- Distribute the weight evenly across multiple curtain hooks.
- Rinse the mesh once a week to clear soap residue.
4. Add Tension Rods Inside Every Open Ledge and Open Cubby
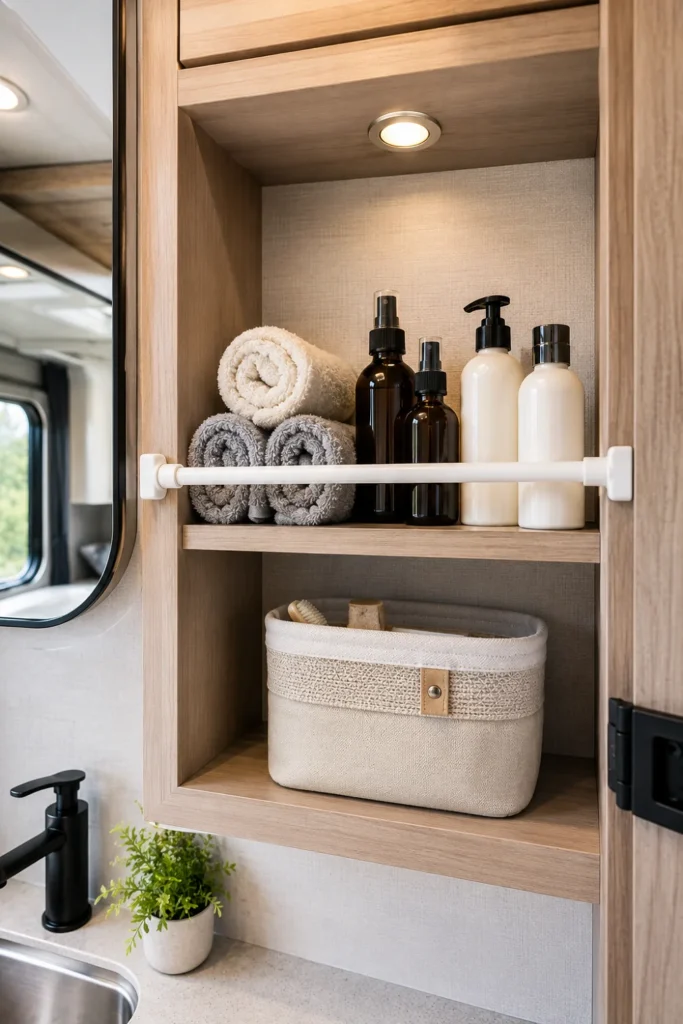
Open shelving looks great on sales lots, but everything on those shelves becomes a projectile the minute you hit a highway bump. Spring-loaded tension rods act as durable, removable guard rails across any exposed cabinet or wall cubby.
You can install them in seconds without using drills, glue, or screws. Place them roughly two inches above the shelf base to keep toiletries securely upright around sharp turns.
Place the rod 2 to 3 inches above the shelf bottom.
Twist tightly against solid wood or fiberglass frames.
Setting the rod too high, letting short items slide under.
Over-tightening against flimsy hollow wall panels.
- Use rubber-tipped ends to prevent scuffs on cabinet trim.
- Stack two rods for extra tall items like hairspray cans.
- Double-check tension tightness before packing up camp.
5. Mount Silicone Grip Holders for Mops and Squeegees
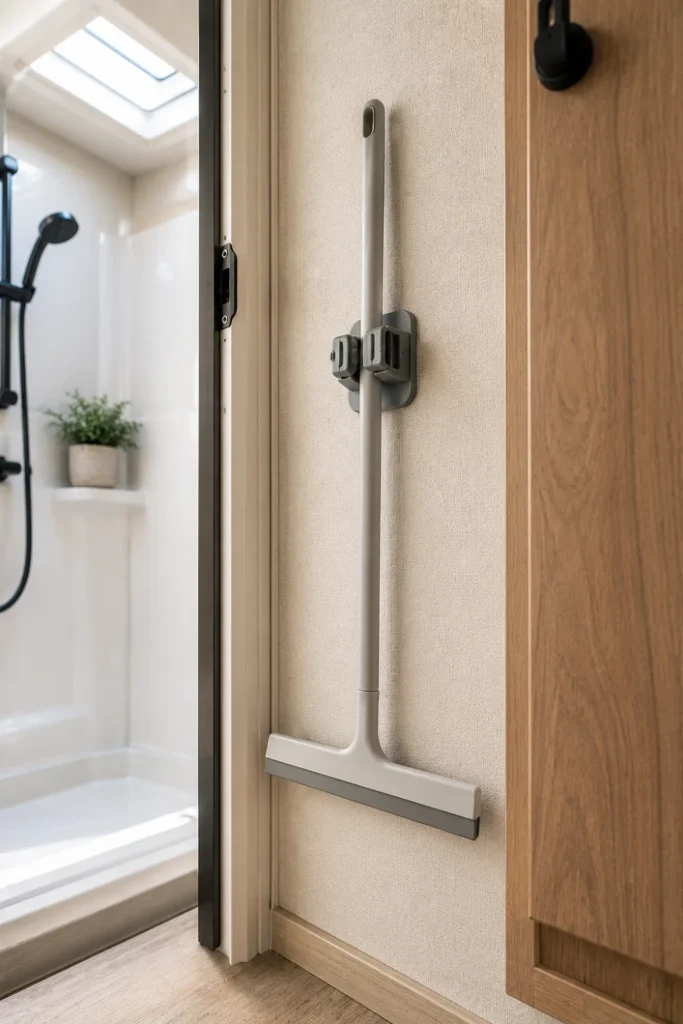
Long-handled cleaning tools like shower squeegees and mini mops always seem to fall over and rattle in the corner. Spring-loaded silicone roller clips lock handles firmly against the wall, keeping them off the wet floor.
Mounting these tools along the narrow space behind the bathroom door or inside the shower stall saves floor room and lets your cleaning gear dry properly after every use.
Wipe down the wall panel behind the door with alcohol.
Press the adhesive clip mount firmly for 30 seconds.
Snap in your squeegee handle and lift slightly to lock.
- Pick clips with textured silicone rollers for a non-slip grip.
- Mount them at mid-chest height so long handles clear the baseboard.
- Check that the door swings freely without striking the tool head.
6. Use a Collapsible Silicone Tub for Under-Sink Plumbing Gaps
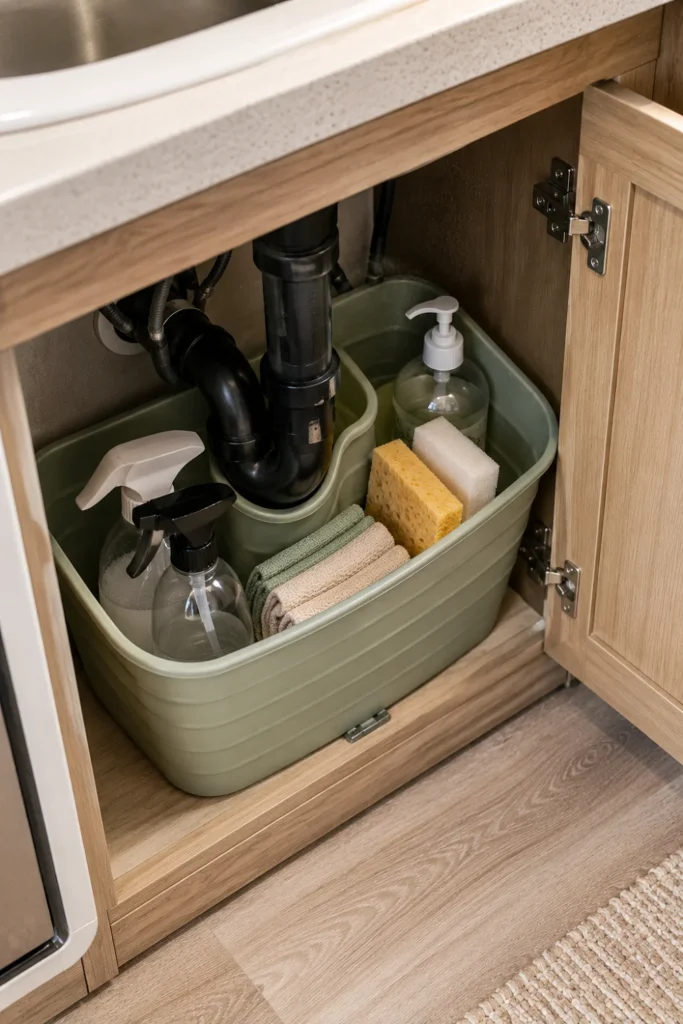
Under-sink cabinets in campers are notorious for bulky P-traps, water lines, and heater ducts running through the middle. Rigid plastic storage bins rarely fit around those odd plumbing curves.
Flexible silicone bins bend around awkward pipes while keeping cleaning sprays, extra RV toilet chemical pods, and wipes neatly gathered in one container.
- Pick a bin with sturdy carry handles so you can pull out supplies quickly.
- Fold the bin down a notch if your under-sink shelf clearance is tight.
- Use separate tubs for plumbing repair gear and everyday bathroom cleaners.
7. Secure Clear Stackable Pull-Out Drawers in Lower Cabinets
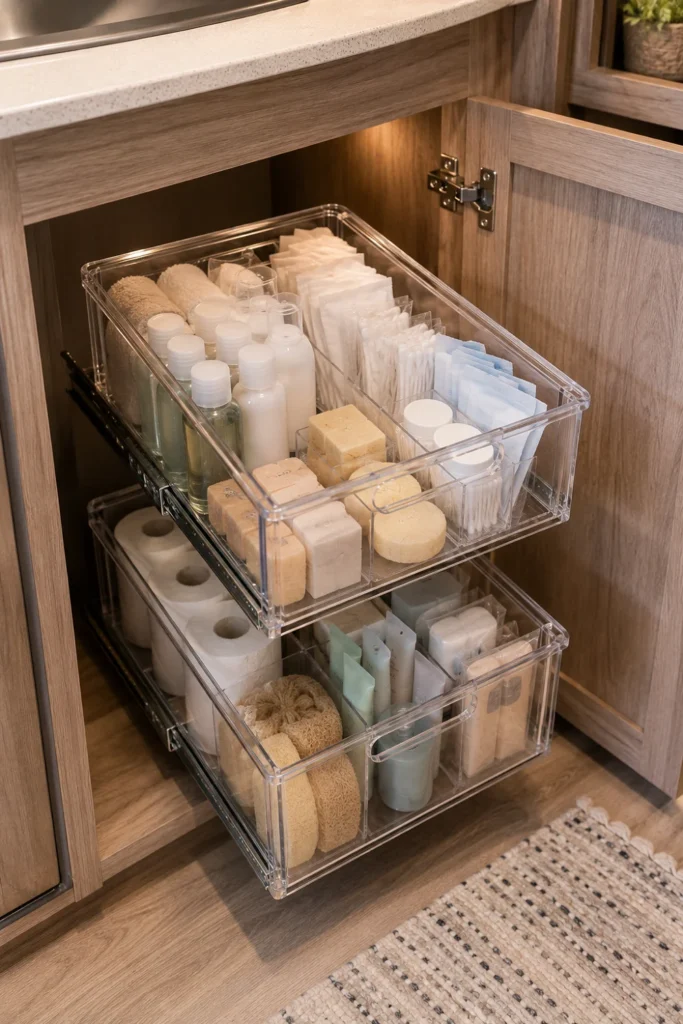
Deep lower cabinets can quickly become dark clutter piles where extra soap and toilet paper disappear. Stackable pull-out drawers let you reach the back of the cabinet without pulling everything out onto the floor.
Clear plastic makes it easy to see your inventory at a glance so you do not overbuy supplies before a long camping trip.
| Clear Enclosed Drawers | Open Wire Baskets |
|---|---|
| Contents stay contained on bumpy roads. | Small items slip through wire gaps. |
| Smooth slide rails prevent tip-overs. | Baskets slide and scrape wood bottoms. |
- Line the bottom drawer feet with museum putty to stop unit sliding.
- Dedicate the top drawer for extra toothbrushes, floss, and razors.
- Use the bottom drawer for washcloths and backup toiletries.
8. Stick Magnetic Tool Strips for Tweezers, Clippers, and Hair Pins
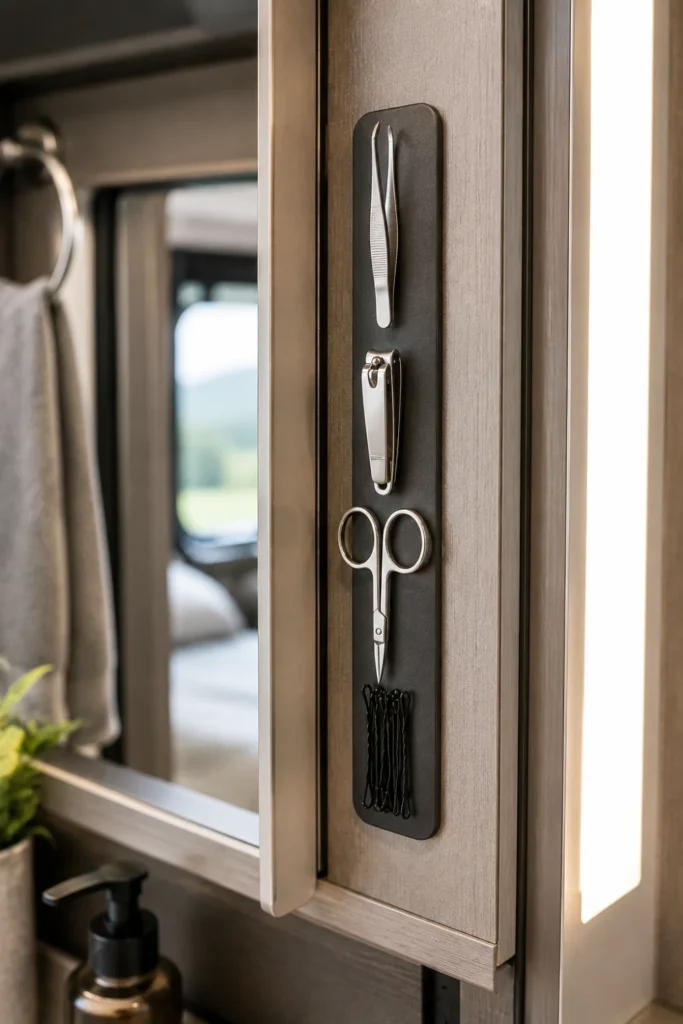
Small grooming tools like nail clippers, bobby pins, and tweezers are notorious for getting lost inside deep vanity drawers. Mounting a slim magnetic strip keeps all your metal essentials visible and within arm’s reach.
You can stick the strip right on the wall beside your mirror or conceal it on the inside frame of a medicine cabinet to save visual space.
Mount metal strips away from direct water splashes to prevent your grooming tools and magnets from rusting over time.
- Choose a slim, lightweight silicone-wrapped magnetic strip.
- Mount it vertically if your cabinet frame space is narrow.
- Keep heavier tools like scissors near the center magnet.
9. Hang an Over-the-Door Towel Ladder on the Main Bathroom Door
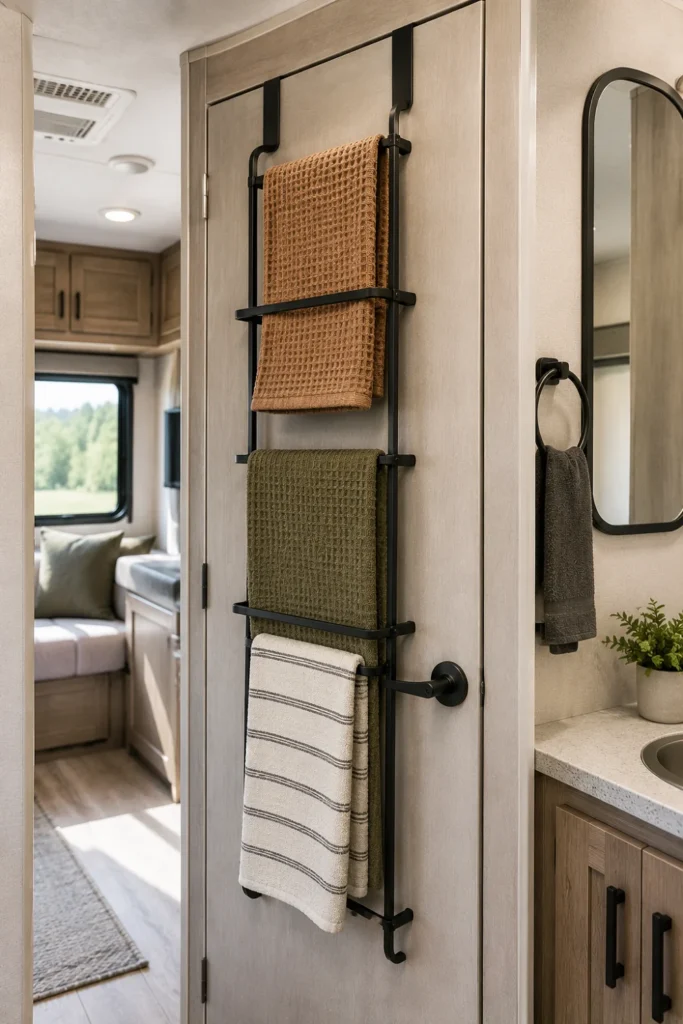
Drying wet bath towels inside a small camper is tricky due to limited airflow and missing wall space. An over-the-door tiered rack utilizes the full vertical length of the bathroom door to hang several towels at once.
Look for a rack with rubber-padded hooks that fit snugly over thin camper doors without rattling or scraping the top frame when the door closes.
⚠️ Watch Out
Measure your camper door thickness before buying. RV doors are often thinner than standard home interior doors (1-3/8 inches vs 1-3/4 inches).
- Add adhesive foam pads on the back rails to eliminate travel squeaks.
- Space damp towels across separate rungs to speed up drying.
- Fold bath towels lengthwise to keep them neat and compact.
10. Anchor a Slim Wall Pocket Directly Beside the RV Toilet
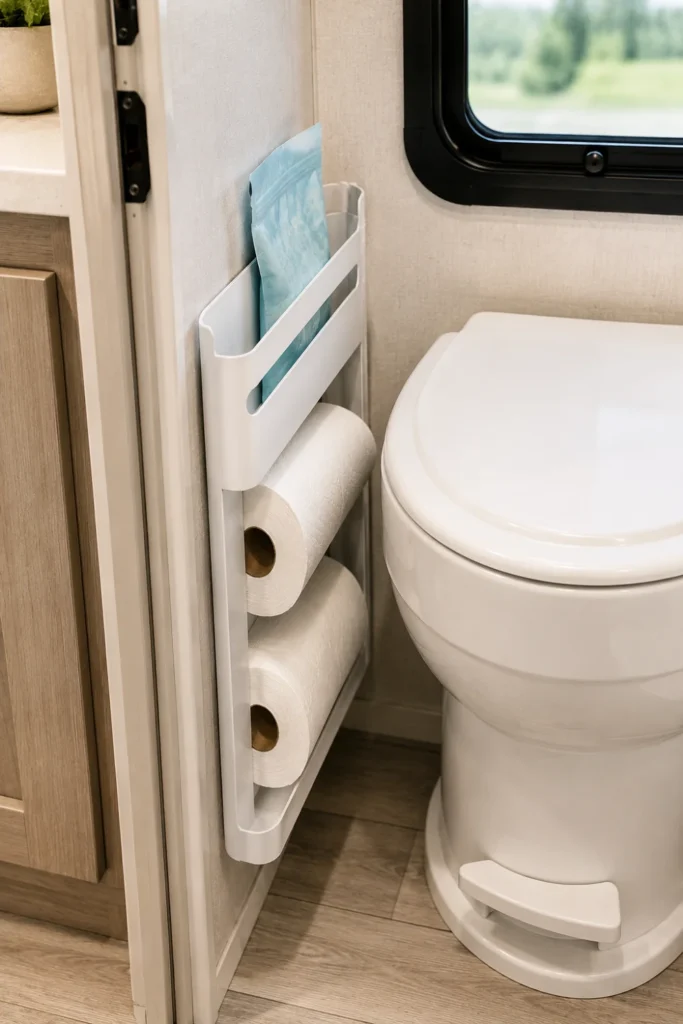
Many RV bathrooms place the toilet tight against a wall, leaving almost zero space for extra toilet paper or black tank drop-in packets. A slim-profile wall magazine caddy creates a compact supply station without blocking legroom.
A pocket depth of just three to four inches is plenty of room for two extra rolls of rapid-dissolving RV toilet paper and your deodorizer pack.
- Pick a durable plastic or washable fabric pocket.
- Mount it high enough to avoid floor splashes when cleaning.
- Store black tank chemical packets inside a sealed zip bag within the pocket.
11. Add Hanging Tiered Wire Baskets for Rolled Linens
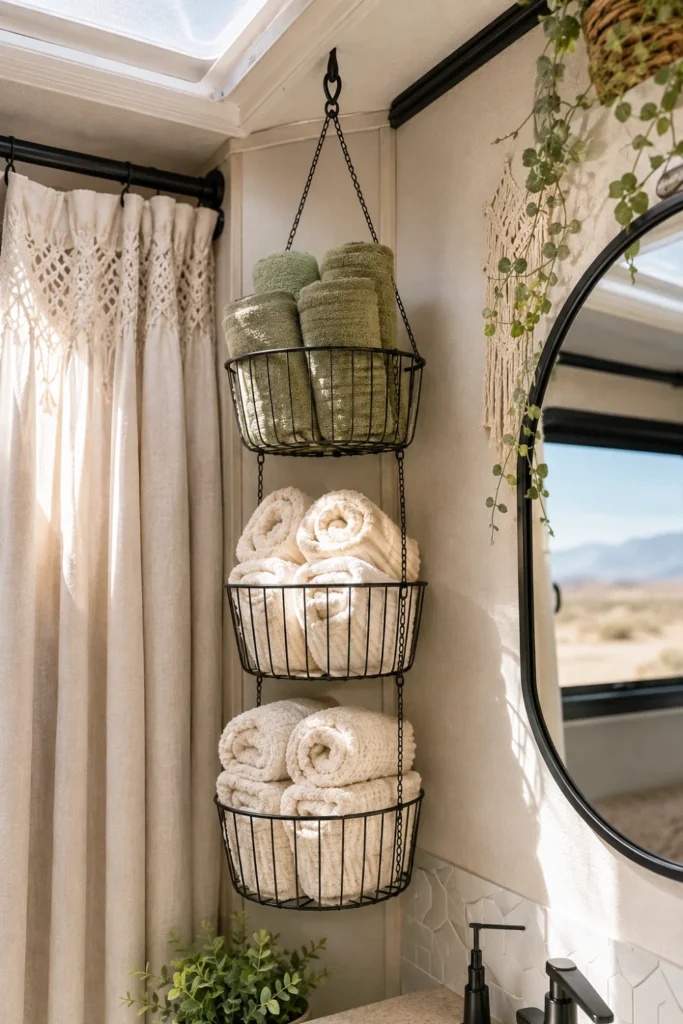
Floor and cabinet space is limited, but the corner ceiling area above the toilet is almost always empty. Hanging a three-tier wire fruit basket gives you an airy perch for clean hand towels, washcloths, and extra toilet paper.
Rolling your towels tightly rather than folding them flat keeps them looking neat and stops them from shifting as the camper sways on the road.
- ▸Rolled microfiber body towels in the bottom, widest basket.
- ▸Face washcloths and hand towels in the middle basket.
- ▸Wrapped RV toilet paper rolls in the top, smallest tier.
- Fasten the ceiling hook directly into a solid ceiling rib or batten strip.
- Choose a coated wire basket to prevent rust from shower steam.
- Take heavy items out of the top tier when driving.
12. Mount Heavy-Duty Suction Hooks Inside Wet Bath Walls
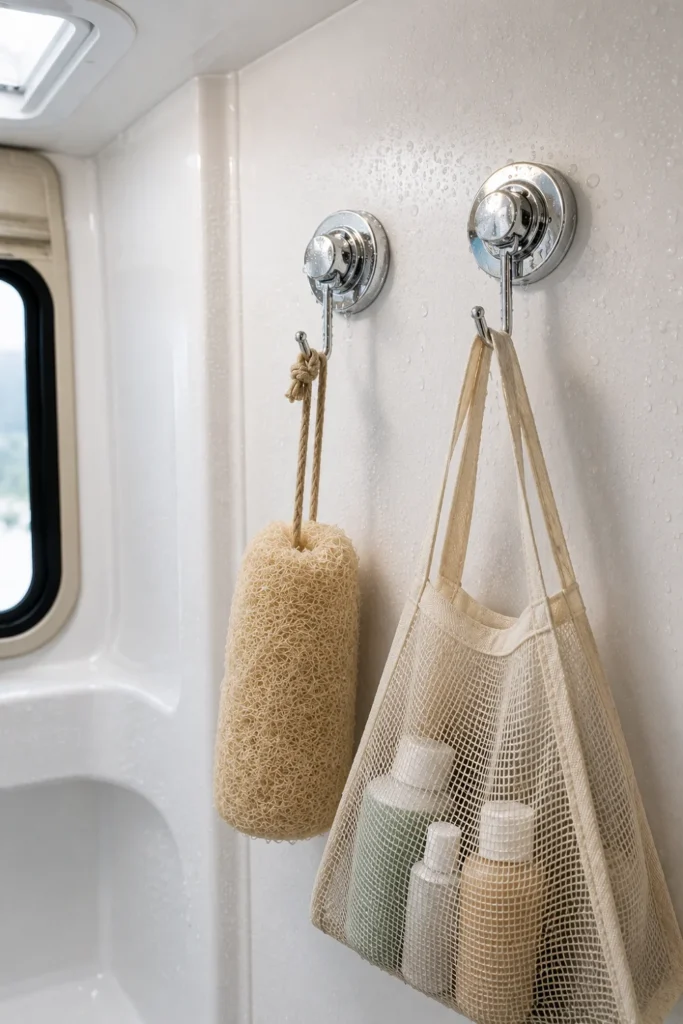
Wet baths combine the shower and toilet into one single molded fiberglass room, meaning everything inside gets soaked when the water runs. Heavy-duty twist-lock suction hooks give you removable hanging points that hold up to constant water spray.
Use them to suspend loofahs, scrub brushes, and quick-dry shower totes high on the wall so they dry properly rather than sitting in pooling floor water.
Loofahs and scrub brushes resting on the wet floor, soaking in puddle water after every shower.
Gear elevated on smooth fiberglass walls, drying quickly out of the floor spray zone.
- Clean the fiberglass wall thoroughly with rubbing alcohol.
- Press the suction cup hard to force out all trapped air.
- Twist the locking base clockwise to create an airtight seal.
13. Install a Retractable Clothesline Across the Shower Skylight
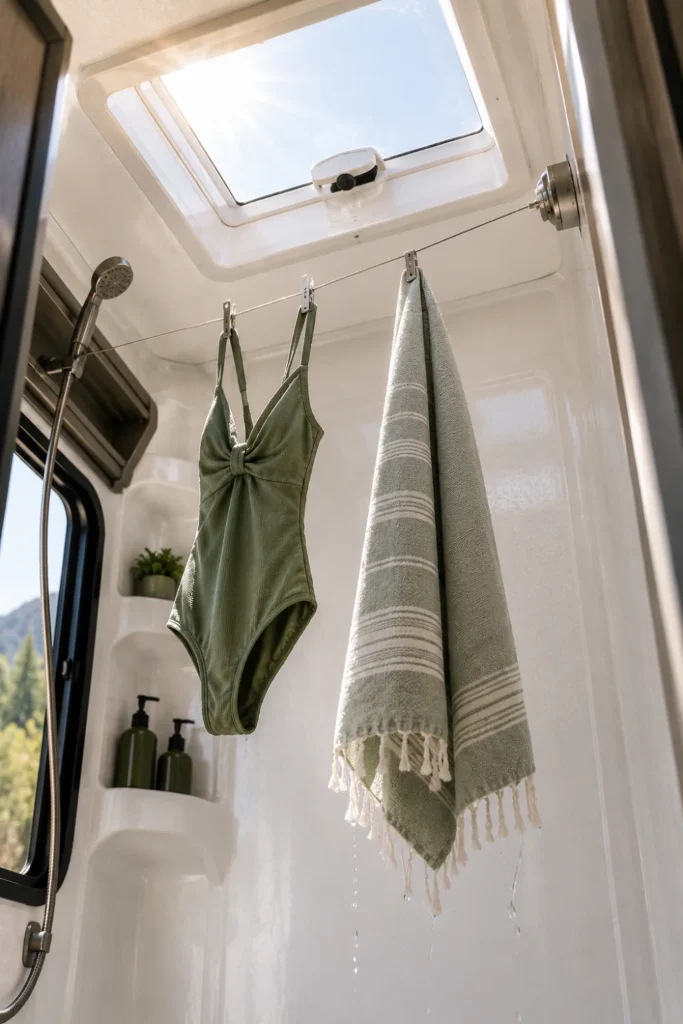
Drying damp swimsuits, rain jackets, and bulky bath sheets can quickly turn a camper living room into a cluttered mess. A retractable clothesline installed across the shower stall gives you a hidden, indoor drying station with built-in drainage.
Drips fall straight into the shower pan and down the grey tank drain, preventing water damage on your interior camper floorboards.
Fasten the line base into the thick plastic shower skylight frame.
Mount the catch bracket on the opposite wall using waterproof mounting tape.
Pull out the stainless steel braided cord and twist to lock tension.
- Anchor into the solid plastic trim of the skylight rather than the thin vinyl ceiling.
- Retract the line completely before your morning shower to keep headroom clear.
- Crack the bathroom roof vent to help humidity escape while clothes dry.
14. Fit Clear Acrylic Spice Racks on Narrow Blank Wall Strips
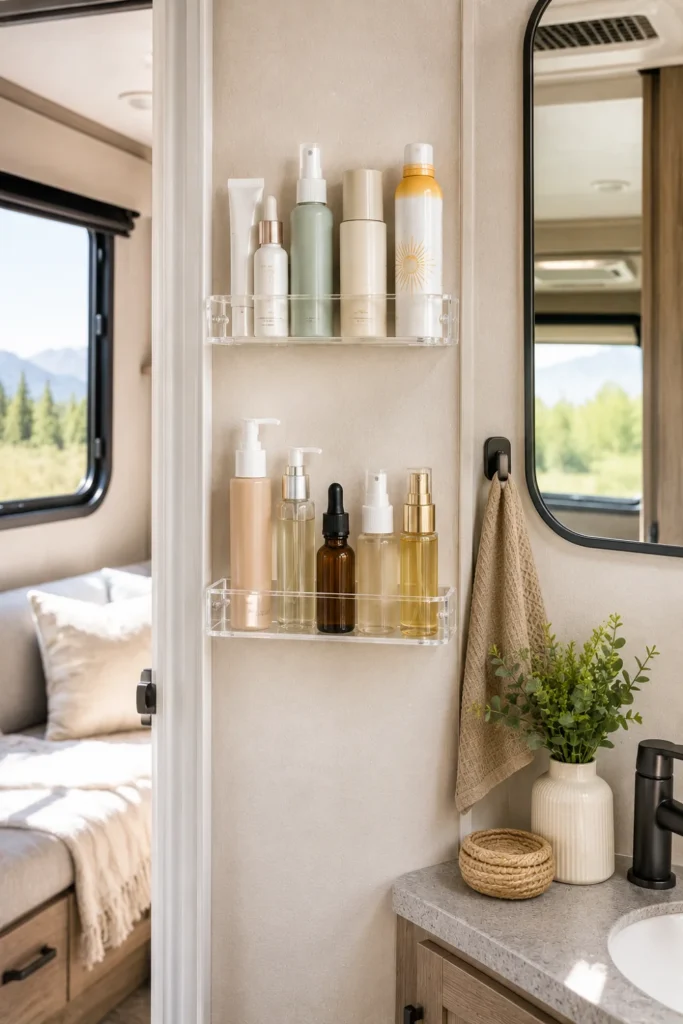
Most camper bathrooms have narrow 4-inch strips of blank wall between the mirror, doorframe, and corner seams. Sticking clear acrylic spice racks turns those unusable wall gaps into specialized bottle holders.
The tall retaining bars keep medications, spray bottles, and sunscreen cans standing upright through sudden highway braking and bumpy backroads.
- Use clear racks so wall color shows through, keeping the room visually open.
- Mount two or three racks vertically spaced six inches apart.
- Use removable adhesive foam strips to protect vinyl wallpaper.
15. Place Non-Skid Silicone Liners Inside Every Cabinet Shelf
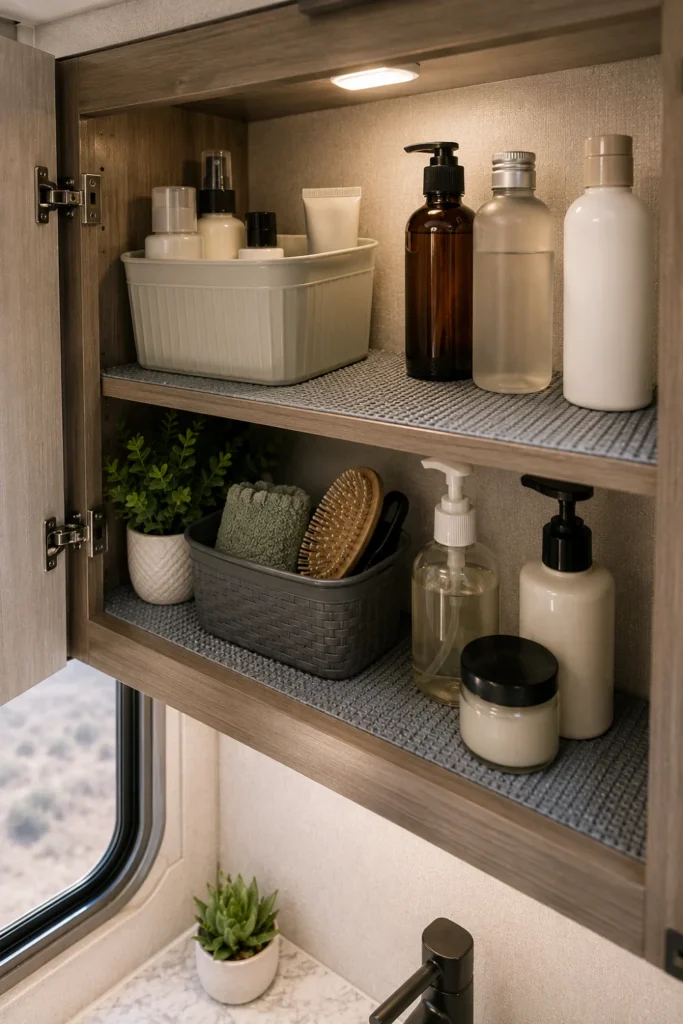
Smooth camper cabinet shelves allow plastic bottles and storage bins to slide from side to side whenever you make a turn. That shifting creates annoying rattles and causes items to spill forward the moment you open the cabinet door.
Lining shelves with textured silicone grip mats cushions your gear and provides enough friction to keep containers sitting in place during transit.
| Textured Silicone Liners | Smooth Adhesive Paper |
|---|---|
| High-friction grip stops sliding. | Slick surface lets items slide. |
| Removable and easily washed in the sink. | Leaves sticky residue when peeled. |
- Cut liners to fit with utility scissors, leaving a tiny gap around edges.
- Pick solid silicone liners rather than open-weave mesh so spills cannot leak through.
- Wipe down liners with soapy water when deep cleaning your rig.
16. Cut and Hang a Clear Shoe Organizer Across the Back Wall
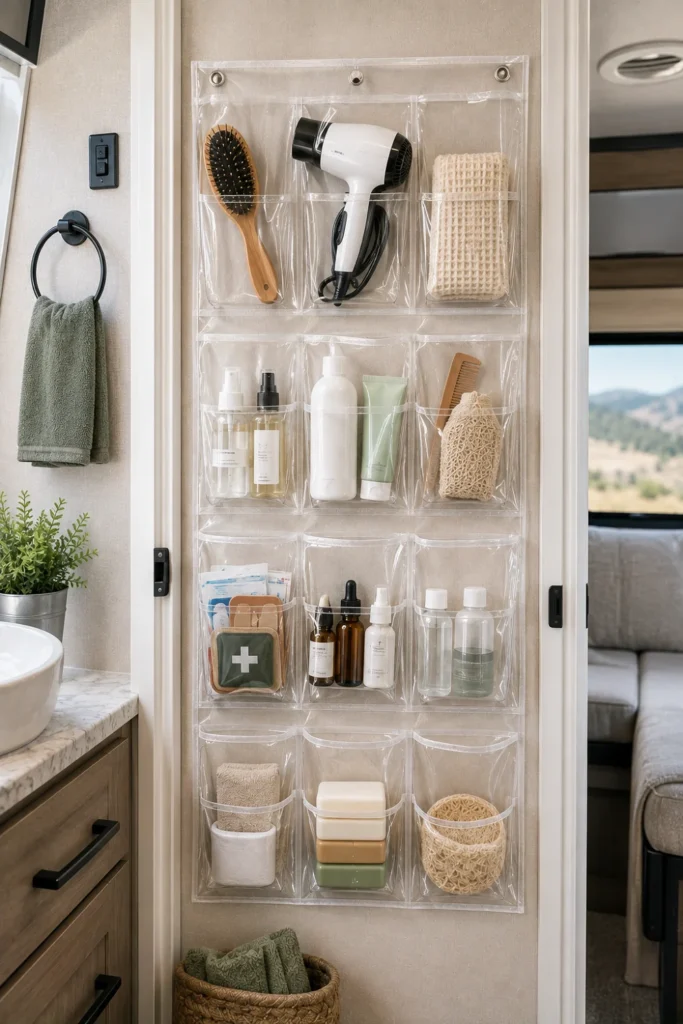
Full-sized hanging shoe organizers are often too wide or long for compact camper bathrooms. Cutting a clear vinyl shoe organizer in half gives you two custom organizers with deep, travel-safe pockets.
Hang the cut organizer on the back wall of the bathroom or the inside of a tall linen cabinet to store curling irons, hair brushes, first aid supplies, and extra soap bars.
Use clear vinyl pockets rather than solid fabric so you can spot smaller items instantly without digging through each slot.
- Trim the shoe organizer along the horizontal pocket seams using scissors.
- Punch reinforced eyelets along the newly cut top edge.
- Hang on adhesive wall hooks rated for at least five pounds.
A small camper bathroom does not have to mean dealing with daily clutter or falling bottles on travel days. Implementing just three or four of these rv bathroom storage ideas will free up your sink space, protect your gear around sharp turns, and make your camper routine feel organized and relaxed.
Save this list for your next RV refresh so you have practical storage solutions ready to go before your next road trip.

