
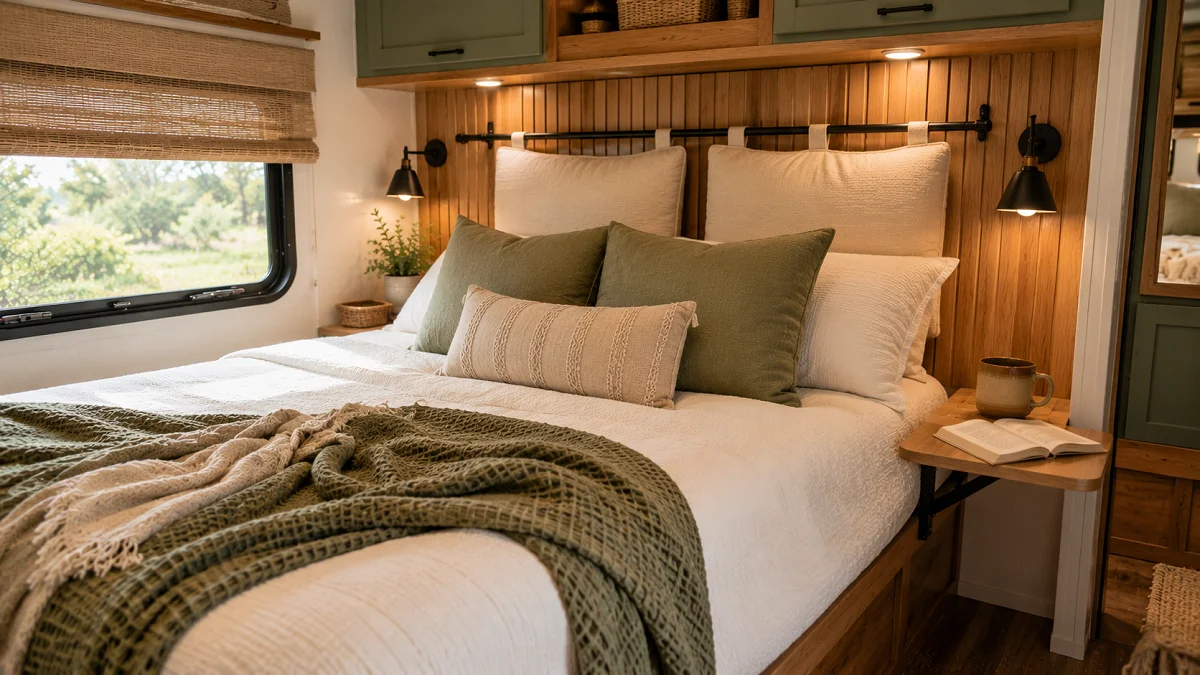
Factory RV bedrooms are notorious for feeling boxed in, sterile, and cold. Between the plastic blinds, the thin vinyl-wrapped panels, and the stiff factory mattress, creating a restful space takes a little intentional work. Most owners simply toss a bright throw pillow on the bed and hope for the best, only to find the room still feels cramped and gloomy.
Giving your camper a refresh does not require tearing out walls or spending a fortune. With a few targeted changes, you can soften hard corners, solve real storage headaches, and turn your sleeping quarters into a space that feels like a boutique cabin on wheels.
These practical rv bedroom makeover ideas focus on lightweight materials, clever small-space storage, and durable upgrades that stand up to real travel. Let’s walk through nineteen field-tested ideas you can tackle in a weekend.
1. Replace the Papery Factory Headboard with a Floating Cushion Rail
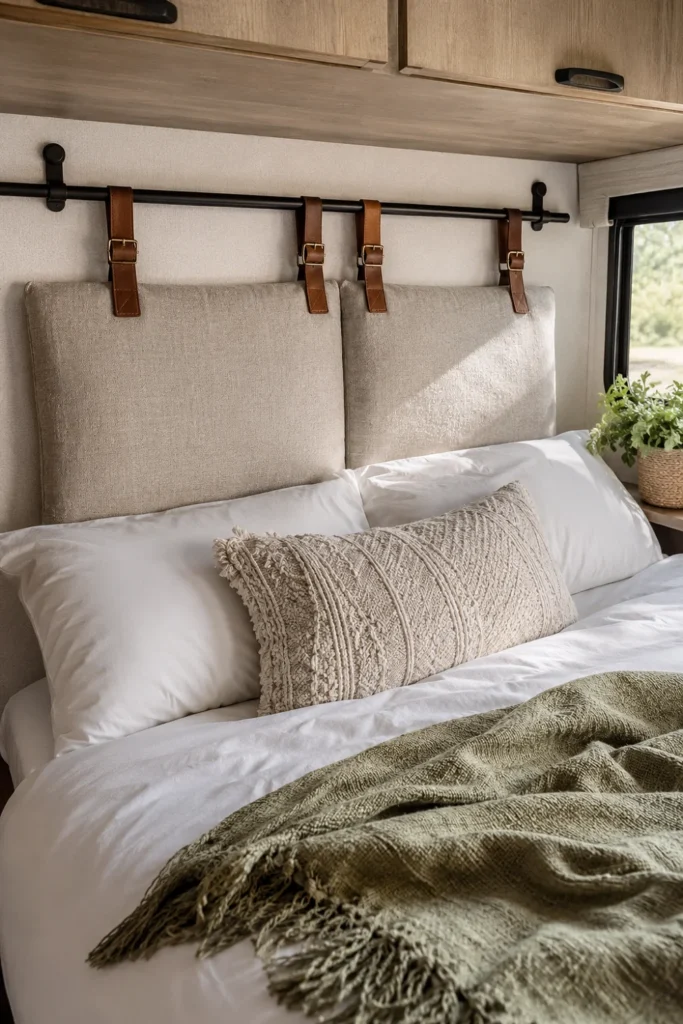
Factory camper headboards are usually nothing more than thin cardboard wrapped in dark pleather. They offer zero back support for reading in bed and start peeling after a single humid summer.
A simple hanging rail system gives you a custom, tailored look without adding bulk or heavy weight to the nose wall.
- Mount a lightweight metal curtain rod or slim wooden dowel directly into the wall studs behind the mattress.
- Hang two thick faux-leather or linen bench cushions using adjustable buckle loops.
- Choose washable slipcovers so you can easily clean off trail dust and road grime.
A thin, dark vinyl panel stapled flat to the wall that offers zero back support and peels over time.
Two plush linen cushions suspended from a slim rod, creating a cozy backrest that stays firmly in place.
2. Swap Stock Sconces for Warm 12V Puck Lights on Dimmer Switches
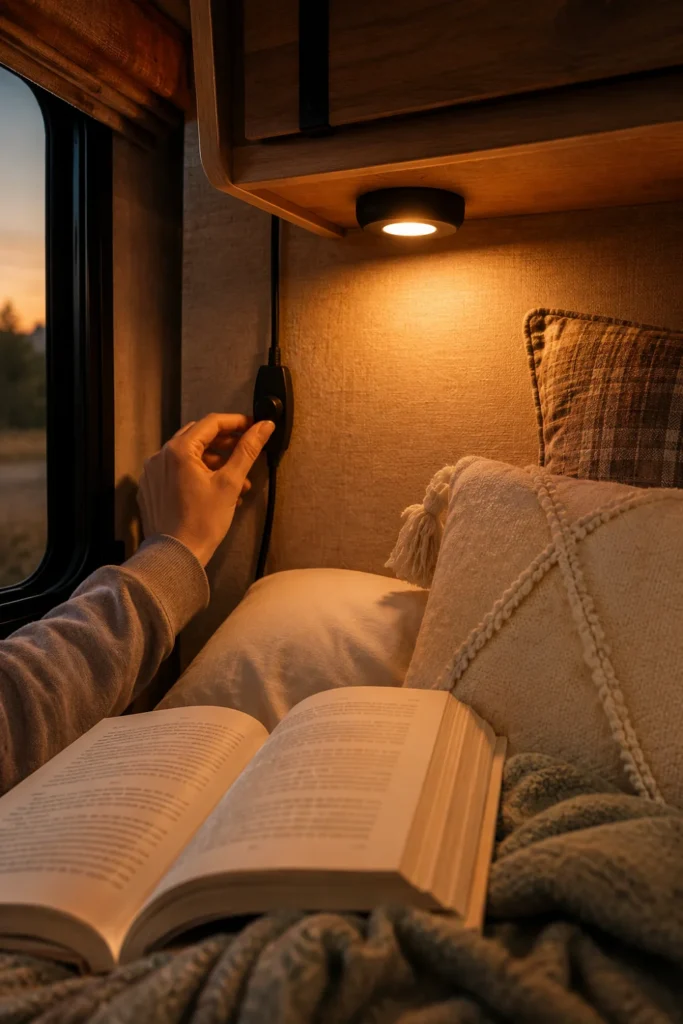
Stock camper reading lights usually cast a harsh, blue-tinted glare that feels more like an office hallway than a relaxing retreat. Upgrading to warm fixtures changes the entire room vibe instantly.
Look for fixtures specifically rated for 12V direct-current systems to avoid draining your battery bank unnecessarily.
- Turn off your camper’s 12V battery disconnect switch before touching any light wiring.
- Label the positive and ground leads carefully since RV manufacturers frequently swap wire colors.
- Wire in an inline rotary dimmer dial so you can dial down brightness for late-night reading.
💡 Pro Tip
Always choose 2700K (Warm White) LED bulbs over 5000K (Daylight). Warm light softens wood tones and helps your eyes wind down naturally before sleep.
3. Install Lightweight Peel-and-Stick Slat Wood Behind the Headboard
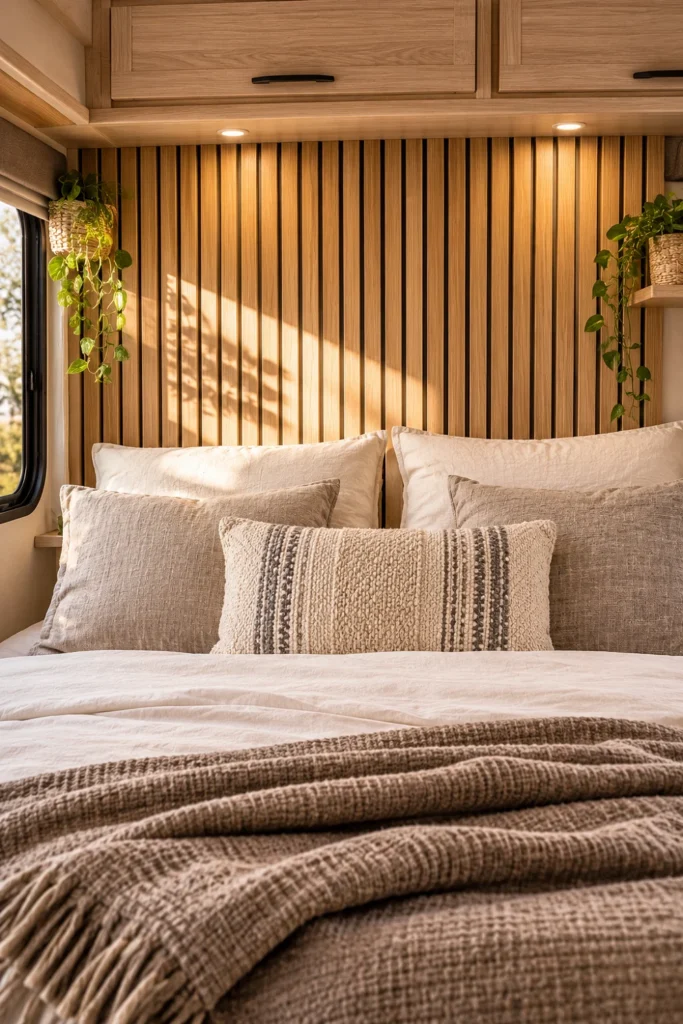
Plain camper walls can look flat and hollow. Adding wood grain introduces rich visual texture and makes the sleeping area feel grounded.
Real solid-wood planks are far too heavy for travel trailers and can crack during road vibrations. Ultra-thin peel-and-stick composite slats provide the same warm finish with almost zero added weight.
- Clean the wall thoroughly with isopropyl alcohol to remove factory dust and oils before sticking.
- Apply a bead of construction adhesive to the back of each slat for a permanent hold that won’t give out during hot summer storage.
- Stagger the seams randomly across the wall to create a clean, intentional plank pattern.
4. Build Hidden Drop-Down Wooden Nightstand Shelves
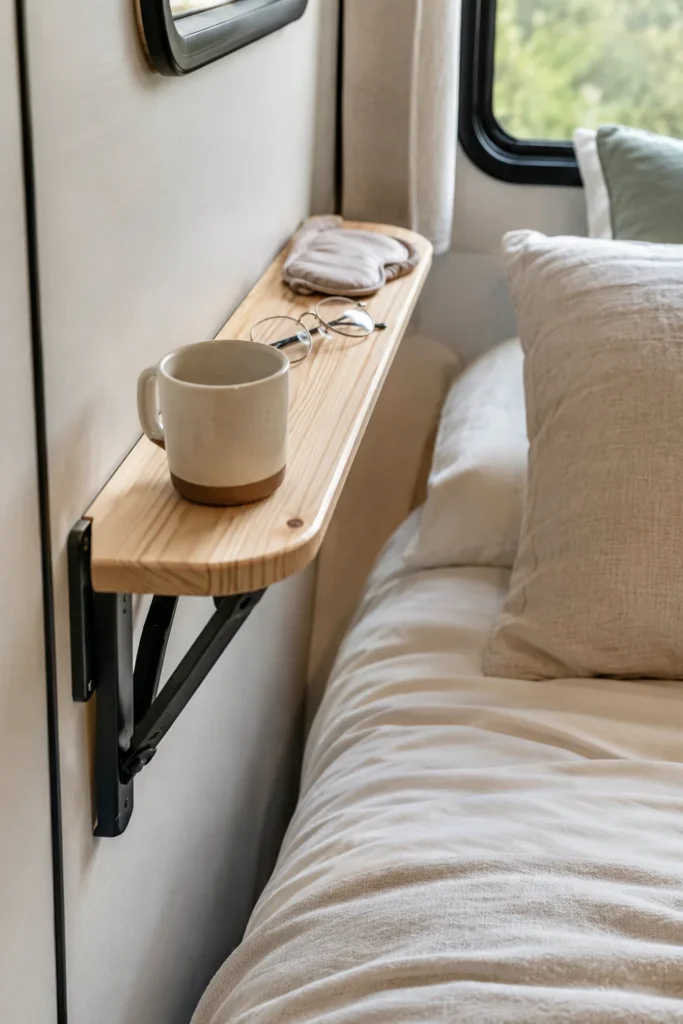
Walk-around RV beds usually leave only three or four inches of clearance between the mattress and the closet wall. Traditional bulky nightstands block the walkway and make making the bed a chore.
A folding wooden shelf solves this completely by folding flat when you need to walk past and locking upright at bedtime.
- Cut a lightweight pine or poplar board to roughly six inches wide by ten inches long.
- Fasten heavy-duty spring-release folding shelf brackets to the underside of the board.
- Secure the brackets into the side wardrobe stud using short wood screws that won’t puncture the interior closet space.
Quick Installation Steps
Locate the solid framing stud inside the side wardrobe cabinet.
Mount locking folding brackets level with the top edge of your mattress.
Attach the sealed wooden shelf top and test the quick-release lock latch.
5. Add Gas Strut Lift Assists Under the Master Bed Platform
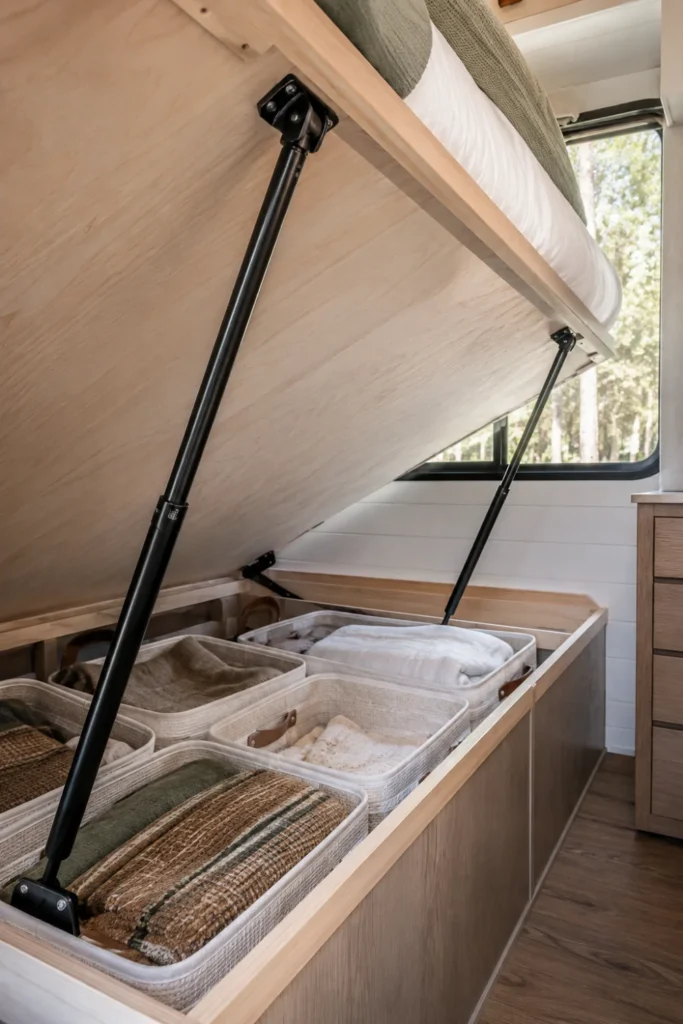
Lifting a heavy camper mattress every time you need extra blankets or spare gear from under-bed storage gets old fast. Heavy-duty gas struts take the strain out of accessing that space.
Most factory platforms come with weak 40-pound struts or none at all, meaning you have to hold the lid open with one hand while digging around with the other.
- Upgrade to 80-pound or 100-pound rated struts if you use a residential mattress or heavy memory foam topper.
- Add a 1×2 wooden reinforcement block to the thin plywood frame before screwing in the mounting brackets.
- Position the base mount roughly one-third of the way down the bed box for smooth lift leverage.
Back the mounting screws with a solid wood block inside the thin plywood box.
Check your mattress weight before picking 80 lb or 120 lb rated struts.
Do not screw brackets directly into 1/4-inch raw paneling without backing.
Do not force the lid down if the struts are over-rated, which can warp the frame.
6. Frame Tiny Side Windows with Snap-Down Blackout Roman Shades
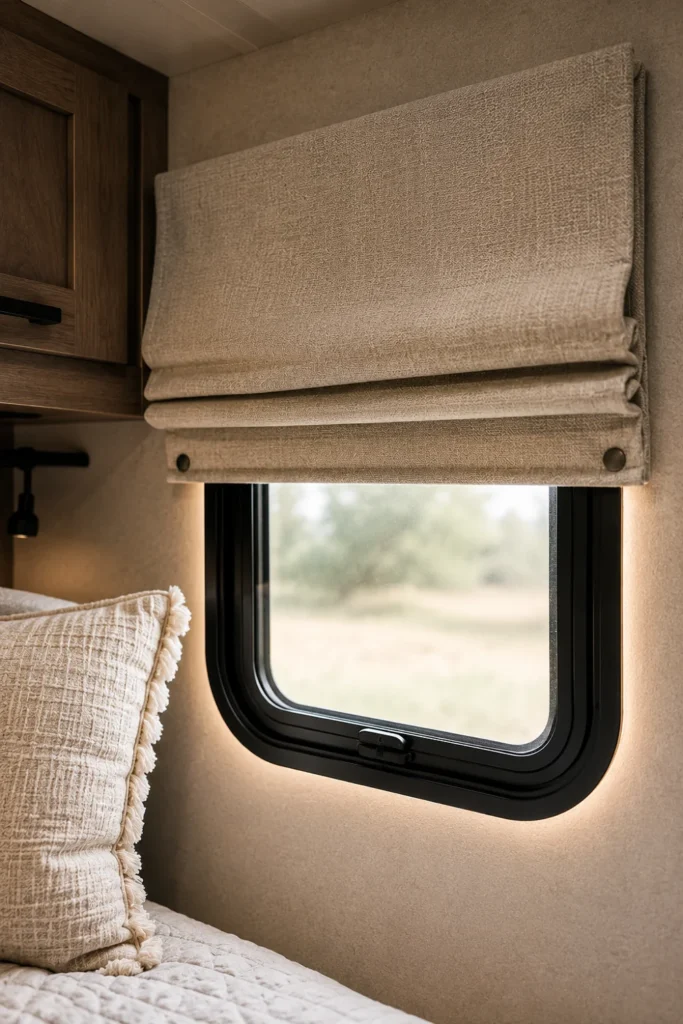
Thin factory mini-blinds rattle constantly on the highway and let in bright morning campground floodlights. Upgrading to tailored fabric shades gives the room an upscale feel while keeping out unwanted light and outdoor chill.
Magnetic or snap-down lower tabs ensure the shades stay flush against tilted camper walls even when travel winds rock the rig.
| Window Treatment | Light Blocking | Travel Stability | Insulation Value |
| Factory Metal Blinds | Poor (light bleeds through slats) | Slaps against wall on the road | None |
| Custom Insulated Shades | Complete 100% blackout | Snaps securely into lower wall tabs | High (thermal barrier) |
| Feature | Stock Blinds | Magnetic Shades |
|---|---|---|
| Light Control | Leaks around edges | Total edge-to-edge blackout |
| Rattle on the Move | Loud metal noise | Completely silent |
7. Layer a Breathable Wool Mattress Topper Over the Short Queen
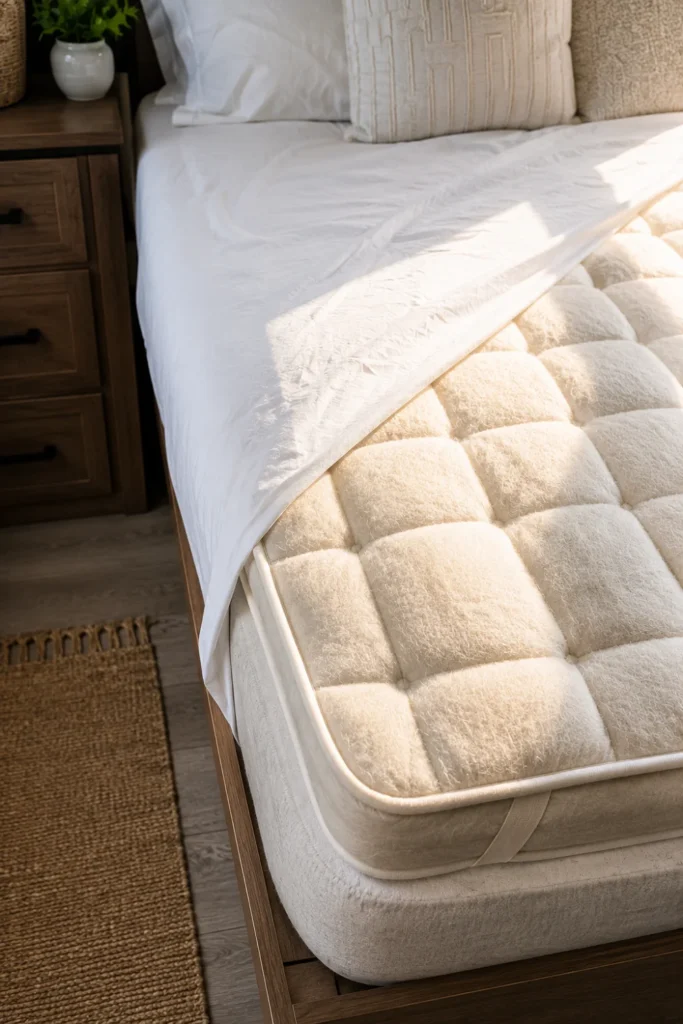
Most camper mattresses are simply two-inch slabs of stiff foam wrapped in slick polyester. Replacing the whole mattress can be pricey and finding exact RV Short Queen dimensions can be tricky.
A thick natural wool topper over a supportive high-density base gives you residential-grade comfort while breathing far better than dense synthetic memory foam during warm summer trips.
- Lay down an anti-condensation moisture pad directly over the raw plywood platform.
- Place your firm support base foam to cushion against the wooden platform.
- Top with a three-inch organic wool mattress cover to wick moisture and regulate sleep temperature naturally.
8. Mount Heavy-Duty Wire Baskets Inside the Overhead Cabinet Doors
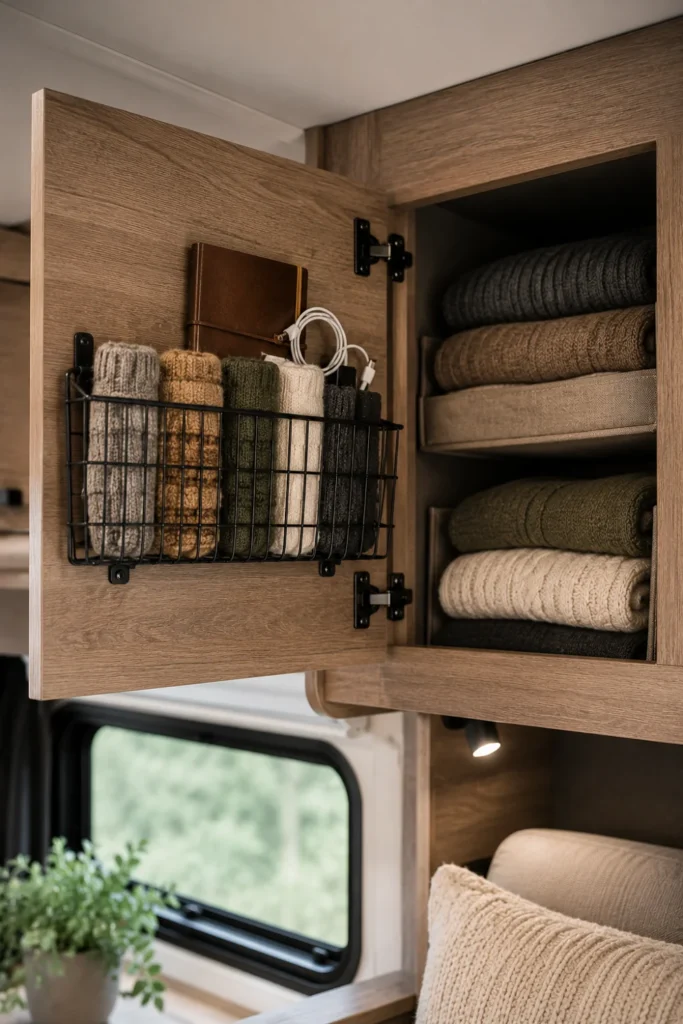
Camper overhead cabinets are notoriously deep and cavernous, turning everyday items like socks and charging cables into a jumbled mess at the back of the shelf.
Utilizing the backside of the cabinet doors keeps frequently used nighttime items right at your fingertips without eating into precious shelf space.
- Choose narrow wire spice or bath baskets that measure less than three inches deep so they do not bump internal shelves when closed.
- Fasten them with short pan-head screws paired with heavy-duty double-sided foam tape for maximum shear hold.
- Add felt dot bumpers along the basket corners to prevent rattles while towing.
Cabinet Door Hardware Checklist
9. Paint Cabinets in a Muted Green Tone with Scuff-Resistant Enamel
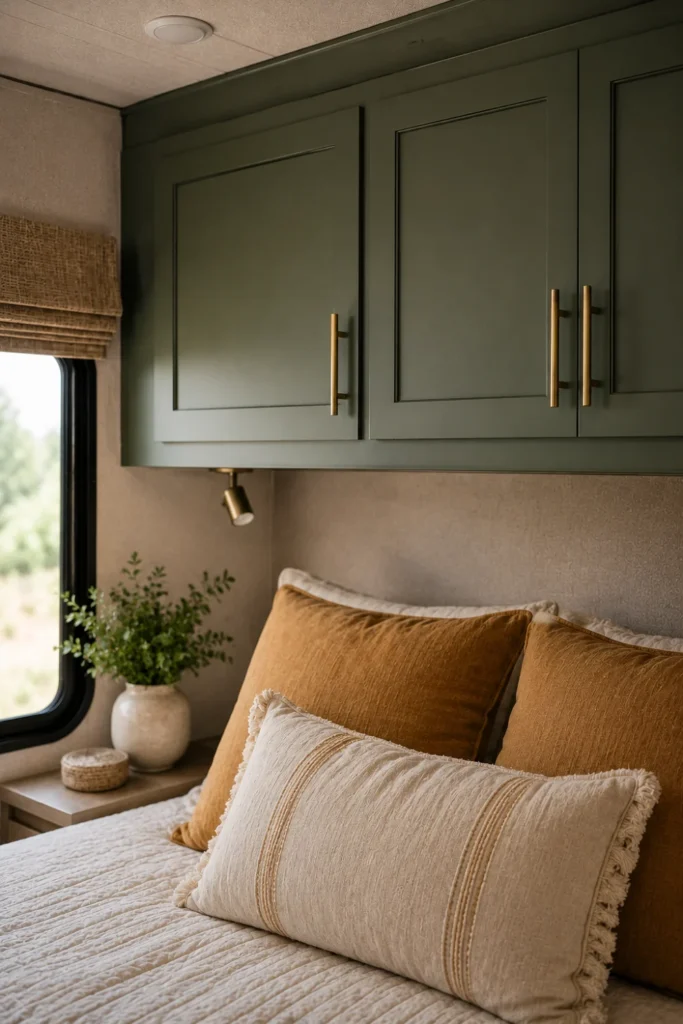
Nothing dates a camper faster than generic orange-toned woodgrain wrap. Painting your upper and lower bedroom cabinets refreshes the room and makes tight corners feel open and airy.
Because RV cabinetry is wrapped in non-porous paper foil rather than real timber, your prep work makes all the difference between a durable coat and peeling paint.
- Clean all surfaces thoroughly with a degreaser to remove hand oils and factory wax.
- Sand lightly with a 220-grit sponge to create mechanical grip on the slick laminate foil.
- Apply a coat of extreme-adhesion bonding primer before finishing with two coats of scuff-resistant enamel.
Never skip shellac or bonding primer on vinyl-wrapped RV cabinets. Standard latex paint will peel off in sheets when humidity spikes.
10. Line the Exterior-Facing Wall with Cork Tile for Thermal Insulation
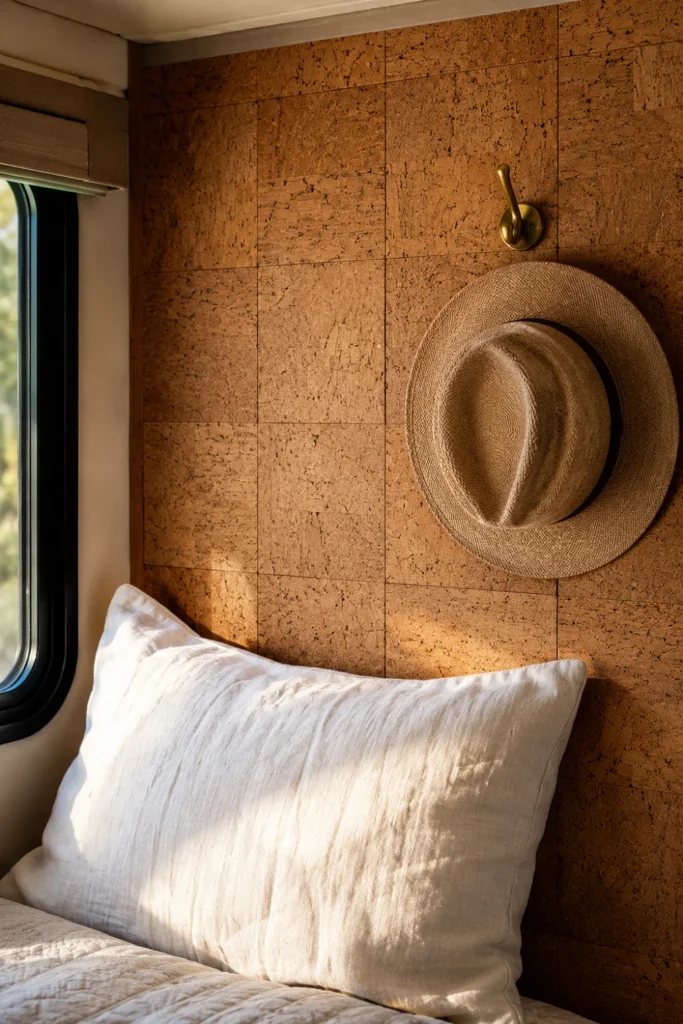
The front nose cap of an RV gets surprisingly cold on crisp autumn mornings, creating an uncomfortable chill right against your pillow.
Natural cork tiles act as an attractive, tactile accent wall while delivering excellent acoustic and thermal insulation against outside weather.
- Select 1/4-inch thick self-adhesive cork tiles designed for high-tack indoor use.
- Clean the headboard wall with rubbing alcohol and let it dry completely before pressing down each tile.
- Seal the edges with a thin bead of paintable caulk to prevent humid air from getting behind the tiles.
⚠️ Watch Out
Always verify the exterior wall is completely dry before mounting cork. Trapping existing moisture behind dense tiles can encourage hidden wall condensation.
11. Replace Bulky Plastic Pulls with Slender Leather Strap Handles
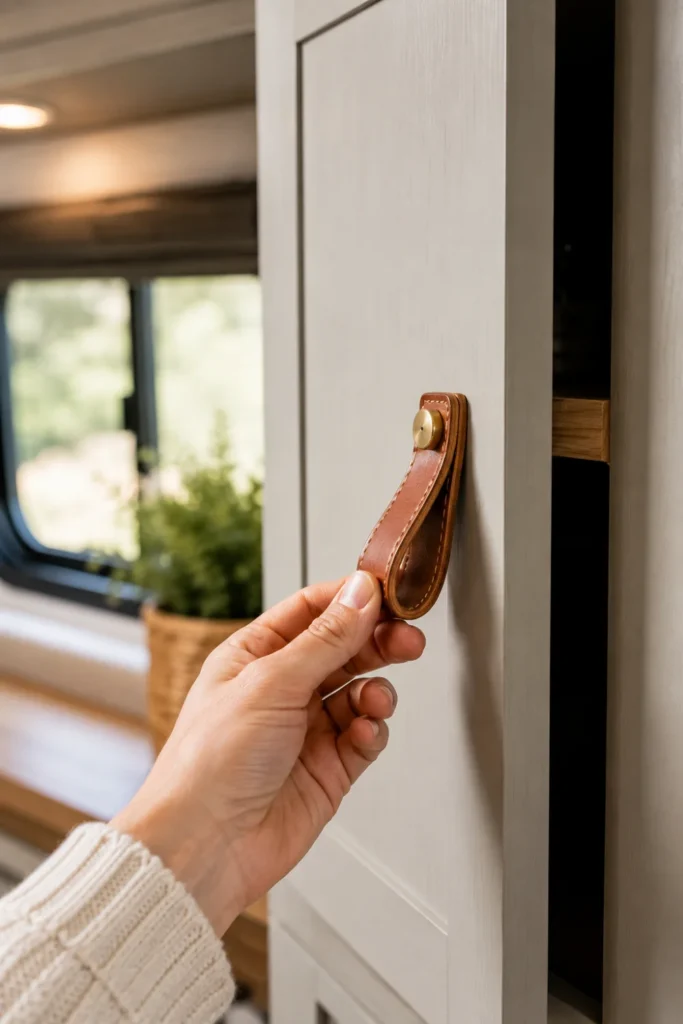
Standard metal or plastic RV cabinet handles project into narrow walking paths, catching on clothing or banging into shoulders when moving around the bed.
Flexible leather strap pulls sit flat against the door face, look refined, and flex out of the way effortlessly when brushed against.
- Choose vegetable-tanned leather straps with brass or matte-black mounting hardware.
- Reuse existing screw holes to avoid drilling new holes in hollow-core cabinet doors.
- Add a tiny drop of blue threadlocker to each bolt so vibrations from bumpy roads won’t rattle them loose.
12. Install a Narrow Pegboard Wall for Morning Grab-and-Go Gear
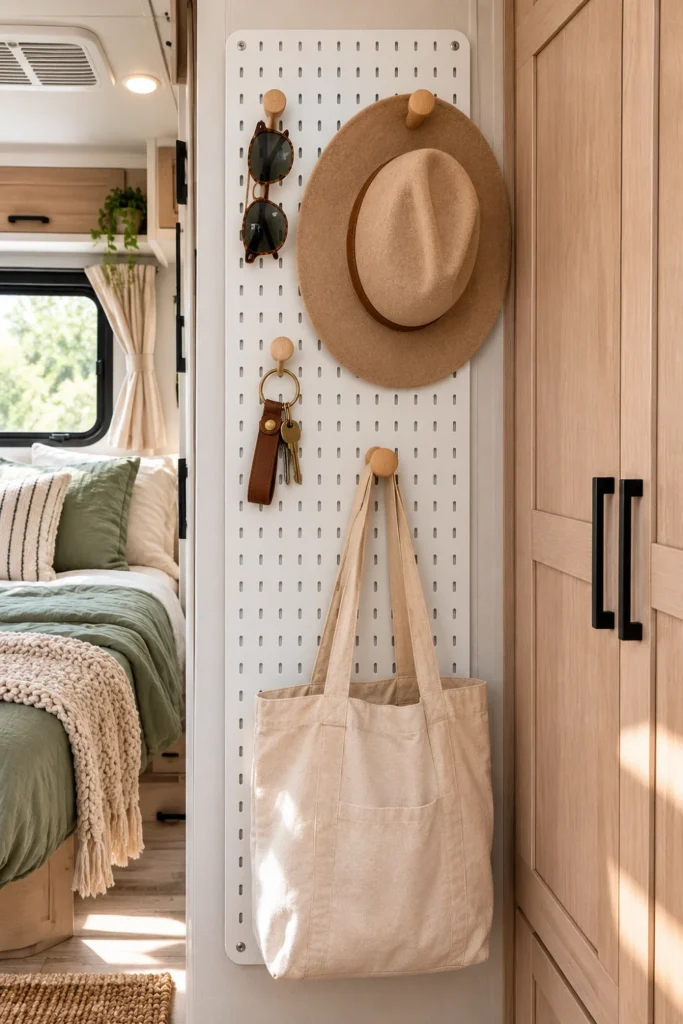
That awkward six-inch gap on the bedroom wall next to the slide-out frame often goes unused. Turning it into a vertical storage wall organizes hats, jewelry, watches, and keys without eating up floor area.
White metal or natural wood pegboards provide a clean, intentional look that can be rearranged whenever your travel gear changes.
- Cut the pegboard sheet to match your exact wall stud spacing.
- Fasten 1/2-inch wooden spacer strips behind the board so peg hooks have room to seat properly.
- Secure the assembly into wall studs using broad-head screws and lock each accessory hook with rubber retainers.
Pegboard Mounting Steps
Screw wood spacer furring strips directly into your interior wall studs.
Fasten the finished pegboard to the spacers using flat head screws.
Clip on rubber locking tabs over all metal hooks so they never shake free during transit.
13. Anchor a Washable Waffle Blanket with Heavy-Duty Sheet Suspenders
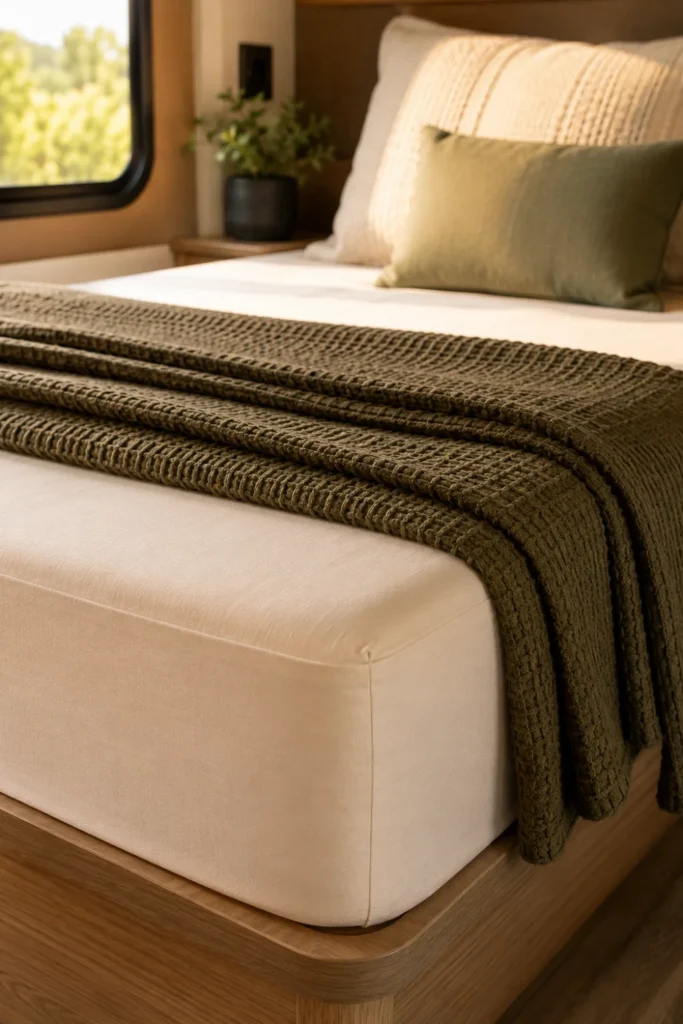
Tucking in sheets around a short queen camper mattress tucked tightly between three wardrobe walls is one of the biggest daily annoyances of RV life. Standard fitted sheets constantly slip off the corners overnight.
Elastic bed sheet suspenders clip underneath the mattress base, locking your bottom sheet taut so you never have to wrestle corners into place each morning.
- Pair locked-down bottom sheets with a lightweight cotton waffle blanket that tucks in quickly along the footboard.
- Avoid heavy, oversized synthetic comforters that hang over the edge and drag on the floor.
- Pick breathable woven cotton fabrics that wash and dry easily at small campground laundromats.
Fitted sheets pop off tight corners every night, leaving a bunch of tangled fabric to remake daily.
Corners stay locked drum-tight beneath the mattress platform no matter how much you turn in your sleep.
14. Add Soft Under-Bed Strip Lighting for Midnight Floor Visibility
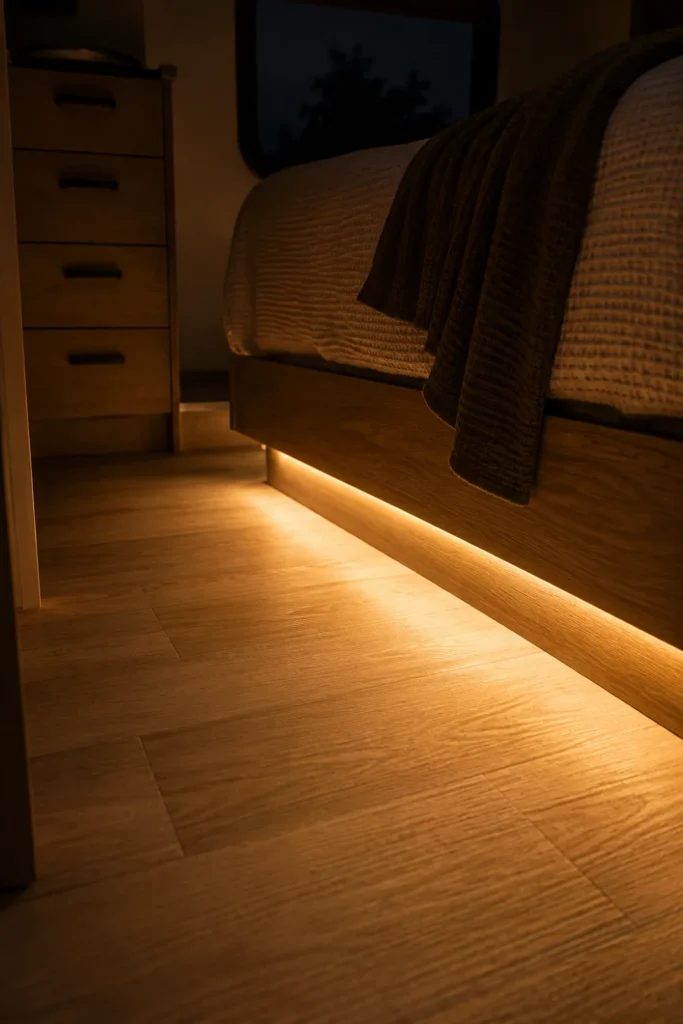
Flipping on bright overhead lights when you get up for water in the middle of the night blinds your eyes and wakes up your travel partner.
Tucking a motion-activated warm LED strip under the recessed lip of your bed frame provides gentle, downward-facing floor glow that illuminates your pathway without disturbing anyone.
- Choose battery-powered or 12V amber LED light strips with an integrated passive infrared motion sensor.
- Mount the strip facing downward along the lower bed frame base to eliminate direct glare.
- Set the auto-shutoff timer to 30 or 60 seconds so it turns off promptly on its own.
📌 Good To Know
Amber and warm red wavelengths preserve your natural night vision, making it much easier to fall back asleep after a quick midnight bathroom trip.
15. Mount Macrame Wall Pockets on Empty Corner Wall Studs
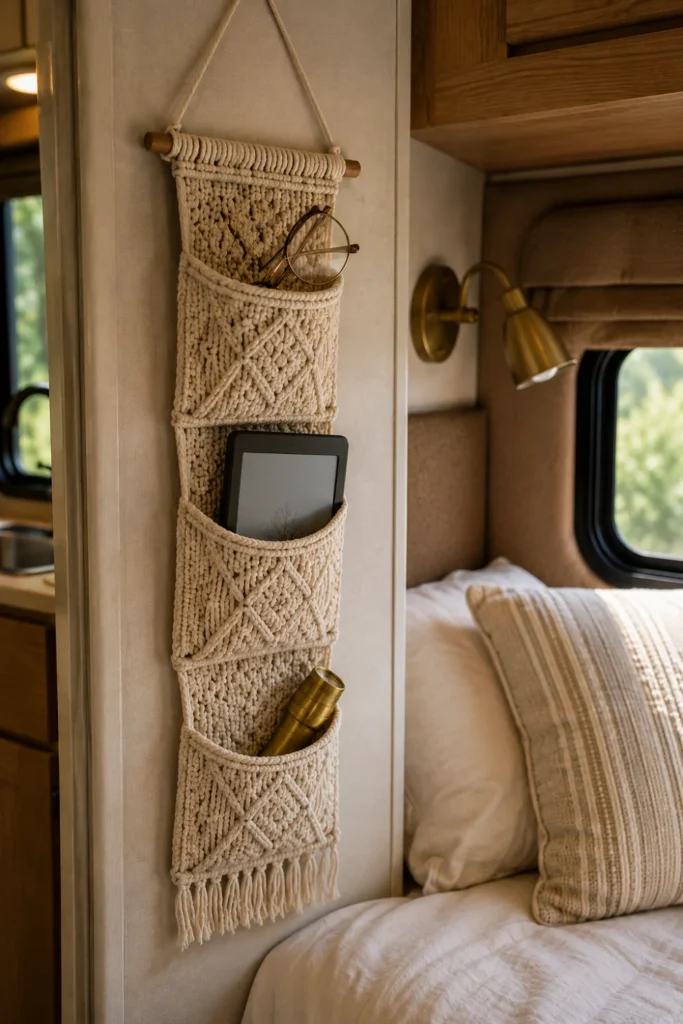
Camper side cabinets often leave awkward gaps in the upper corners that collect shadows and dust. Hanging woven fiber wall organizers fills the empty space with organic texture while adding practical storage.
These flexible pockets are ideal for corralling bedside essentials that normally slide off flat surfaces while in motion.
- Use three-pocket hanging organizers made from natural cotton rope or braided jute.
- Secure them to wall studs using decorative brass screw-in cup hooks rather than adhesive stickers that melt in heat.
- Use the pockets to hold your tablet, reading glasses, paperback book, and morning medications.
16. Drape a Heavy Thermal Curtain Across the Bedroom Doorway
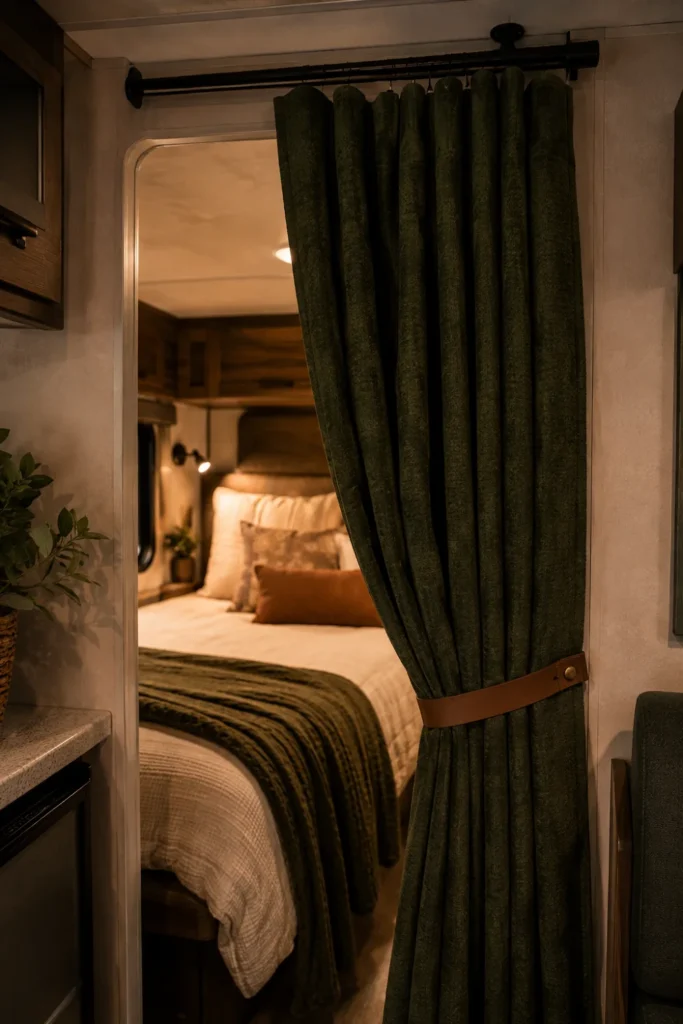
Thin accordion privacy doors or lightweight sliding wooden panels in RVs offer almost zero acoustic separation and let drafts sweep straight through from the main cabin.
Hanging a heavyweight thermal velvet or woven blackout curtain panel over the doorway blocks unwanted light and dampens noise from the kitchen and living area.
| Divider Option | Sound Dampening | Draft Protection | Weight & Space |
| Stock Vinyl Accordion | None (rattles in track) | Minimal air barrier | Rigid, collects dust in folds |
| Insulated Fabric Curtain | Moderate (absorbs echoes) | High (seals doorway draft) | Lightweight, ties back easily |
| Divider Type | Thermal Seal | Acoustic Value |
|---|---|---|
| Stock Accordion Door | Poor thermal barrier | Amplifies rattles and clicks |
| Triple-Weave Curtain | Excellent draft barrier | Muffles living room noise |
17. Brighten Dark Closets with Stick-On Rechargeable Tap Lights
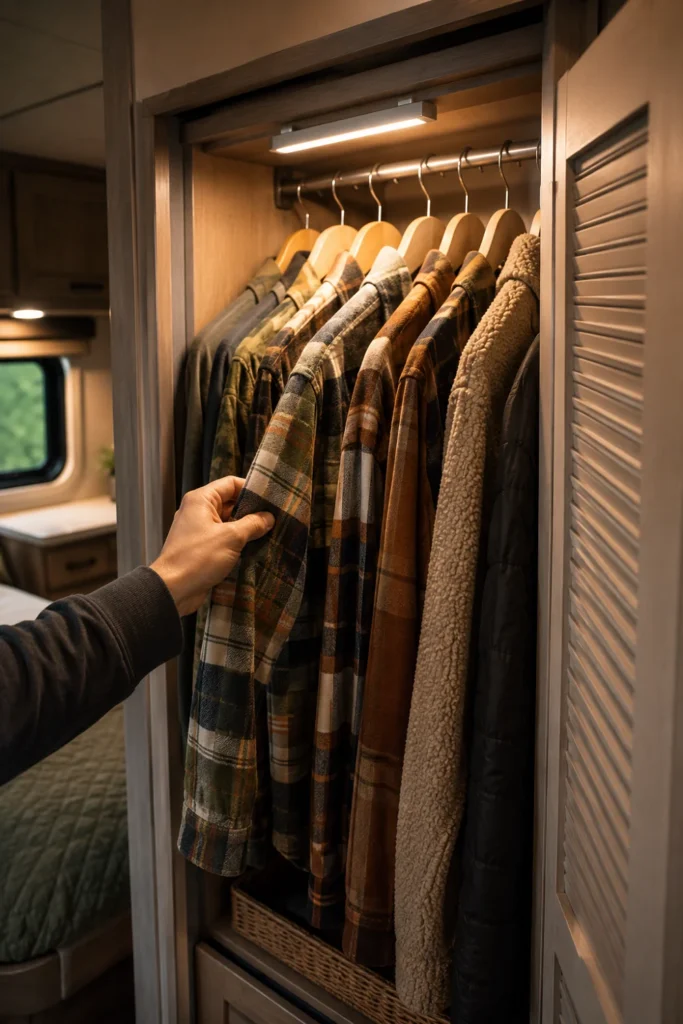
Camper side wardrobes are notoriously narrow and dark, forcing you to use your smartphone flashlight just to pick out a shirt in the morning.
Mounting slim, magnetic USB-rechargeable LED light bars along the inside closet door frame illuminates every shelf without running new wires through your walls.
- Choose slim light bars with magnetic adhesive mounting strips so you can pop them off easily to recharge via USB.
- Look for built-in daylight sensors that activate only when the closet door opens.
- Position the light bar along the front interior frame facing inward to prevent direct glare.
Use magnetic stick-on fixtures that pop off easily for USB recharging.
Mount lights on the inner door frame facing into the closet shelves.
Avoid disposable alkaline battery pucks that die quickly in cold weather.
Avoid hardwiring into exterior walls where insulation is paper-thin.
18. Fit Anti-Moisture Mesh Under the Plywood Mattress Base
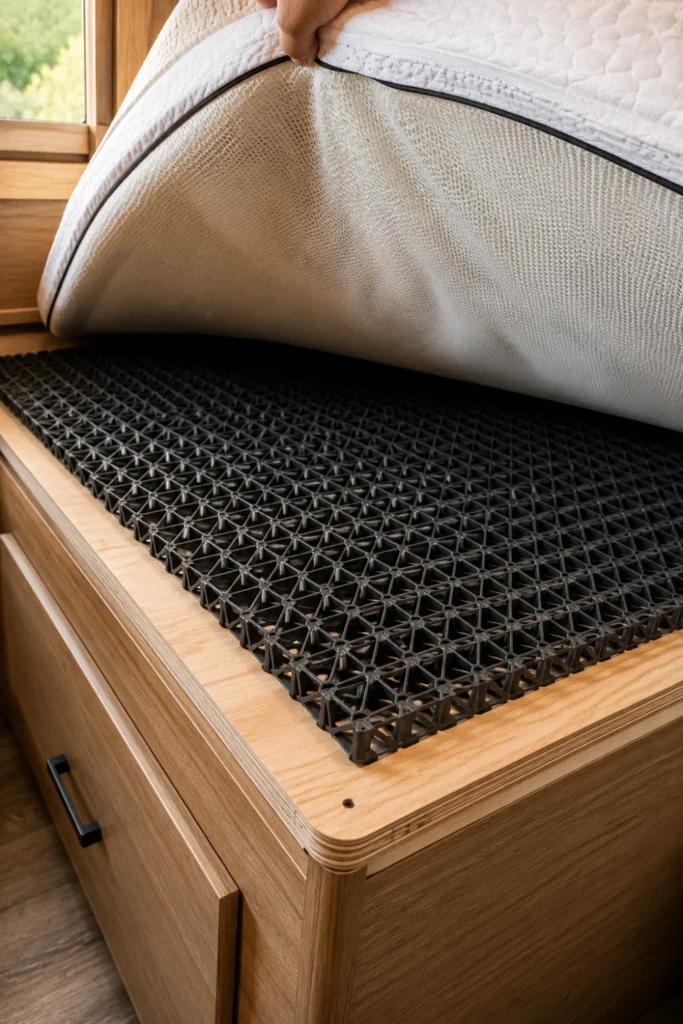
Because RV bed platforms sit directly over unheated exterior storage pass-through compartments, temperature differences create condensation beneath the mattress. Over a single season, that trapped moisture can ruin a good mattress.
Installing a semi-rigid 3D polymer mesh underlayment creates a permanent open airspace under the mattress, allowing airflow to keep the wood and fabric completely dry.
- Measure your plywood platform and cut the open mesh underlayment sheet to fit with sturdy kitchen shears.
- Lay the mesh loose on the plywood without glue so you can sweep the platform clean whenever needed.
- Leave a half-inch perimeter gap around the box edge for optimal air circulation.
Moisture Prevention Checklist
19. Hang a Frameless Acrylic Mirror with VHB Tape to Open Up the Room
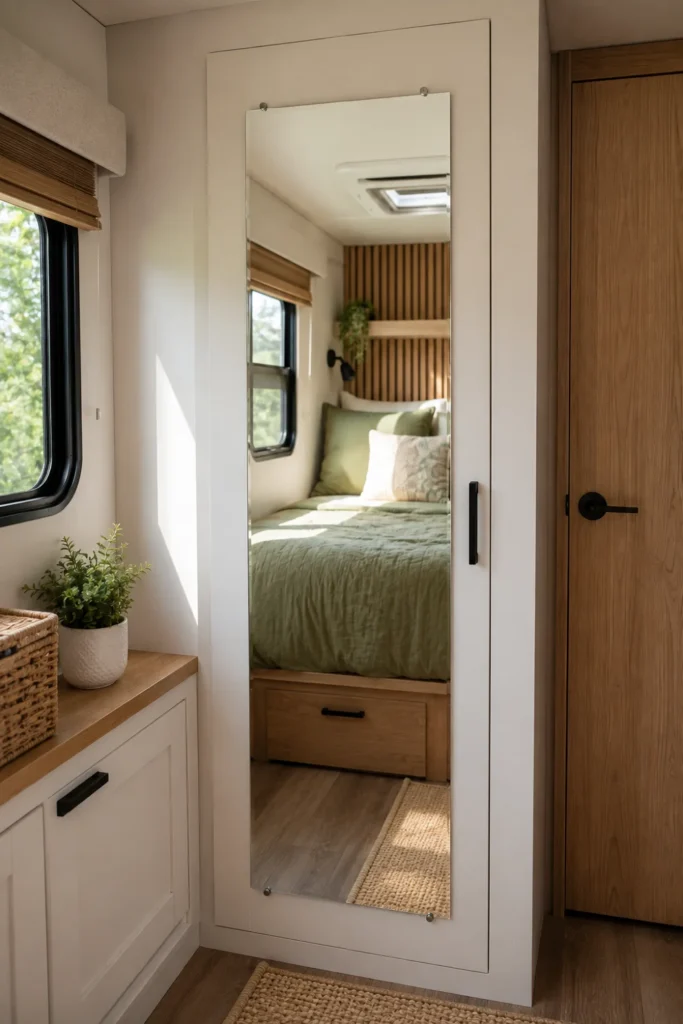
Small camper bedrooms can feel enclosed, especially on rainy afternoons when you are stuck inside. Adding a tall, frameless mirror reflects window light and makes the room feel twice as wide.
Heavy residential glass mirrors are dangerous in RVs due to road vibrations and payload limits. Shatterproof acrylic mirror sheets give you crystal-clear reflection at a fraction of the weight.
- Select 1/8-inch thick lightweight acrylic or polycarbonate mirror panels.
- Mount with heavy-duty exterior acrylic foam tape (VHB) directly against the flat wardrobe door.
- Seal the edges with a thin bead of clear silicone to keep out humidity.
Always choose shatterproof acrylic over heavy glass. Acrylic mirrors weigh 70% less and will never crack or shatter from bumpy road vibrations.
Bringing It All Together
Transforming your camper sleeping quarters into a welcoming sanctuary does not take an expensive custom rebuild. By focusing on lightweight textures, smart airflow, and functional storage, you eliminate the daily frustrations of small-space travel while creating a relaxing retreat you look forward to returning to after a long day outside.
Pick one or two simple upgrades from this list to tackle this weekend, and feel free to save this list of rv bedroom makeover ideas to your camper Pinterest board for your next renovation project.

